
Okay, you bought a 3D printer. You’ve got a 3D file you want to print. What’s next?
Here’s the first thing to understand: your printer can’t actually read that 3D file. Something has to sit in between and translate your model into instructions the machine understands. That something is a slicer, and it’s about to become the most important tool you use.
If your prints keep failing, stringing, warping, or just don’t look as clean as the photos online, the slicer is very often where the fix lives. Getting comfortable with it clears up a big share of the problems beginners run into, which makes it one of the most useful things to learn early.
So let’s break it down. This guide explains what a slicer does and why it matters, then hands you a step-by-step path that takes you from never opening a slicer to printing with confidence. Every step links to a full guide of its own, so think of this page as your home base. Come back here any time to see what to learn next.
What a slicer actually does
A 3D printer builds objects one thin layer at a time. But your 3D model (usually an .STL, .3MF, or .STEP file) is just a shape. It contains no information about how to build it.
The slicer takes that shape and “slices” it into hundreds or thousands of horizontal layers. For each layer, it calculates exactly where the nozzle moves, how fast, how much plastic to push out, and how hot everything should be. It writes all of this into a file called G-code, the step-by-step instruction list your printer follows.
In short: your model is the what, and the slicer decides the how.
Why slicer settings matter so much
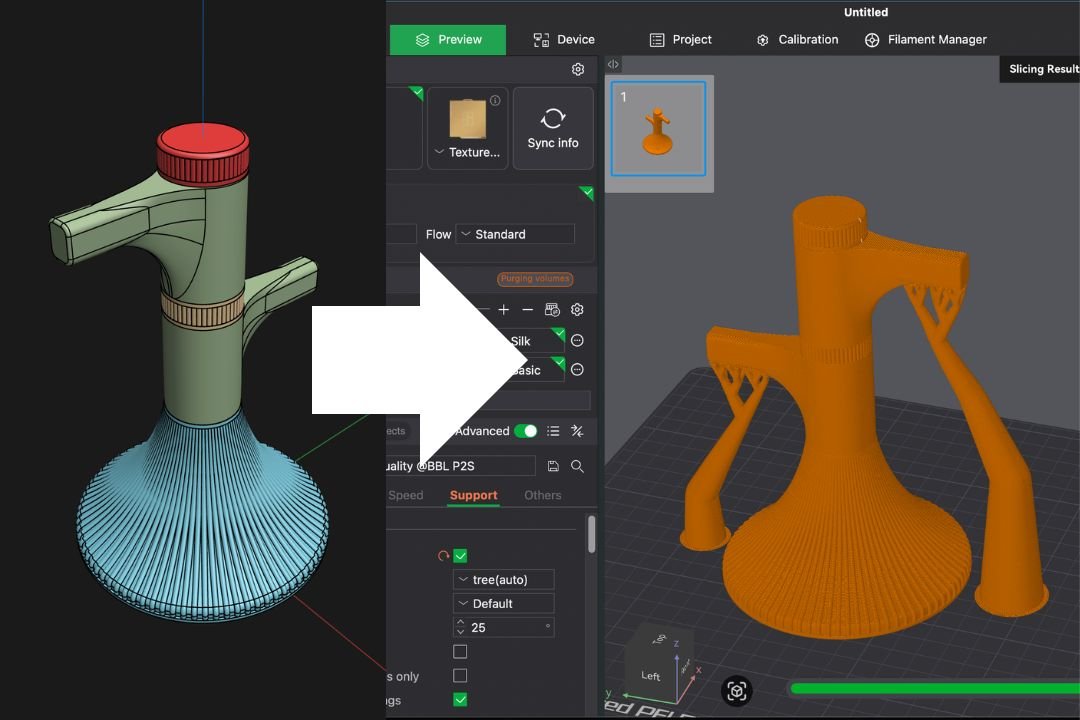
Here’s the part beginners underestimate: you can take the exact same model and get wildly different results just by changing slicer settings.
The same file can come out strong or brittle, smooth or rough, finished in 40 minutes or 4 hours, all depending on how it’s sliced. Print speed, layer thickness, how much plastic fills the inside, the temperature, whether supports are added, every one of these is a dial you control in the slicer.
Good news: you don’t need to master all of them at once. A handful of core settings account for most of your results, and that’s exactly what this series covers.
Why we cover both Bambu Studio and OrcaSlicer
There are several good slicers out there, Cura and PrusaSlicer among them. We’re focusing this series on two, because they’re what most of our readers here in the Bambu-heavy Southeast Asian scene are actually using:
- Bambu Studio: ships with every Bambu Lab printer. If you own a Bambu machine, this is what you started with.
- OrcaSlicer: a free, community-favorite slicer built from Bambu Studio, with extra tuning and calibration tools. It’s the common upgrade path, and it works with many non-Bambu printers too.
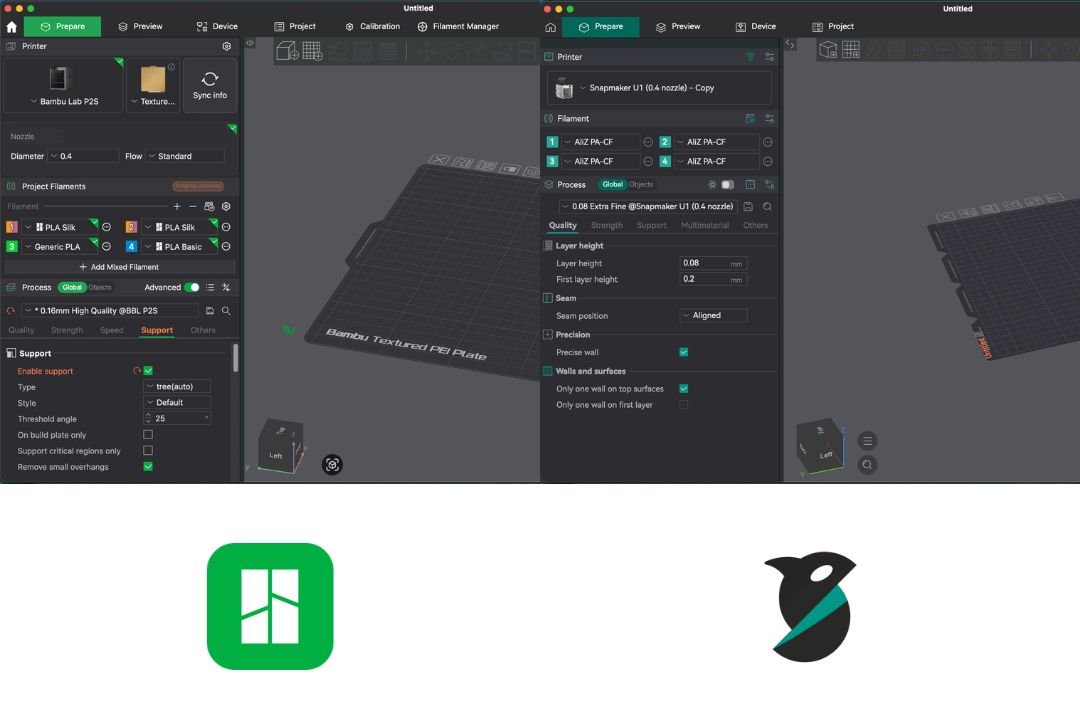
Because OrcaSlicer is based on Bambu Studio, the two look and work almost identically. That’s good for you: nearly everything in this series applies to both, and where they differ, we’ll say so clearly. Screenshots and menu names line up between them unless noted.
Your learning path: start here
This series is a complete beginner course. Follow it top to bottom and you’ll go from never opening a slicer to printing with confidence. Already comfortable with the basics? Jump to whatever you need. Either way, bookmark this page and come back to see what’s next.
Links go live as each guide is published.
1. Setup
- What Is a Slicer? You’re reading it. Start here for the big picture.
- Installing Bambu Studio / OrcaSlicer & Adding Your Printer Download, install, and set up your exact printer so everything else works.
- The Interface Tour: Getting Around the Slicer A quick walk through the buttons and panels so nothing feels foreign.
2. Handling your model
- Importing a Model & Adding It to the Plate Get your first 3D file into the slicer.
- Move, Rotate, Scale & Arrange Position your model on the plate and fit multiple parts.
- Model Orientation for the Best Print How you angle a part changes its strength, its supports, and its finish. One of the most underrated skills.
3. Core print settings
- Layer Height & Resolution The biggest quality-vs-speed trade-off.
- Wall Loops & Thickness Controls strength and how solid the outside feels.
- Top & Bottom Layers Clean, fully sealed top and bottom surfaces.
- Infill: Density & Pattern How much plastic fills the inside, and which pattern. More isn’t always better.
- Print Speed Balancing speed against quality and reliability.
- Nozzle & Bed Temperature The right temperatures per filament so layers bond and stick.
- Supports: Normal vs Tree When you need them, which type, and how to remove them cleanly.
- Bed Adhesion: Skirt, Brim & Raft Stopping warping and first-layer lift.
- Retraction & Stringing Killing wispy strings and blobs.
- Part Cooling / Fan Settings Sharper overhangs, bridges, and detail.
- Flow Rate / Flow Ratio Accurate dimensions with no over- or under-extrusion.
4. Slicing & printing
- Slice, Preview & Send to Your Printer Read the preview, check time and filament, then export or print.
5. Advanced & slicer-specific
- OrcaSlicer Calibration Suite Pressure advance, flow, temp tower, and retraction tuning for maximum quality.
- Using OrcaSlicer with Non-Bambu Printers Set up Orca for other machines.
- Bambu Studio AMS & Multi-Color Multi-color printing and flushing settings.
- Bambu Studio Auto-Calibration & Workflow Bambu’s one-click calibration and cloud workflow.
New to all this? Do this first
If you’ve never touched a slicer, don’t jump straight to the settings. Start with Installing & Adding Your Printer, then the Interface Tour, then Importing Your First Model. Once you can get a model onto the plate and move it around, every setting after that makes far more sense.
Take it one guide at a time. You don’t need to learn everything before your first print. Come back to this page whenever you’re ready for the next step, and it will always tell you where to go.
Looking to buy a 3D printer in Malaysia?
We’ve put together a curated list of 3D printing shops, filament suppliers, and service providers across Malaysia.
View the directory →Don’t miss the latest articles and guides
Get new Domechy articles, guides and free models straight to your inbox.

Wanna share your thoughts or request anything? Comment below.