
Before you can slice anything, you need the software installed and your printer added to it. This is step one for everyone, so let’s get it done properly. Skip a detail here and half your settings will be wrong later, so it’s worth five careful minutes.
We’ll cover both slicers. Pick the one you’re using (if you’re not sure which, start with the one that came with your printer) and follow that section.
Menus and exact wording shift a little between software versions. If a screen doesn’t match these steps exactly, look for the closest equivalent. The flow is the same.
What “adding your printer” actually means
When you install a slicer, it doesn’t magically know what machine you own. Every printer has a different bed size, nozzle, and set of safe speeds and temperatures. “Adding your printer” loads a profile that tells the slicer all of that, so the G-code it produces actually fits your machine. Pick the wrong model here and you can end up with the wrong bed limits, default settings your printer isn’t tuned for, or G-code it won’t run.
Installing Bambu Studio
Bambu Studio is the official slicer from Bambu Lab, and it’s what ships with every Bambu printer.
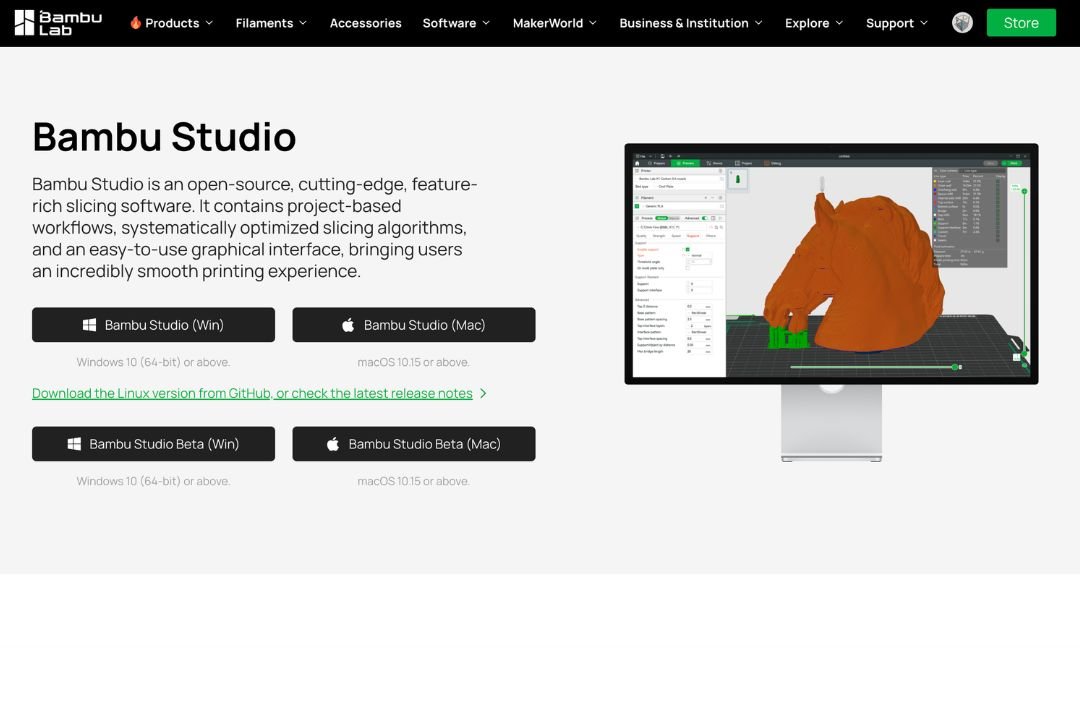
- Go to the Bambu Lab website and open the Download page.
- Choose Bambu Studio and download the version for your operating system (Windows or macOS). Make sure you grab the right one, this is the most common first mistake.
- Run the installer and open the app.
- On first launch, pick your region and agree to the terms.
- Log in with a Bambu account if you have one. It’s optional, but it enables cloud printing and syncing. You can also skip and use LAN only.
Adding your printer in Bambu Studio
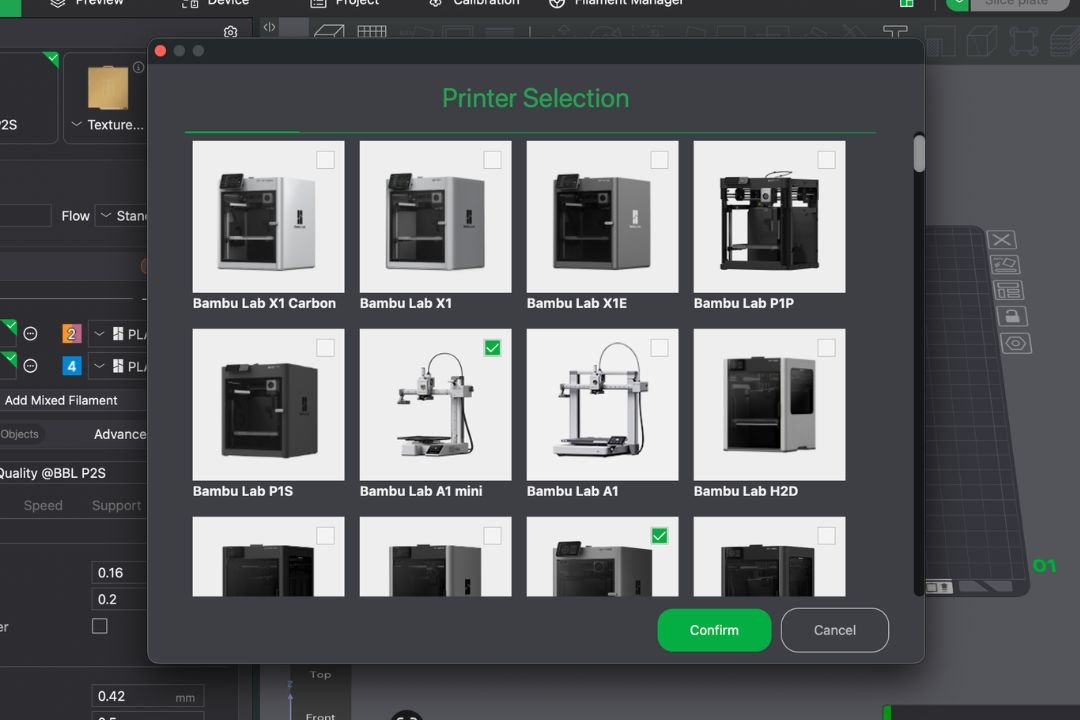
- The first-run wizard asks you to select your printer. Choose your exact model (for example A1, A1 mini, P1P, P1S, X1C). The A1 and A1 mini are different sizes, so don’t mix them up.
- Select the filament you’ll use to start (Bambu PLA Basic is a safe first pick).
- Connect the printer to your Wi-Fi using the screen on the printer itself.
- Back in Bambu Studio, your printer should appear in the device list. Select it to bind it to the app.
- If prompted, update the printer firmware. It’s recommended before your first print and clears up a lot of connection issues.
Installing OrcaSlicer
OrcaSlicer is a free, community-built slicer based on Bambu Studio. It works with Bambu printers and many other brands.
- Go to the OrcaSlicer releases page on GitHub.
- Download the latest installer for your operating system.
- Run the installer and open the app.
- On first launch, choose your region and language.
Adding your printer in OrcaSlicer
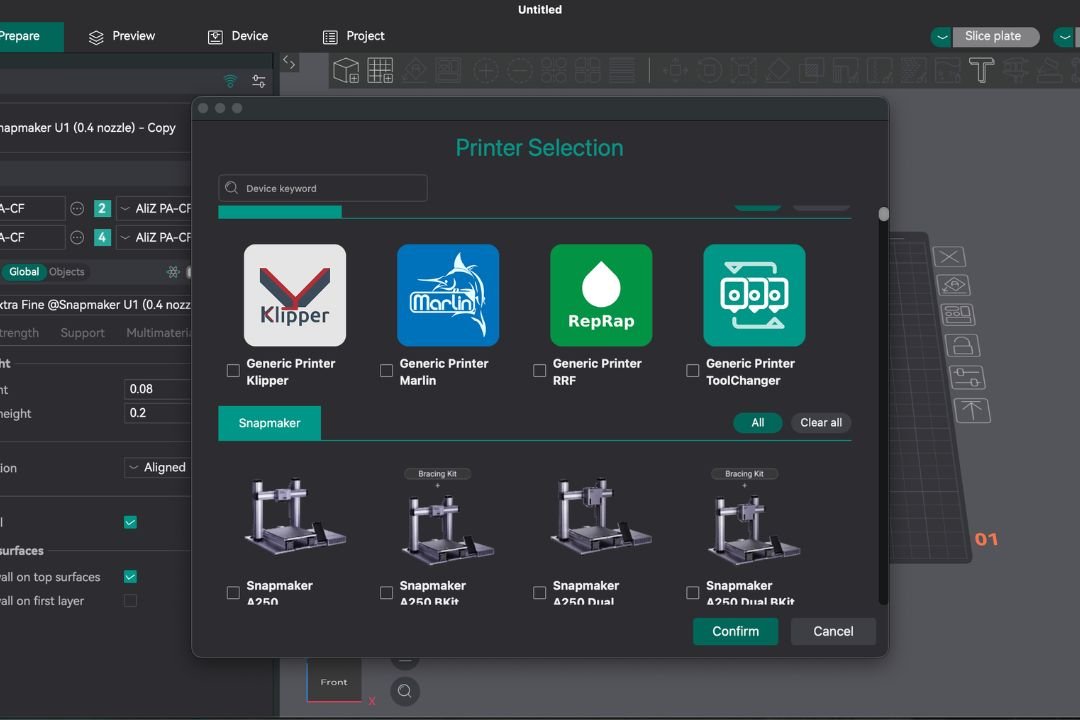
- In the setup wizard, pick your printer vendor first (Bambu Lab, Creality, Prusa, Voron, and so on).
- Then choose your exact model, the same way as above.
- Select a starting filament profile.
- Set your nozzle size if asked. Most printers ship with 0.4 mm. Only change this if you’ve physically swapped the nozzle.
- If you have a Bambu printer and want OrcaSlicer to send prints to it directly, add it in LAN mode: grab the IP address and LAN access code from your printer’s screen and enter them when Orca asks.
Recommended starting setup
For a first-time setup, keep it simple:
- Choose your exact printer model, not a close-looking one.
- Leave the nozzle at 0.4 mm unless you know you changed it.
- Start with a PLA filament profile. It’s the easiest material to print.
- Update your printer firmware when it prompts you. Recommended rather than mandatory, but it saves headaches.
You can change all of this later. The point right now is just a clean, correct starting point.
Common mistakes to avoid
- Downloading the wrong OS version. A Windows installer won’t run on a Mac. Double-check before you click.
- Picking the wrong printer model. A1 vs A1 mini, or P1P vs P1S, load different bed sizes and profiles. Wrong choice, wrong prints.
- Forgetting the nozzle size. If you print with a 0.6 mm nozzle but the slicer thinks it’s 0.4 mm, everything downstream is off.
- Skipping the LAN access code (OrcaSlicer + Bambu). Without the IP and access code, Orca can’t reach the printer directly.
- Ignoring firmware updates. Outdated firmware can cause connection and print issues that look like slicer problems but aren’t.
You’re set up. What’s next?
Your slicer is installed and knows what machine you own. Now it’s time to actually look around it. Next up we take a tour of the interface so nothing on screen feels foreign, then get your first model onto the plate. If you ever want the full picture, the main slicer guide lays out the whole learning path.
Looking to buy a 3D printer in Malaysia?
We’ve put together a curated list of 3D printing shops, filament suppliers, and service providers across Malaysia.
View the directory →Don’t miss the latest articles and guides
Get new Domechy articles, guides and free models straight to your inbox.

Wanna share your thoughts or request anything? Comment below.