
I’ve had the Creality SPARKX i7 Color Combo running in my space for a few months now, and I want to get straight to why I’m writing this. So many people have asked me the same question: Bambu Lab A1 or Creality SPARKX i7? They sit in the same price bracket, they’re both bedslingers, and they’re both marketed straight at beginners. That’s a genuinely confusing choice if you’re new to this hobby and just want one machine that works.
There’s also a louder, less polite version of the same question floating around the comments section: “isn’t the SPARKX i7 just a copy of the Bambu Lab A1?” I’ve seen that take a lot, and I want to actually dig into it instead of dismissing it. So here’s what I set out to find out: is it true that the i7 copied the A1, and if it did, does that actually matter?
Disclosure: Creality sent me this SPARKX i7 unit for free for review purposes. I wasn’t paid to write this article, and Creality never reviewed or approved it before publishing. Everything below is my honest opinion.
Before I even unboxed the thing, three marketing claims from Creality had my attention:
- They claim you can unbox and set it up in 5 minutes.
- There’s an AI feature that turns a photo of your face into a printable chibi figure of yourself.
- There’s an RGB LED strip across the front of the machine.
Here’s what I found after living with it for months.
The unboxing: is 5 minutes actually true?
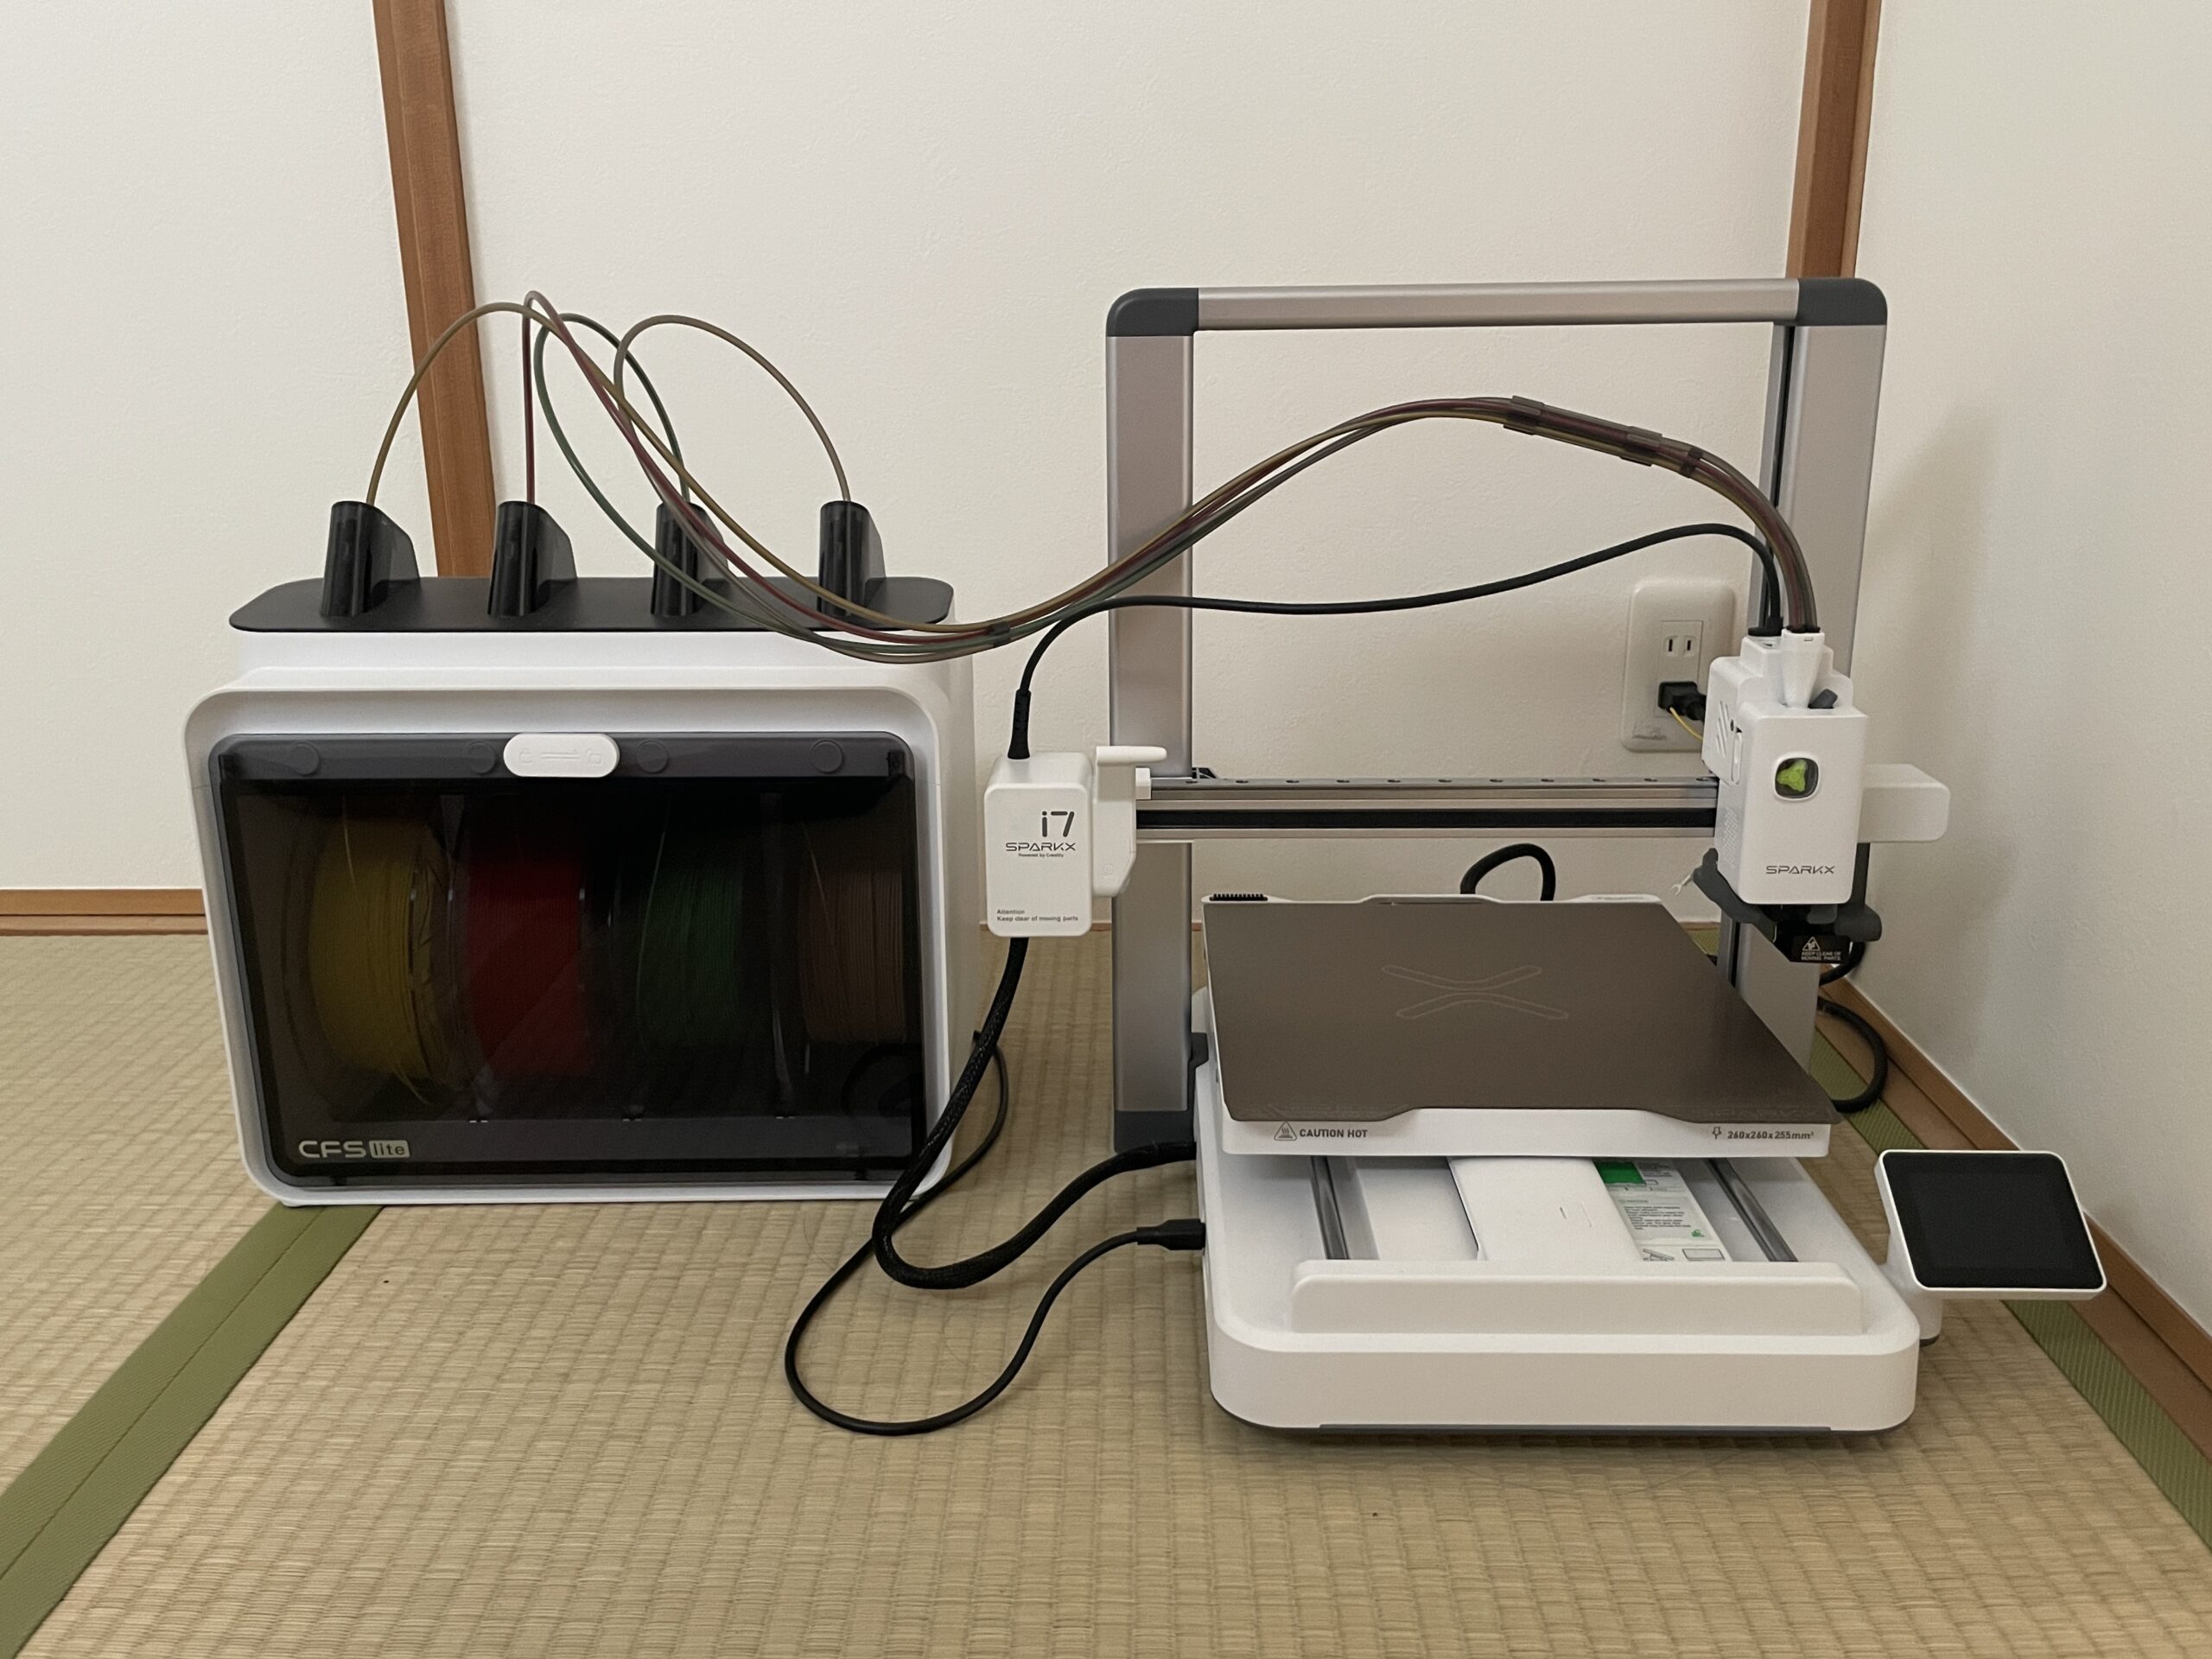
Yes, and I was honestly surprised. Getting everything out of the box and physically set up took under 5 minutes. Getting from that point to the printer being ready to calibrate took about 10 minutes total, and the calibration itself is automatic, you don’t touch anything. Creality clearly designed the packaging around this exact experience: everything sits pre-attached where it can be, and what’s left is genuinely simple. For a machine aimed at total beginners, this is one of the smoothest unboxings I’ve had.
One thing stood out though. Creality repeats the instruction to place the CFS Lite unit on the left side of the printer, more than once, in more than one place. When a manufacturer feels the need to hammer a single instruction home that many times, it’s usually because a lot of people got it wrong before them. And there’s a real reason it matters here, not just a preference: the CFS Lite needs to sit on the left to keep the PTFE tube at the correct length, avoid sharp kinks or extra friction when the filament retracts, and match the fixed length of the included 6-pin data and power cable. Get the placement wrong and you’re fighting the machine’s filament path before you’ve even printed anything.
Takeaway: the 5 minute claim holds up. Just don’t skip the CFS Lite placement instructions, they’re repeated for a reason.
The first print: great quality, but budget the time
I started with the default model that ships loaded on the printer, some kind of keychain. It printed cleanly, which is what you’d expect from any modern machine at this price, so I’m not going to dwell on it.
What I actually wanted to stress-test the printer with was a Pikachu model from Creality Cloud. The print quality was genuinely good. For a printer aimed at beginners, the i7 did not compromise on detail or finish, and it’s easy enough to use that someone with zero experience could get a result like this on their first real attempt.
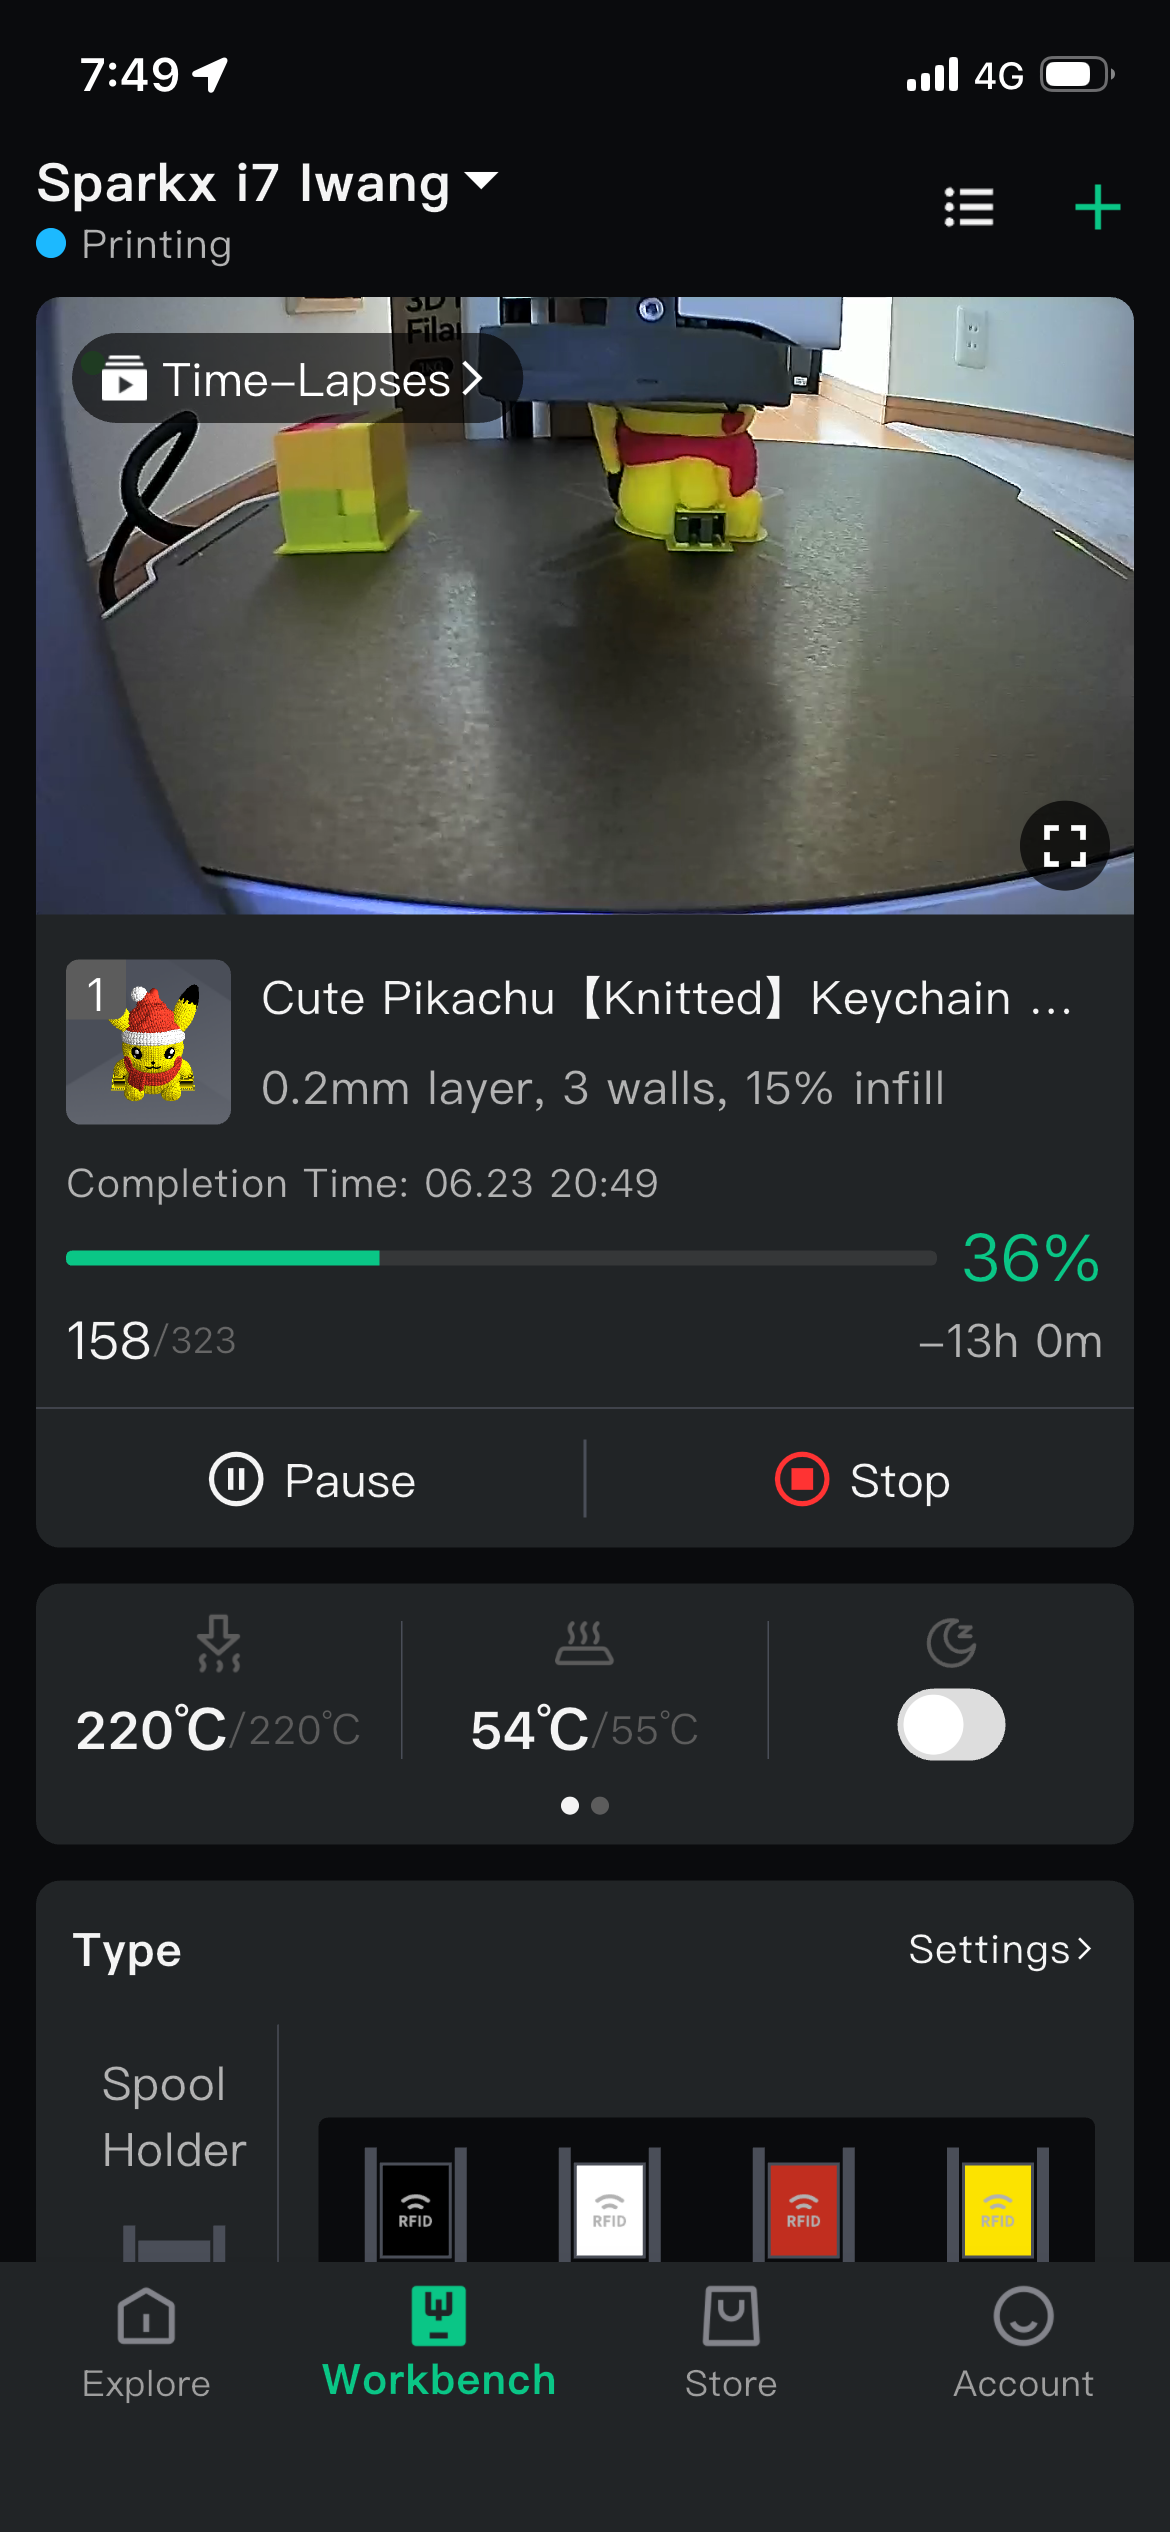
The one place it fell short was time. The slicer estimated 17 to 18 hours for the print. The real print took almost 20 hours. For a beginner machine, that’s acceptable, people buying this aren’t usually racing the clock. But I want to be direct about this so nobody buys the wrong printer: if you’re past the beginner stage and expecting a fast, efficiency-focused machine, this isn’t it.
There was also a hiccup with the app during this print, which turned out to be the same connection issue I’ll get into properly further down. It didn’t affect the print itself, just my ability to check on it from my phone.
Takeaway: print quality doesn’t feel like a beginner compromise. Print time does. Set expectations accordingly.
The first layer test: remember when this used to be stressful?
If you came up on an Ender 3 like I did, you know exactly what I’m talking about. First layer used to be the single biggest thing you worried about with a new printer. We’d sit in front of the machine for a good 10 minutes just watching the first layer go down. We’d slide a piece of paper under the nozzle, or use a proper feeler tool, to get the gap just right, not touching the bed, not floating above it either. We’d relevel the bed every week because if we didn’t, the print just wouldn’t stick somewhere and we’d find out the hard way, hours in.
Thanks to modern auto-leveling, that whole ritual is basically gone, and the i7 is no exception. The first layer test came out relatively very good straight away. It’s only when you zoom in that you can spot a few areas that look slightly under-extruded, but nothing at a level that would actually cause a failed print or a problem you’d notice with the naked eye.

Takeaway: if you’re coming from an older printer and you’re bracing yourself for first-layer babysitting, you can relax. This isn’t 2020 anymore.
The torture test: where the i7 actually cracks under pressure
Print quality and first layer are one thing, but I wanted to actually push the i7 with a proper torture test print rather than just judge it off a Pikachu and a keychain. This is the print that’s meant to expose the stuff a normal model won’t: overhangs at increasing angles, dimensional accuracy across different sizes, thin spikes that reveal stringing, and small embossed text.
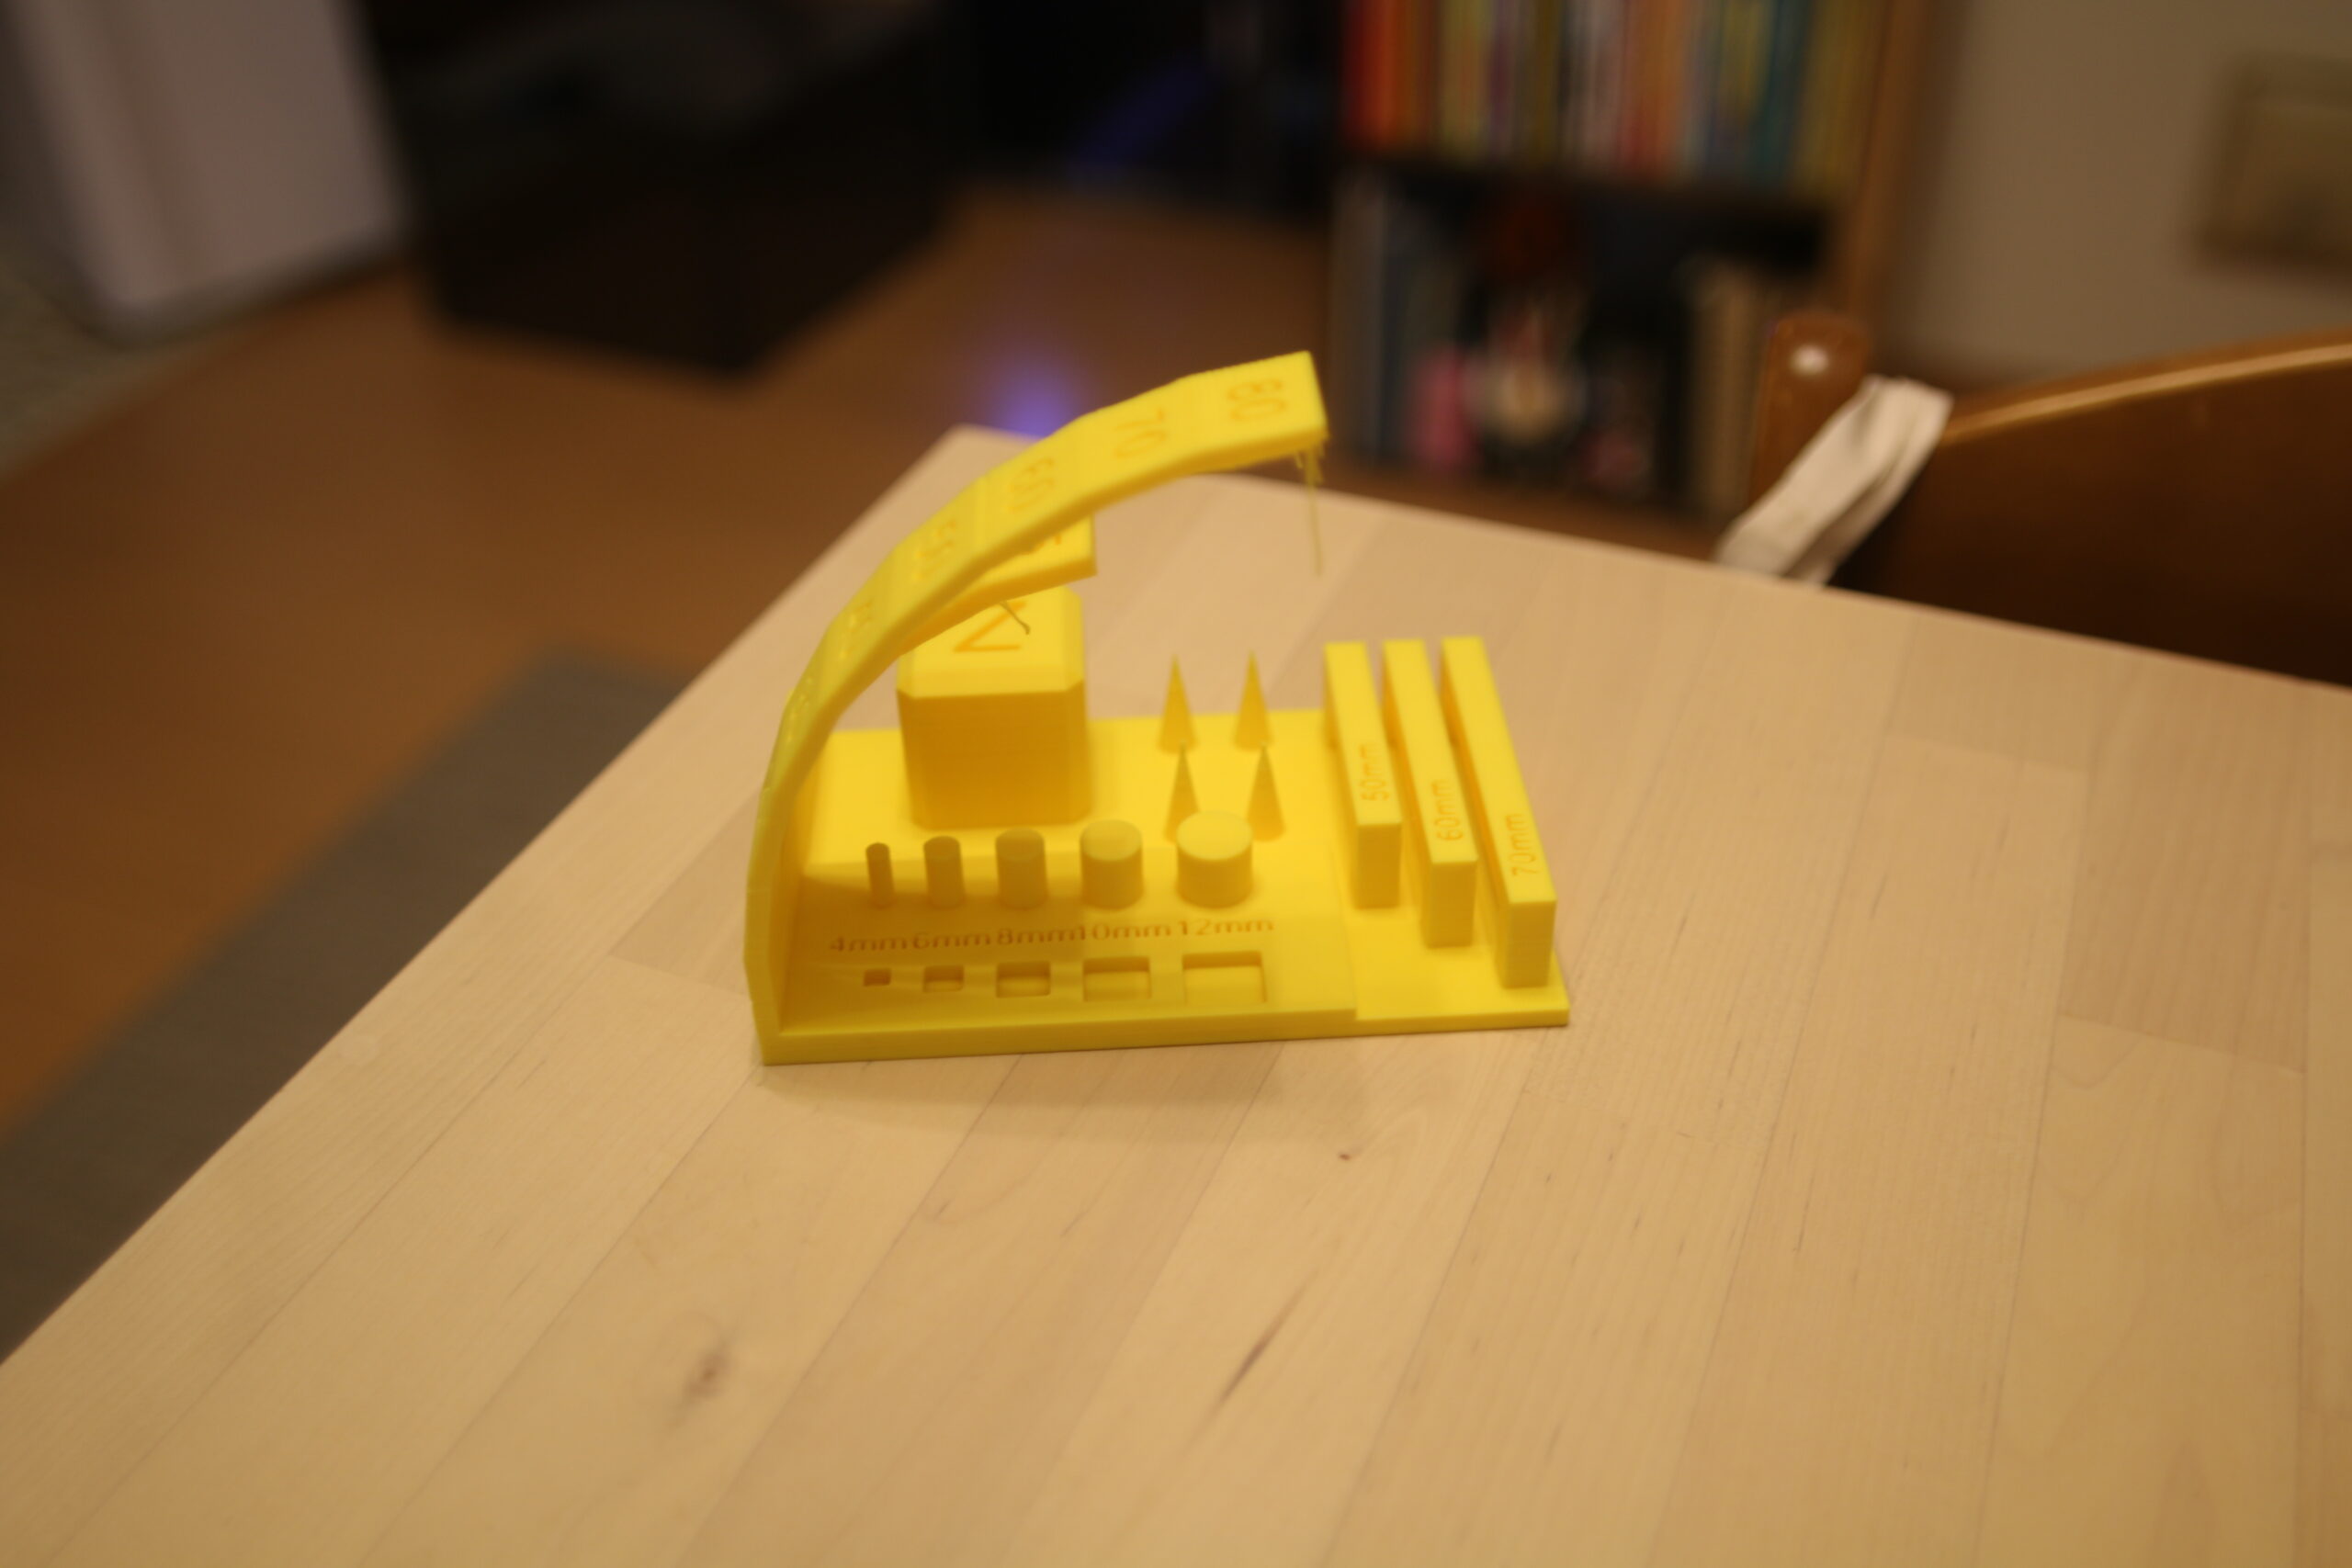
Here’s what I found. The overhangs printed cleanly without support up to around 60 degrees, genuinely good for a machine in this price range. There was no stringing between the thin spikes either, which tells me retraction is tuned well out of the box. Dimensional accuracy looked solid across the board, the different size cylinders and matching holes came out consistent, and even small embossed text printed cleanly and stayed legible.
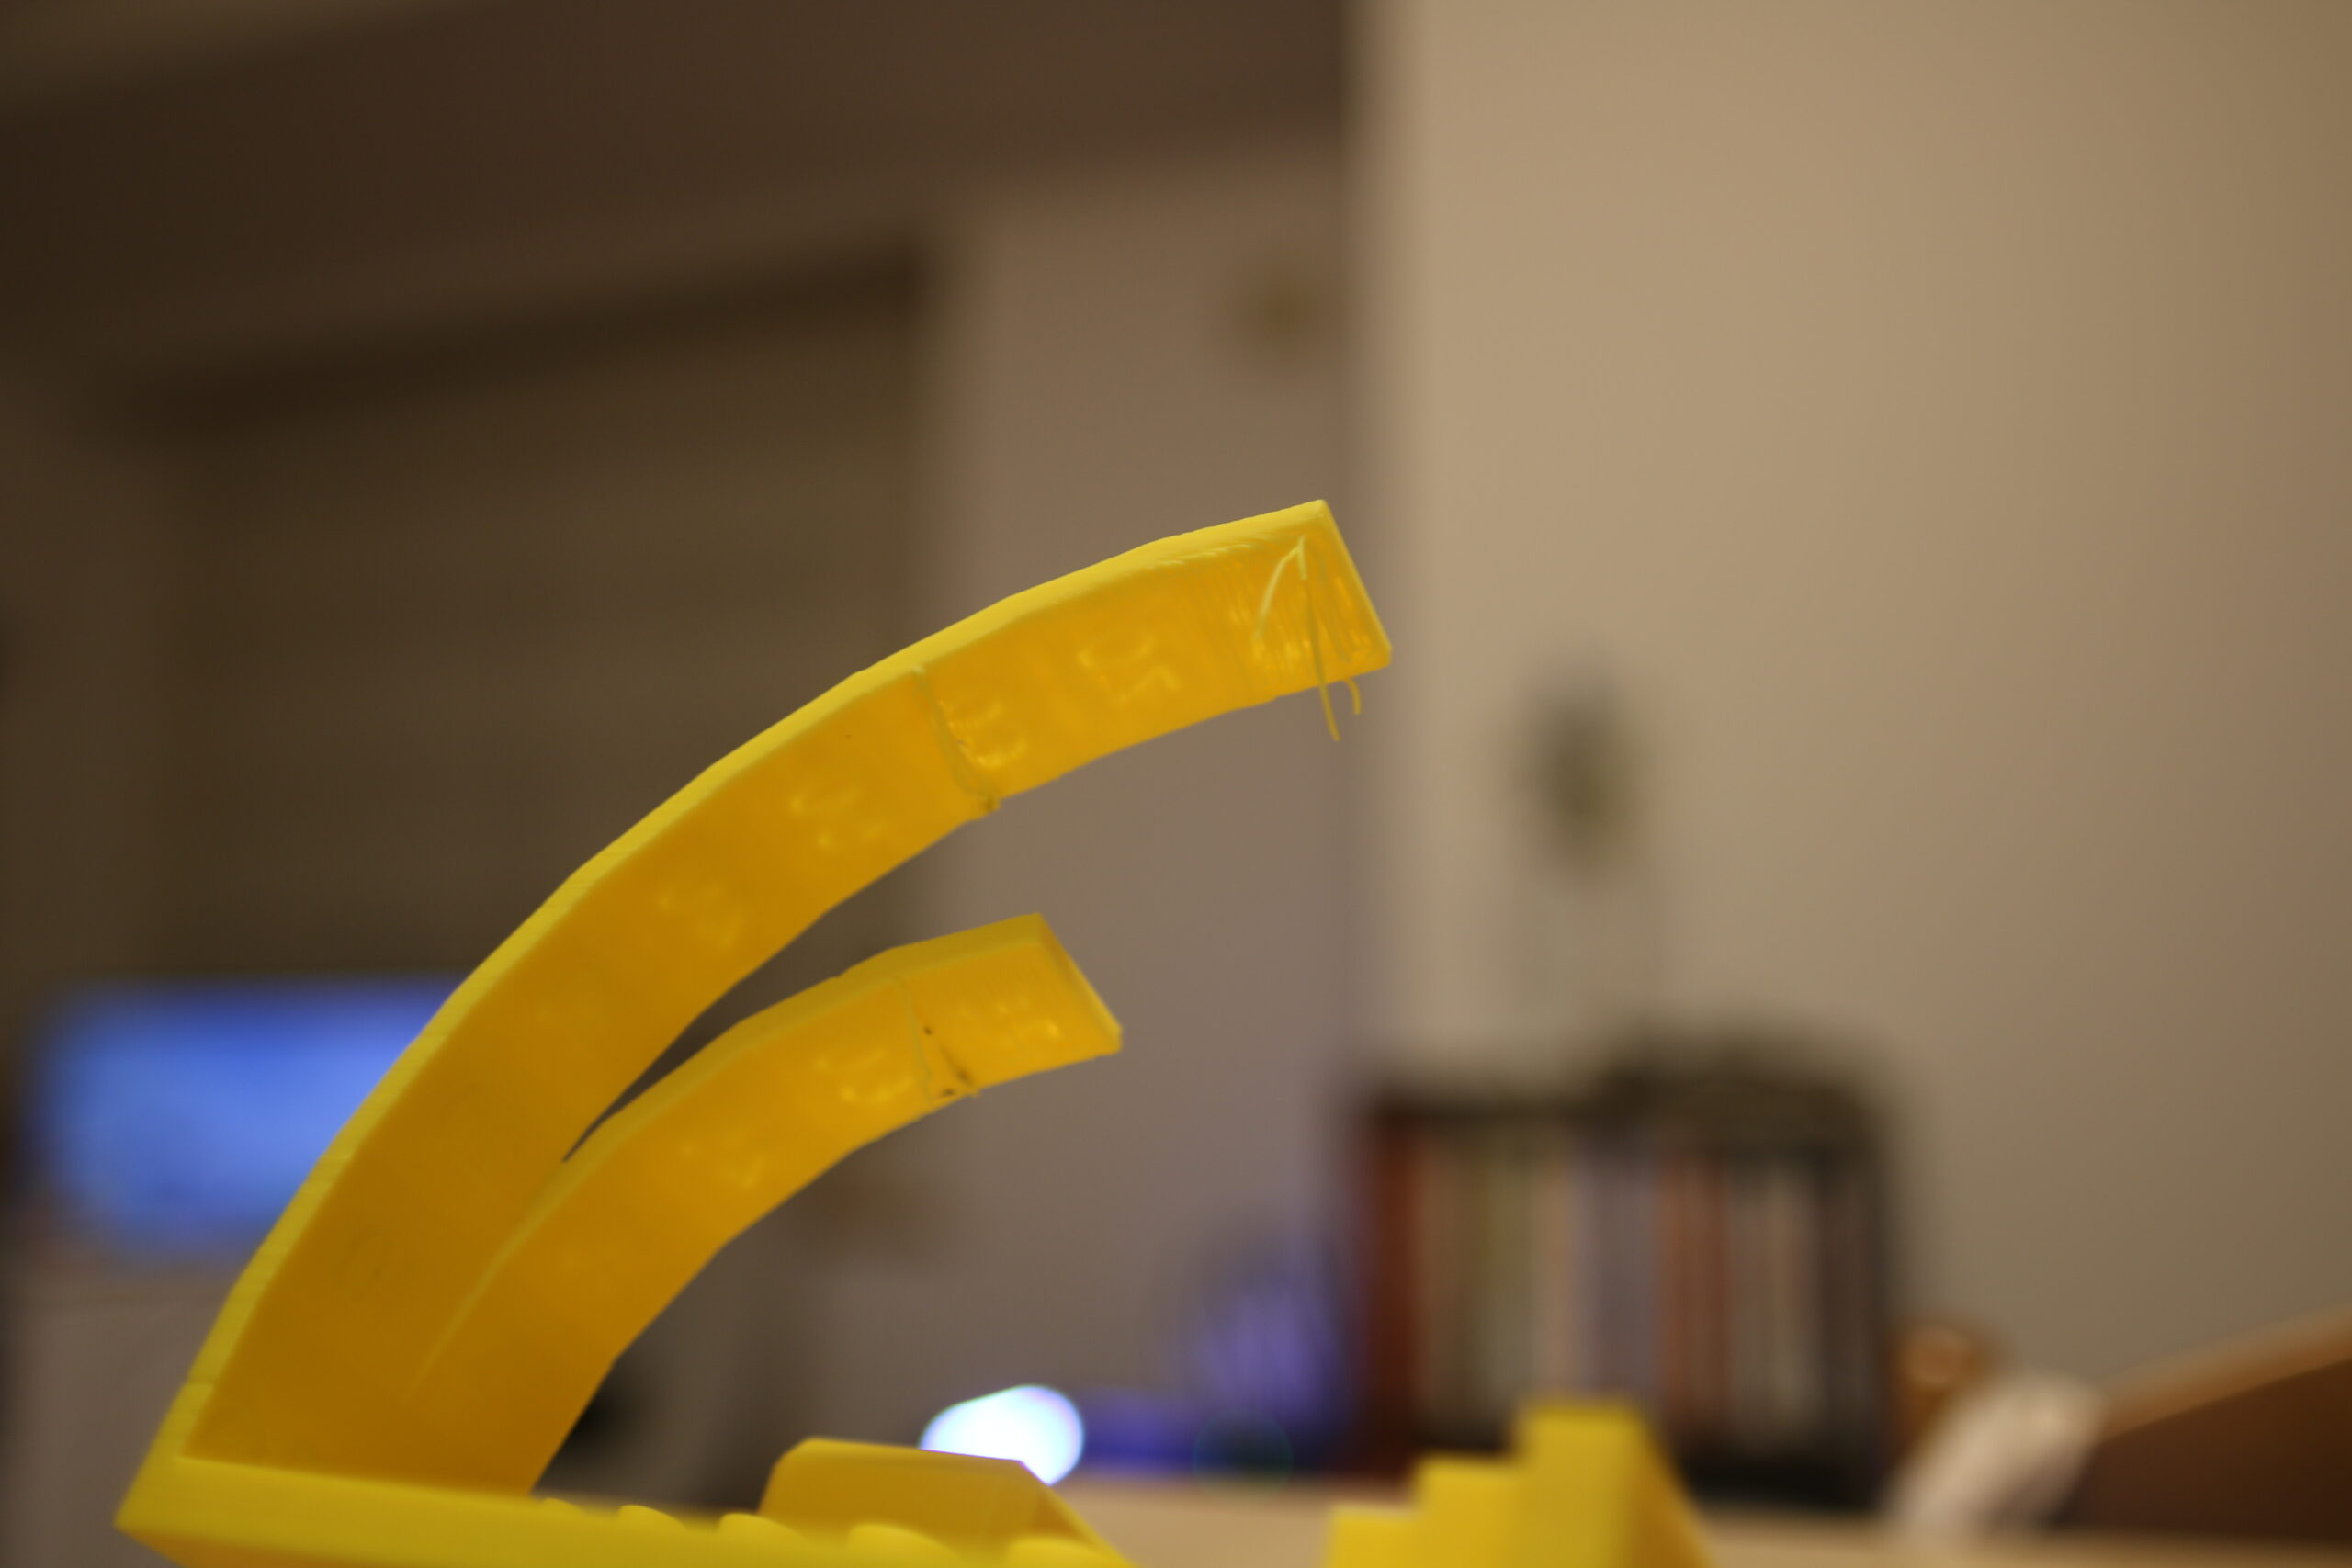
Past that 60 degree mark is where it starts to show its limit. On the overhang arm itself, by the time you get up toward the 80 degree end, it’s sagging noticeably, with a thin string of filament dangling off the tip. That’s not a bridging problem, this is the overhang angle test, not a bridge spanning two points, and steep unsupported overhangs sagging that badly is a normal place for any printer in this class to start failing. It’s just useful to know exactly where that ceiling is.
The test also has a separate flat bridging span, an actual bridge printed across a gap rather than an angled overhang, and that result is a genuine mixed bag. Not disastrous, but not clean either, there’s some visible sag across the span using the default profile. I think a bit of tuning on the bridging settings would get a noticeably better result. But if you’re a total beginner just printing straight off what the i7 ships with, don’t go in expecting perfect bridging out of the box. It’s usable, just not polished.
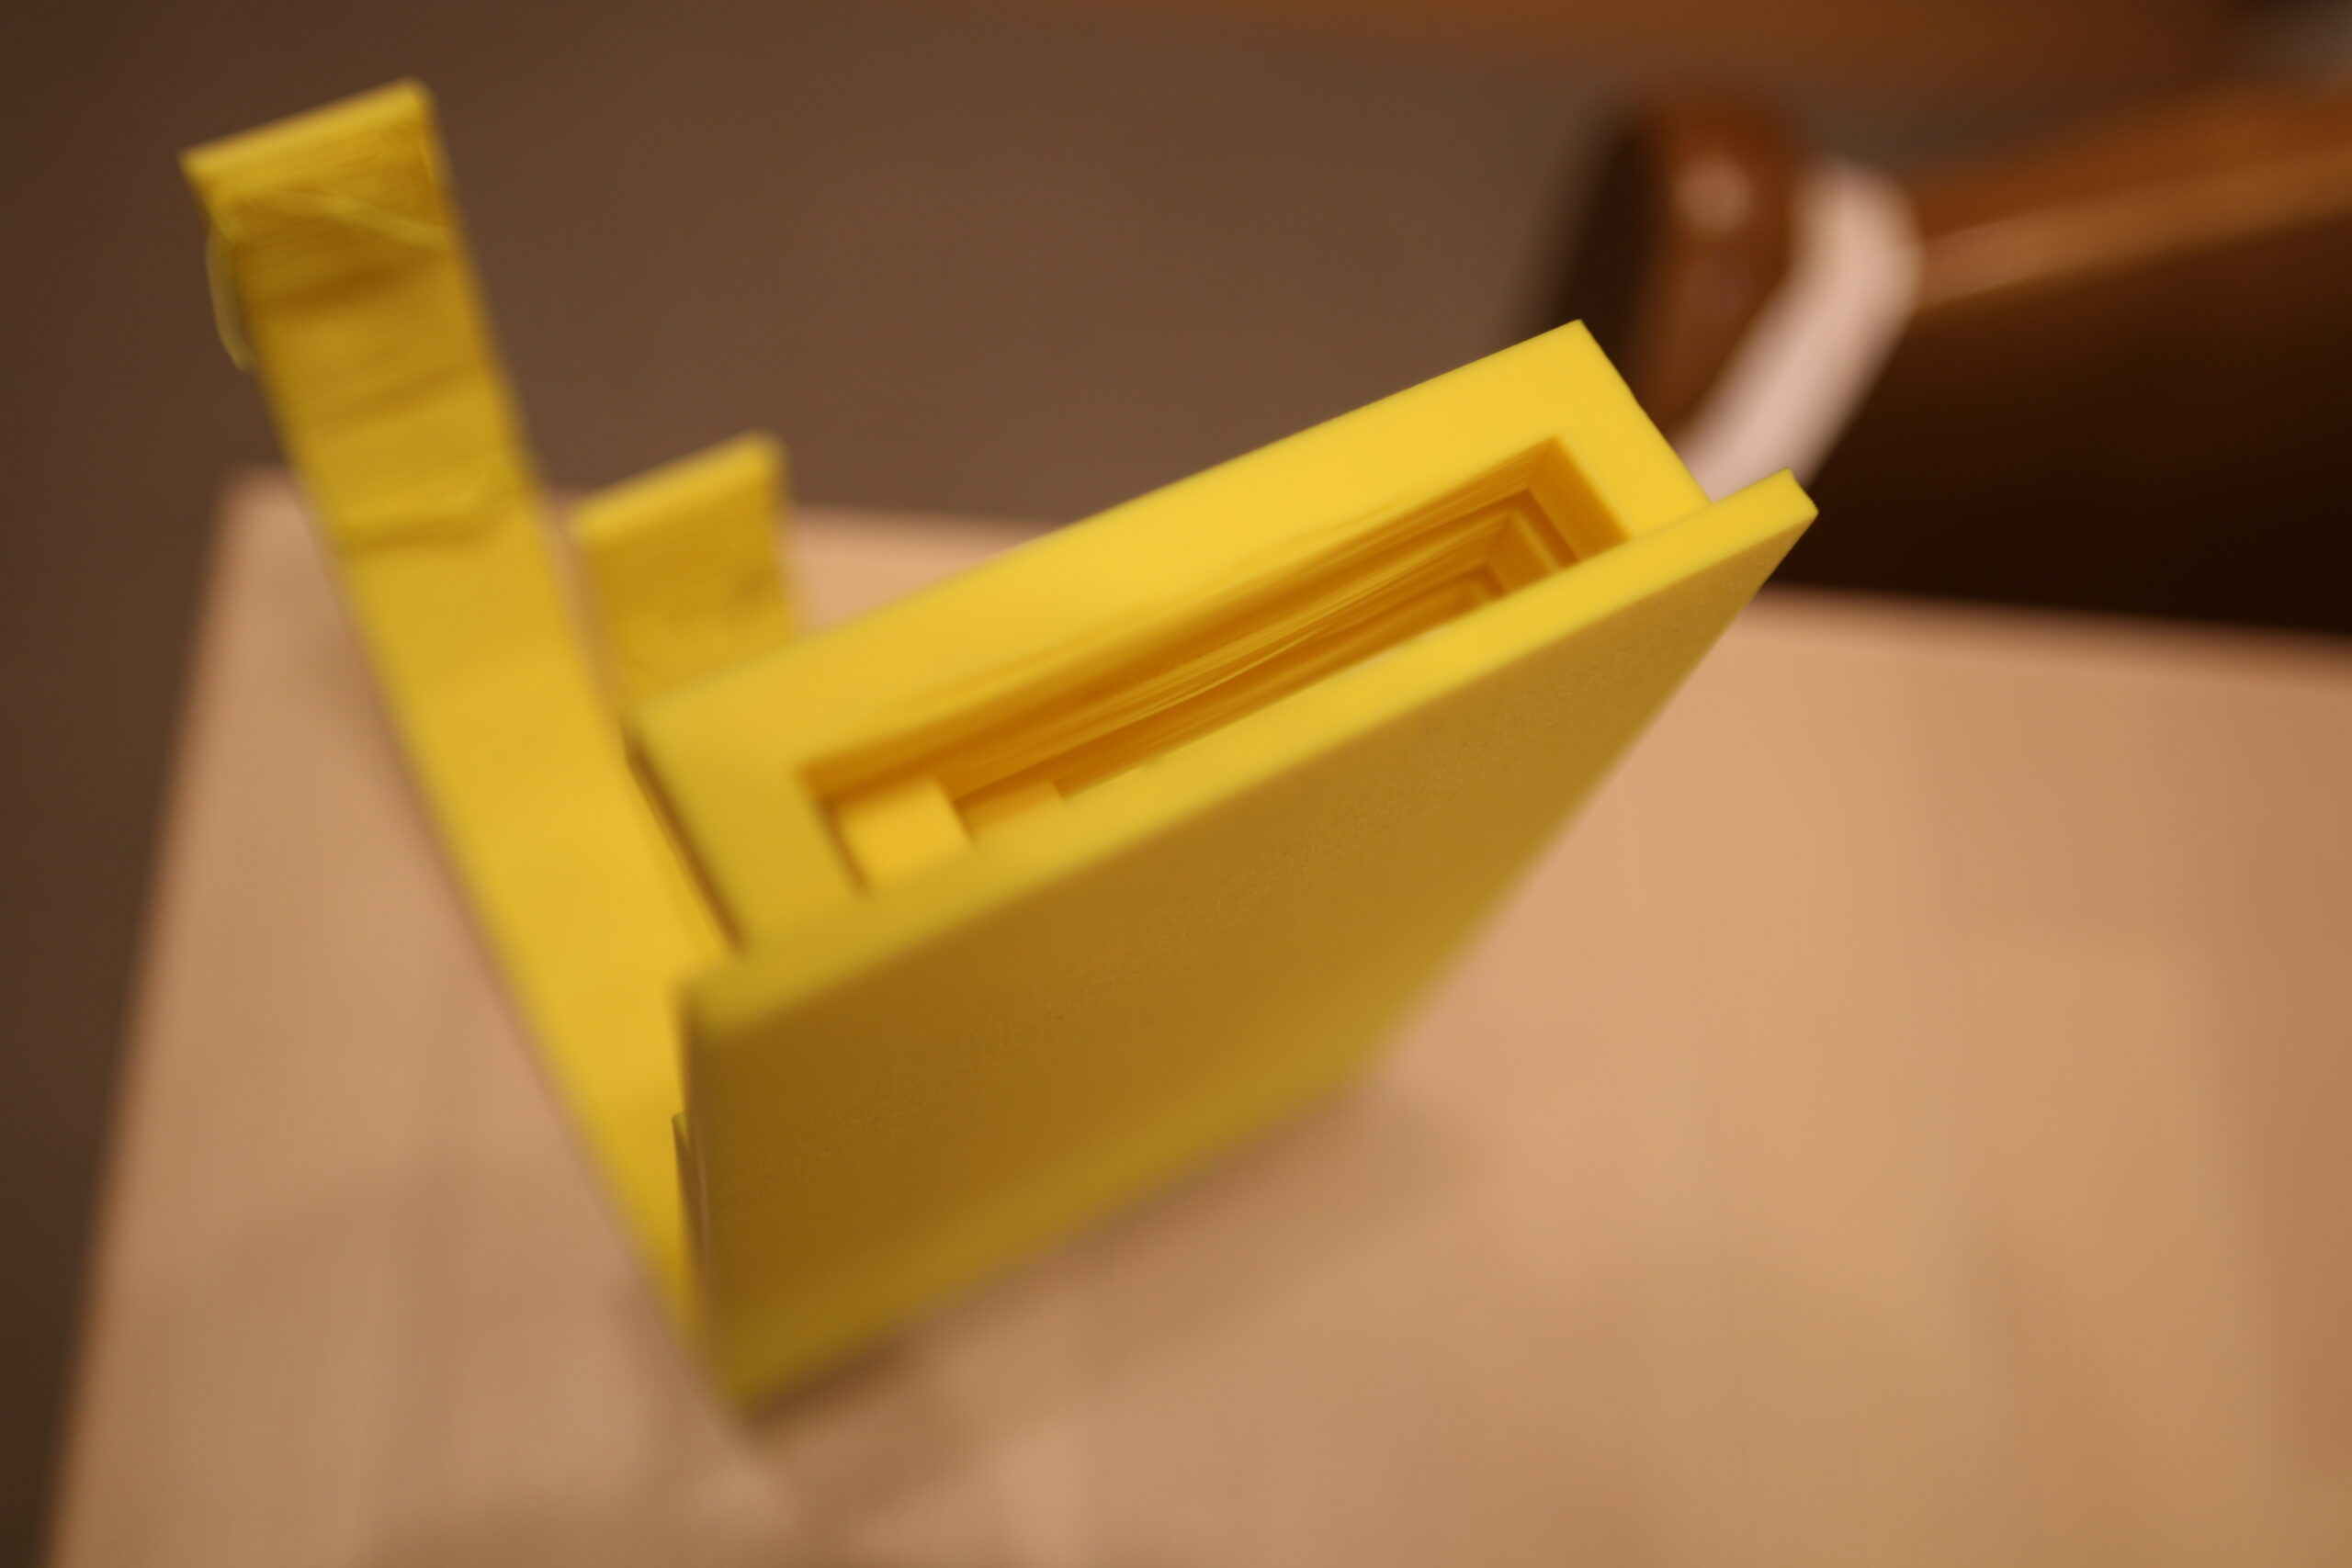
The practical takeaway: if your model has unsupported overhangs steeper than roughly 60 to 70 degrees, don’t expect the i7 to print them clean on its own, plan on adding supports there rather than trusting the default profile to carry it. And if your model leans on bridging, budget a little time to tune those settings yourself rather than assume the defaults have you covered. Everything else about this printer’s mechanical accuracy held up well.
Takeaway: strong overhangs up to around 60 degrees, no stringing, solid dimensional accuracy, clean small text. Bridging is decent but not great out of the box, worth tuning if it matters to you. Past 60 to 70 degrees, unsupported overhangs start to sag, which is the practical angle to design around rather than a flaw specific to this printer.
How loud is it, really?
This is the improvement that impressed me the most, more than any of the marketed features. The SPARKX i7 is one of the quietest printers I’ve ever used. I have it set up in the room next to mine, door wide open, and there have genuinely been times I forgot it was printing at all.
What that means in practice: if you’re working from a small home, sharing a room with your desk, or you just don’t want a 3D printer competing with your Zoom calls, this printer isn’t going to bother you. That’s a real, practical advantage, not a spec sheet number.
I’m not the only one who’s noticed this either. One reviewer who actually owns both machines side by side said the i7 is quieter than his own A1, and quieter than every other printer he owns. He said it plainly enough that he can’t tell if it’s still printing just from the sound anymore, he has to glance at the machine to check.
The easy-release nozzle: Creality actually beat Bambu here
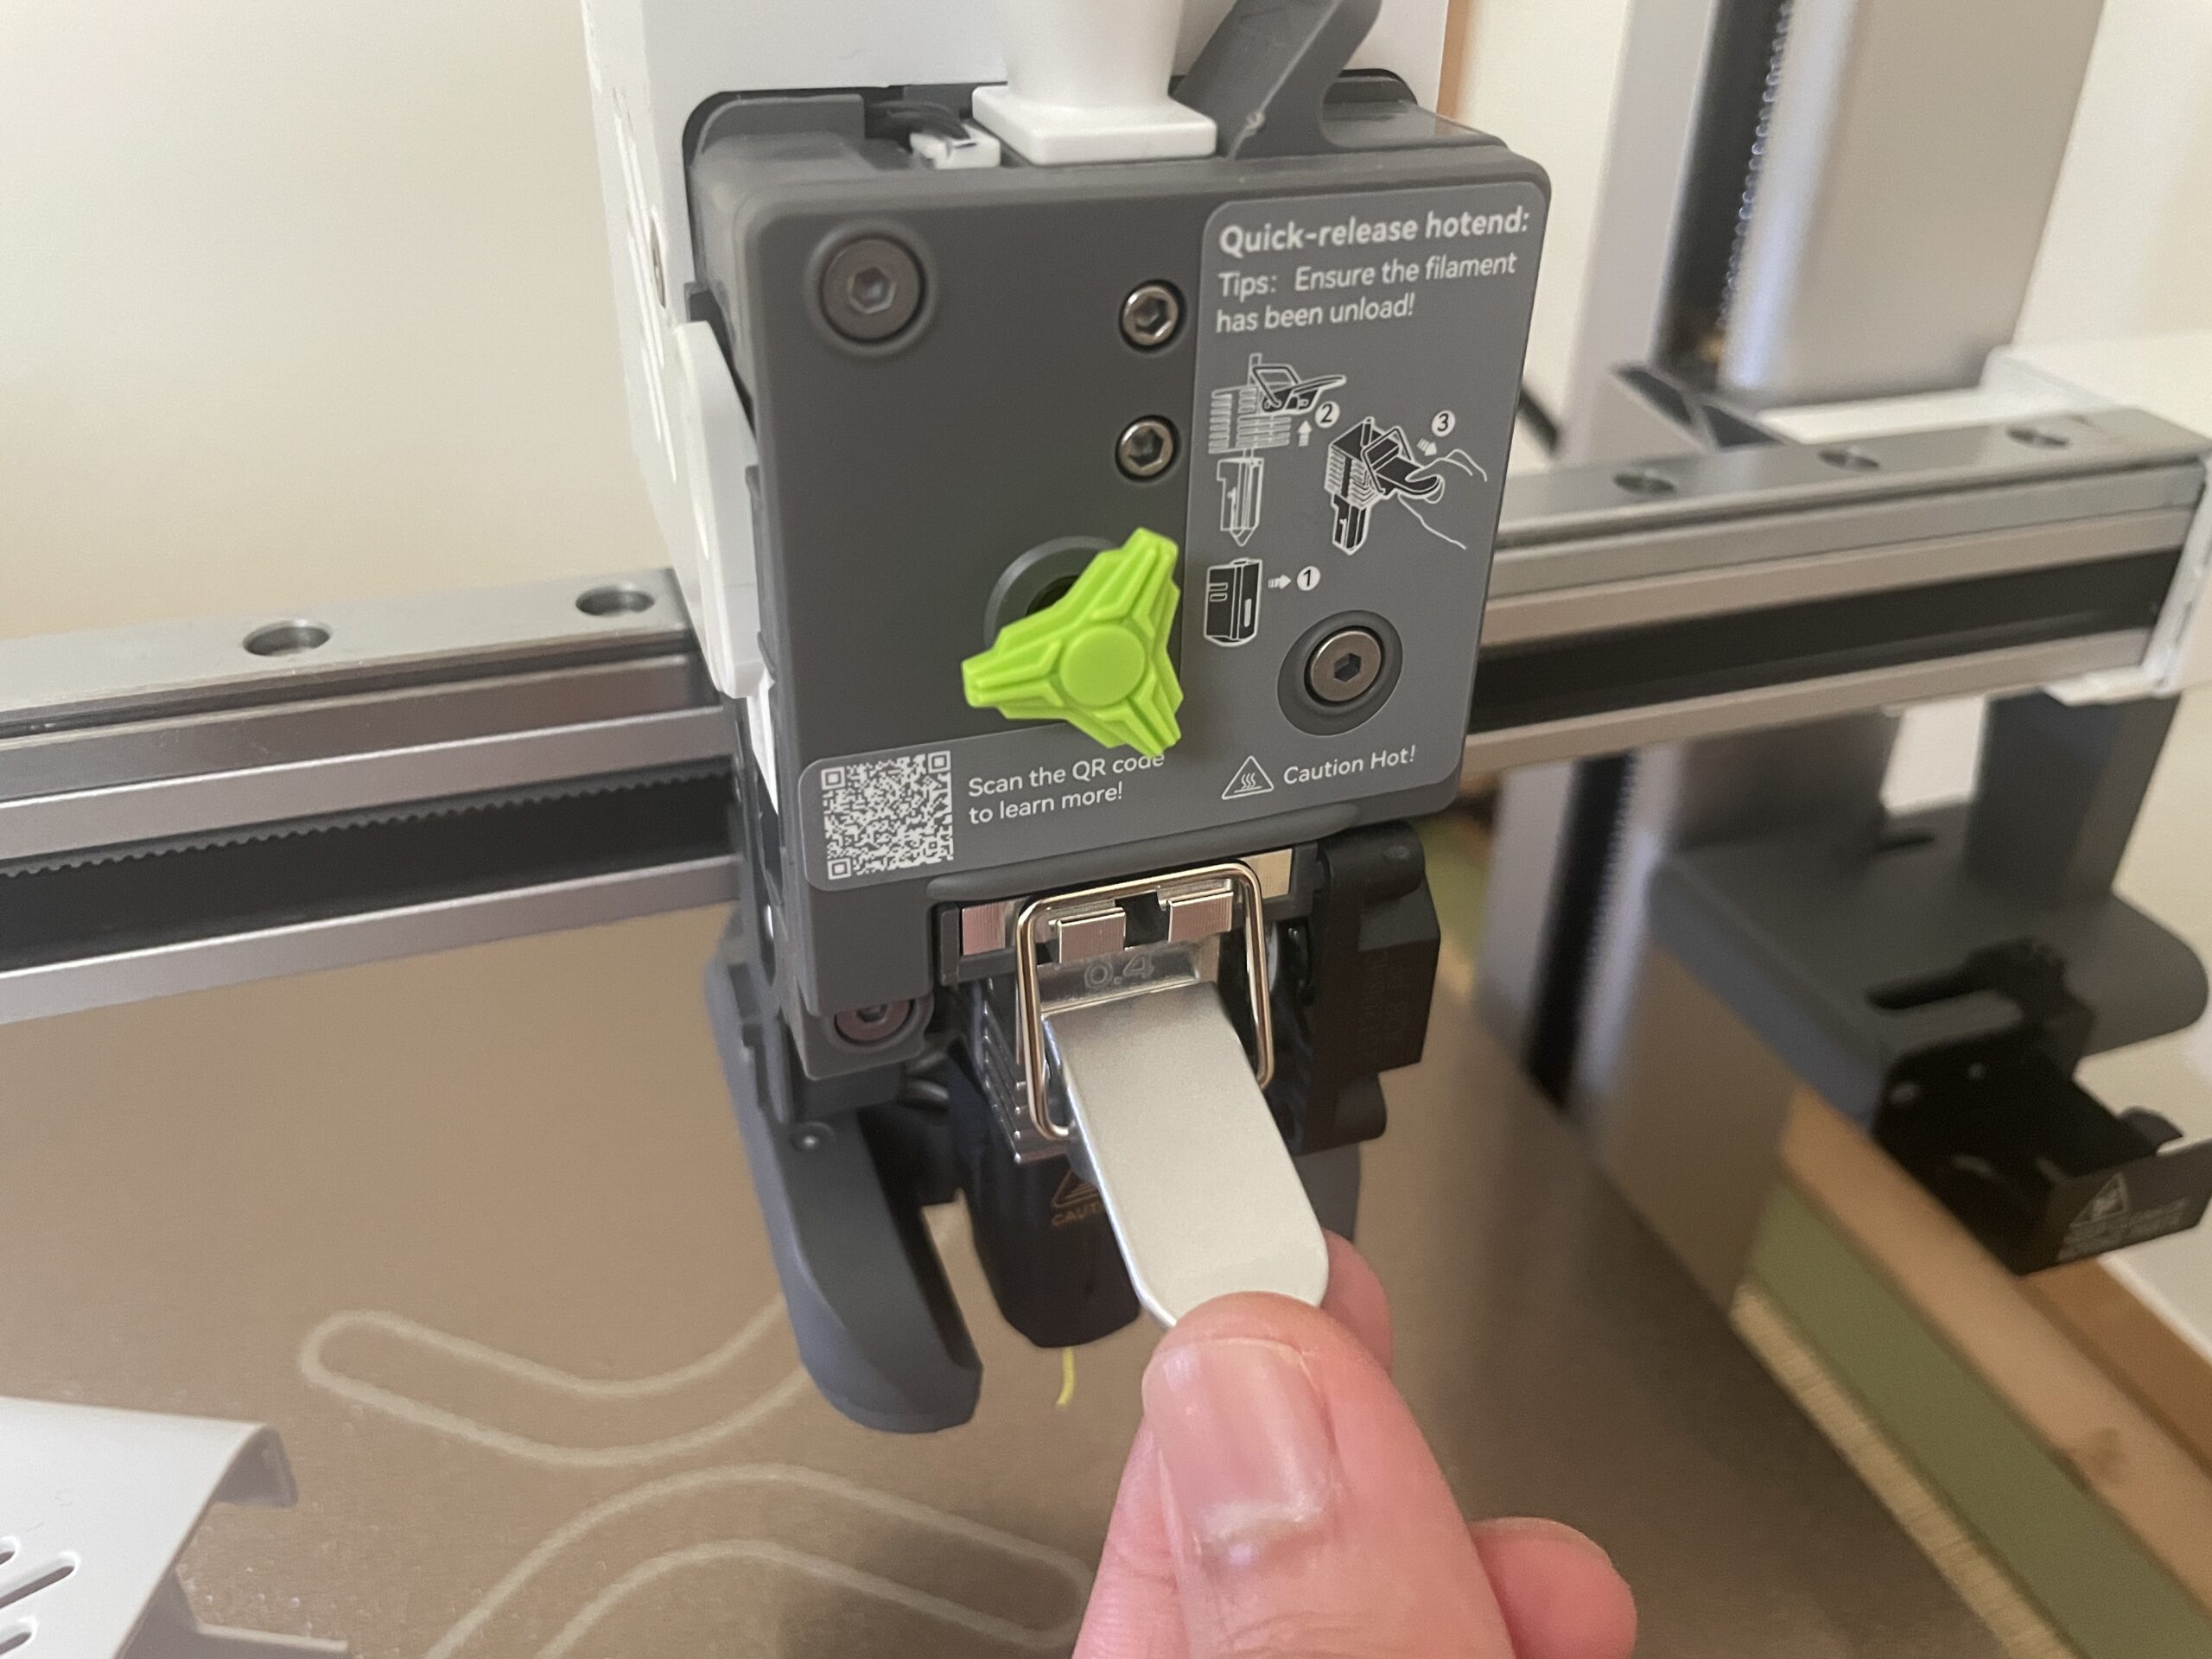
Both the A1 and the i7 use a quick-release hotend design so you’re not fumbling with a full toolhead swap just to change a nozzle. When the A1 came out, I thought its version of this was already convenient enough. Having now used Creality’s take on it, I think they took it a step further. I can swap the nozzle on the i7 literally one-handed. It’s a small thing, but it’s the kind of small thing that tells you a company actually watched people use the competing product and asked “how do we make this even easier.”
Other reviewers who’ve had their hands on both machines back this up too, one described the i7’s latch as feeling noticeably more secure than the A1’s smaller one, and said clearing a clogged extruder on the i7 is as simple as pulling one latch to expose both gears, no disassembly needed. The one design choice that reviewer didn’t love: the 4-in-1 PTFE adapter is built into the extruder assembly itself, so if that part fails, you’re replacing the whole assembly rather than just the adapter. Not expensive, just a bit wasteful.
CFS Lite vs AMS Lite: not just a repaint
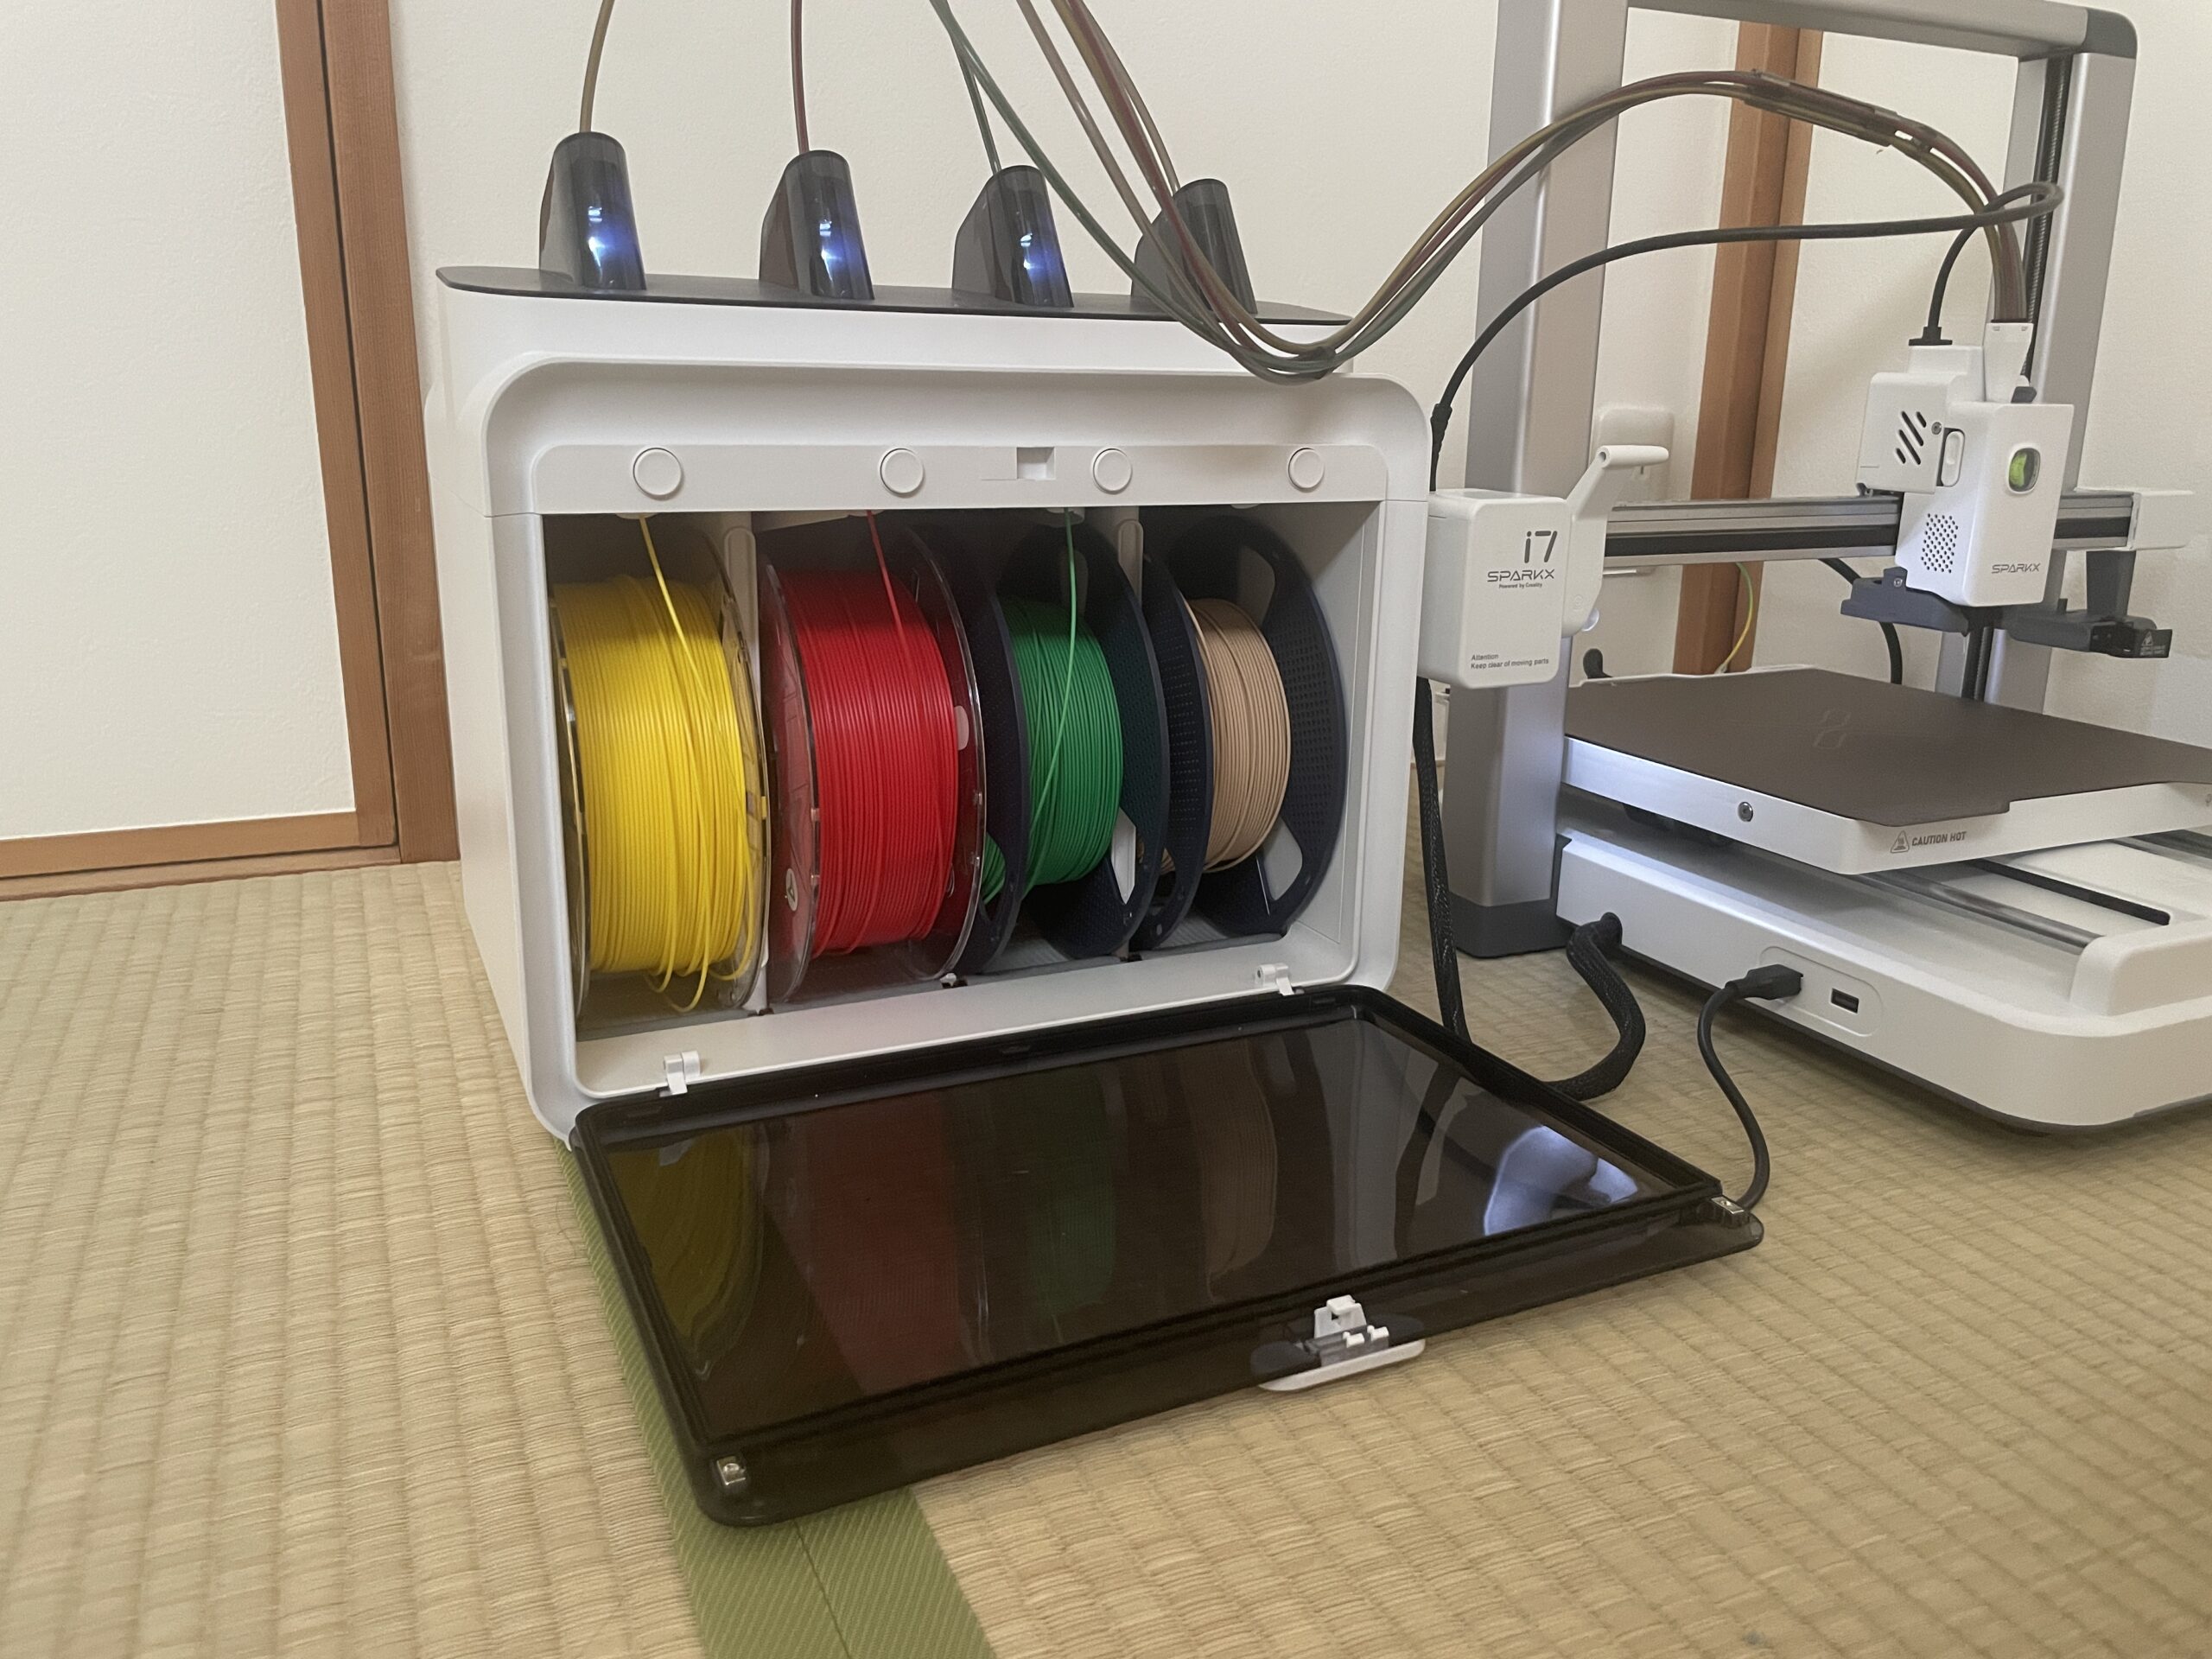
The CFS Lite and the A1’s AMS Lite look like the same idea at a glance, four spools feeding one nozzle, but the way they’re actually built is different enough to matter. Loading filament into the CFS Lite is a one-handed job, you feed a bit of filament in and it pulls the rest through itself. The AMS Lite reportedly needs two hands and some fiddling with buttons around the back, at least in some setups.
The CFS Lite’s filament path also feeds up and out from the top, rather than down and out from the bottom like the original CFS and the AMS Lite. According to one reviewer’s teardown, that’s actually what fixes the classic cardboard-spool jamming problem, gravity pulling the spool down and the motor pulling filament up work against each other instead of one fighting the other. It’s also fully enclosed with a slot for desiccant packets, which lines up with what I already found: better moisture protection than the AMS Lite’s open design.
It’s not a clean win across the board though. Because the CFS Lite’s bottom rollers are passive, with no motor tensioning the spool itself, one reviewer found that after enough retractions the spool can loosen up and spin loose on its holder. It hasn’t caused tangles for him, but he ends up manually re-tightening the spool by hand every so often. Worth knowing if a completely hands-off filament system is what you’re after.
The app and Creality Cloud: closer to Bambu than I expected
I’ve told people for a long time that Bambu has the most mature ecosystem in this price range, full stop. After spending real time in Creality Cloud, I think that’s still true today, but I don’t think it’ll stay true for long. There’s a lot going on in Creality’s ecosystem that genuinely surprised me, enough that it deserves its own separate article rather than a few paragraphs here. One example worth mentioning now: Creality is experimenting with letting you slice models directly from the phone app, called Slice Edit. It’s still in beta and not at a “fully working” level yet, but from what other reviewers have shown, it already exposes real settings from your phone, layer height, first layer height, Z-seam position, supports, infill, brims, not just a one-tap print button. I’m glad to see them building toward it.
There’s also a bigger-picture difference worth knowing about if you’re the type who likes to tinker: the i7 runs on open, Klipper-based firmware with root access, meaning you can slice with Creality Print or OrcaSlicer, monitor through a Fluidd web interface, or use third-party apps entirely. Bambu, by contrast, keeps you inside its own firmware and software. That works well and most people never need more, but if you’re the kind of person who wants full access to your printer’s configuration, the i7 gives you a door Bambu doesn’t.
The one place Creality Cloud is still clearly behind is the model library. I spent a fair amount of time scrolling for interesting things to print and came away with only a handful of models worth downloading. MakerWorld still has a much deeper catalog, and that’s a real factor if browsing and printing other people’s designs is a big part of how you use a 3D printer.
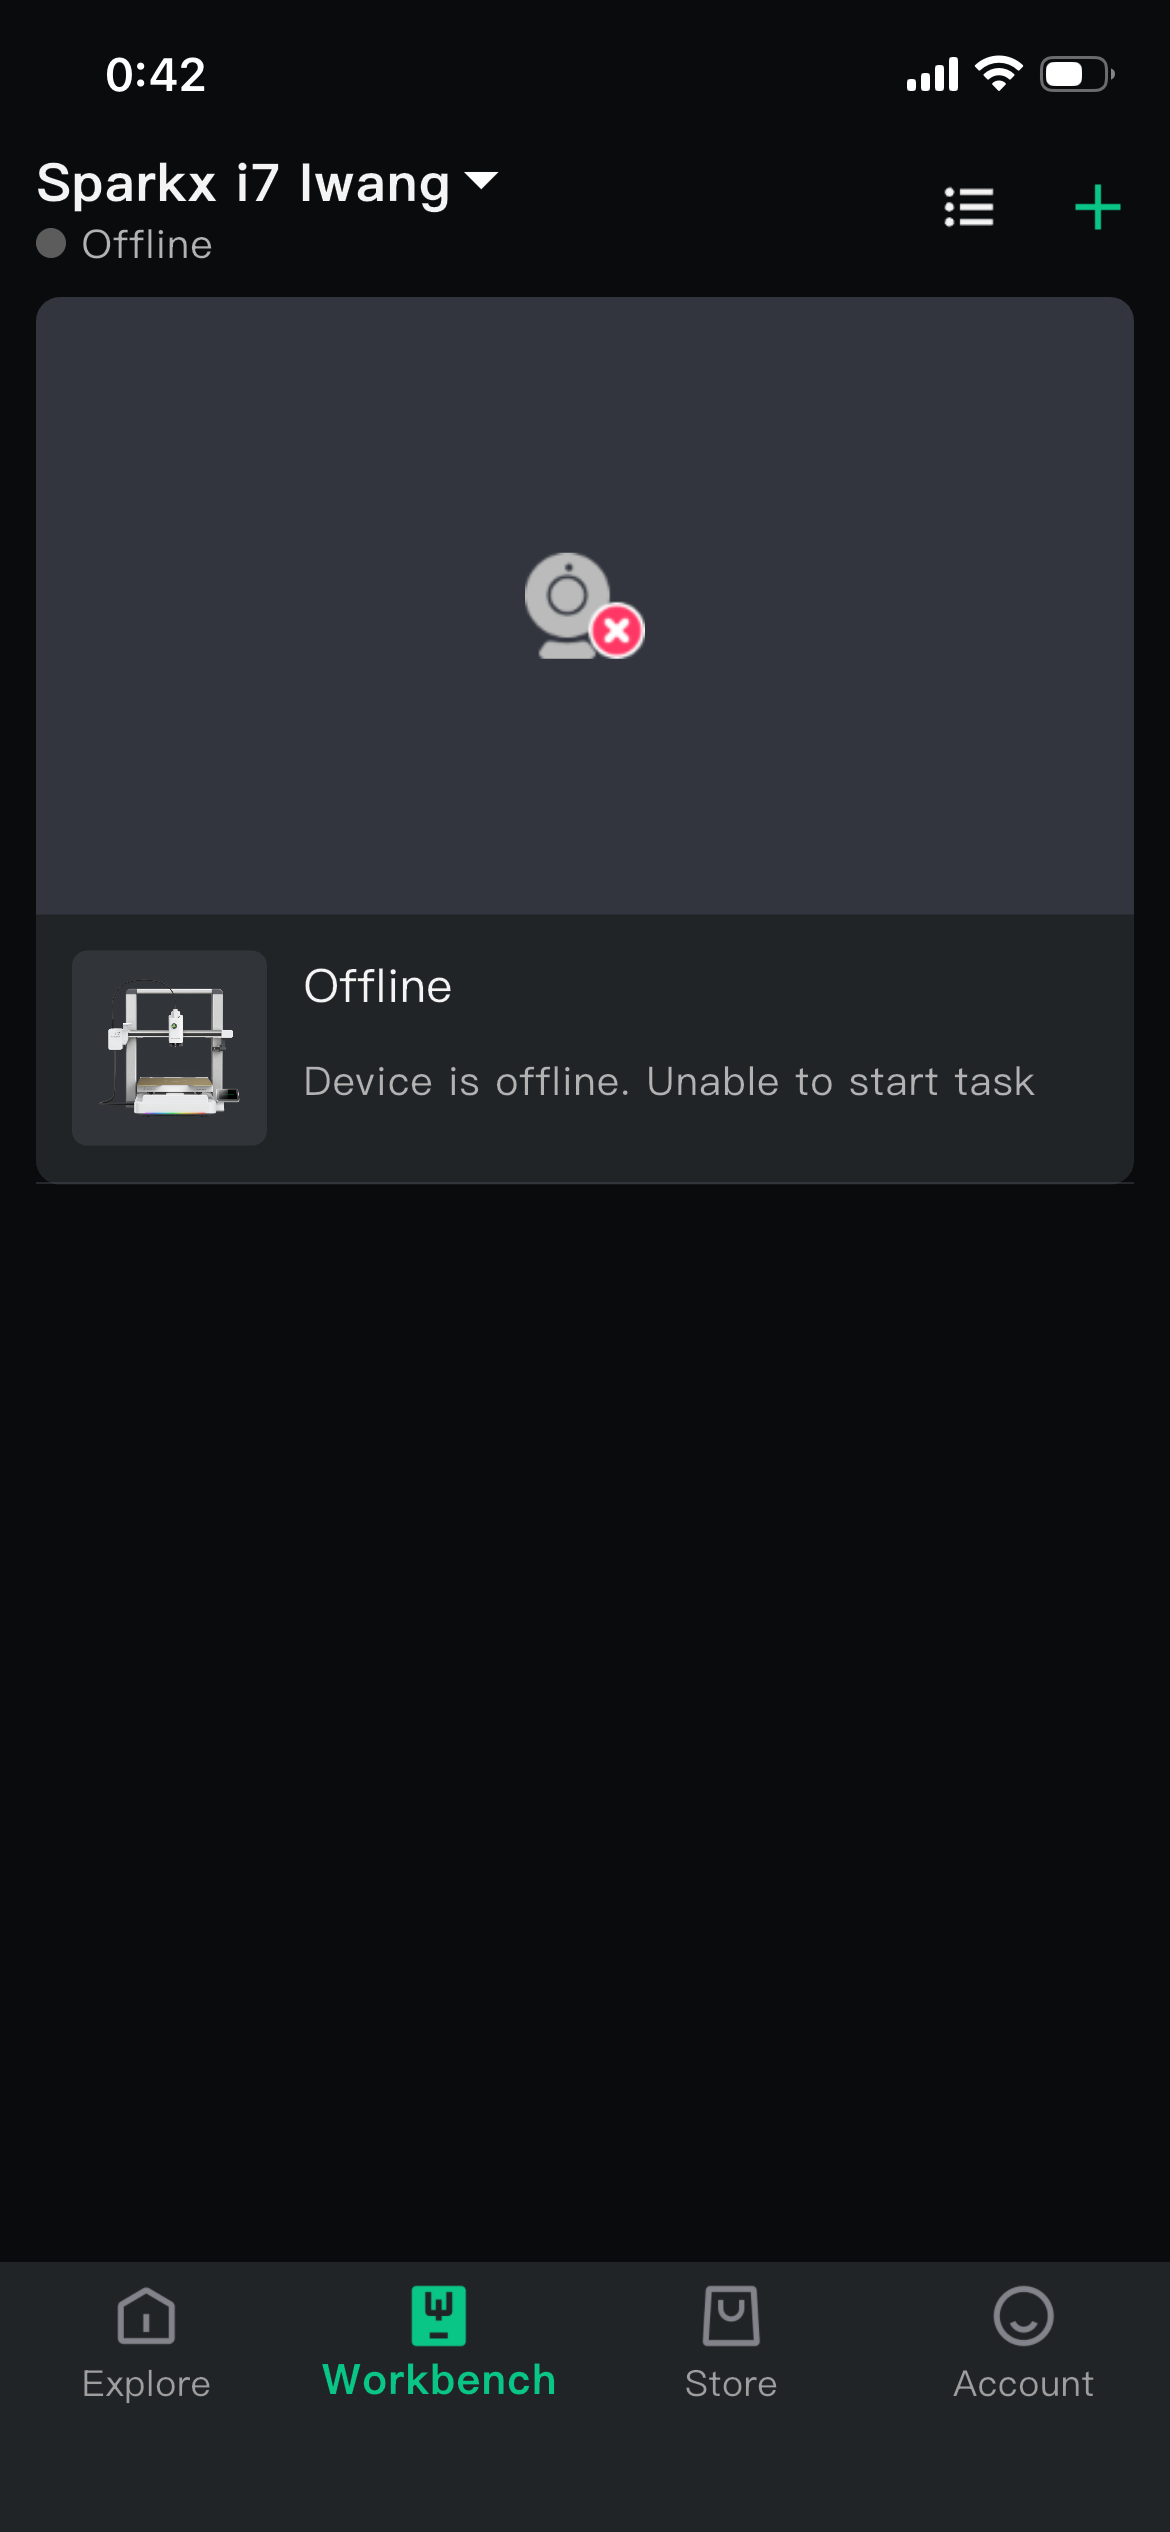
As for the app itself day to day: it’s a level above what most other 3D printer brands offer, but it’s not at Bambu Handy’s level yet. The thing that bothered me the most is a sync problem. Every so often the app either can’t detect the printer on my account, or it shows the printer as offline when it’s actually online and mid-print. Check again a bit later and it’s back to showing connected and printing like nothing happened. It never affected an actual print, but it’s an unstable, mildly annoying experience if you like checking on your printer remotely.
Takeaway: Creality Cloud is a lot better than its reputation suggests, and it’s improving fast. But if a rock-solid app and a huge model library matter more to you than anything else, Bambu still holds that edge for now.
The RGB LED strip: gimmick or useful?
Honestly, it’s something you can live without, and I went in assuming it was pure decoration. But once you have it, you’re thankful it’s there. I can tell how a print is going just by glancing at it from across the room, no need to walk over or check the app. It’s a small convenience that most other printers simply don’t give you.
It’s not just a single color either. It changes depending on what the printer is actually doing, one color while printing, a different one when paused, and it flashes red when something’s gone wrong. That’s exactly the kind of quiet-workspace pairing I mentioned above, the strip is what lets you check on the printer without needing to hear it or walk over to it.
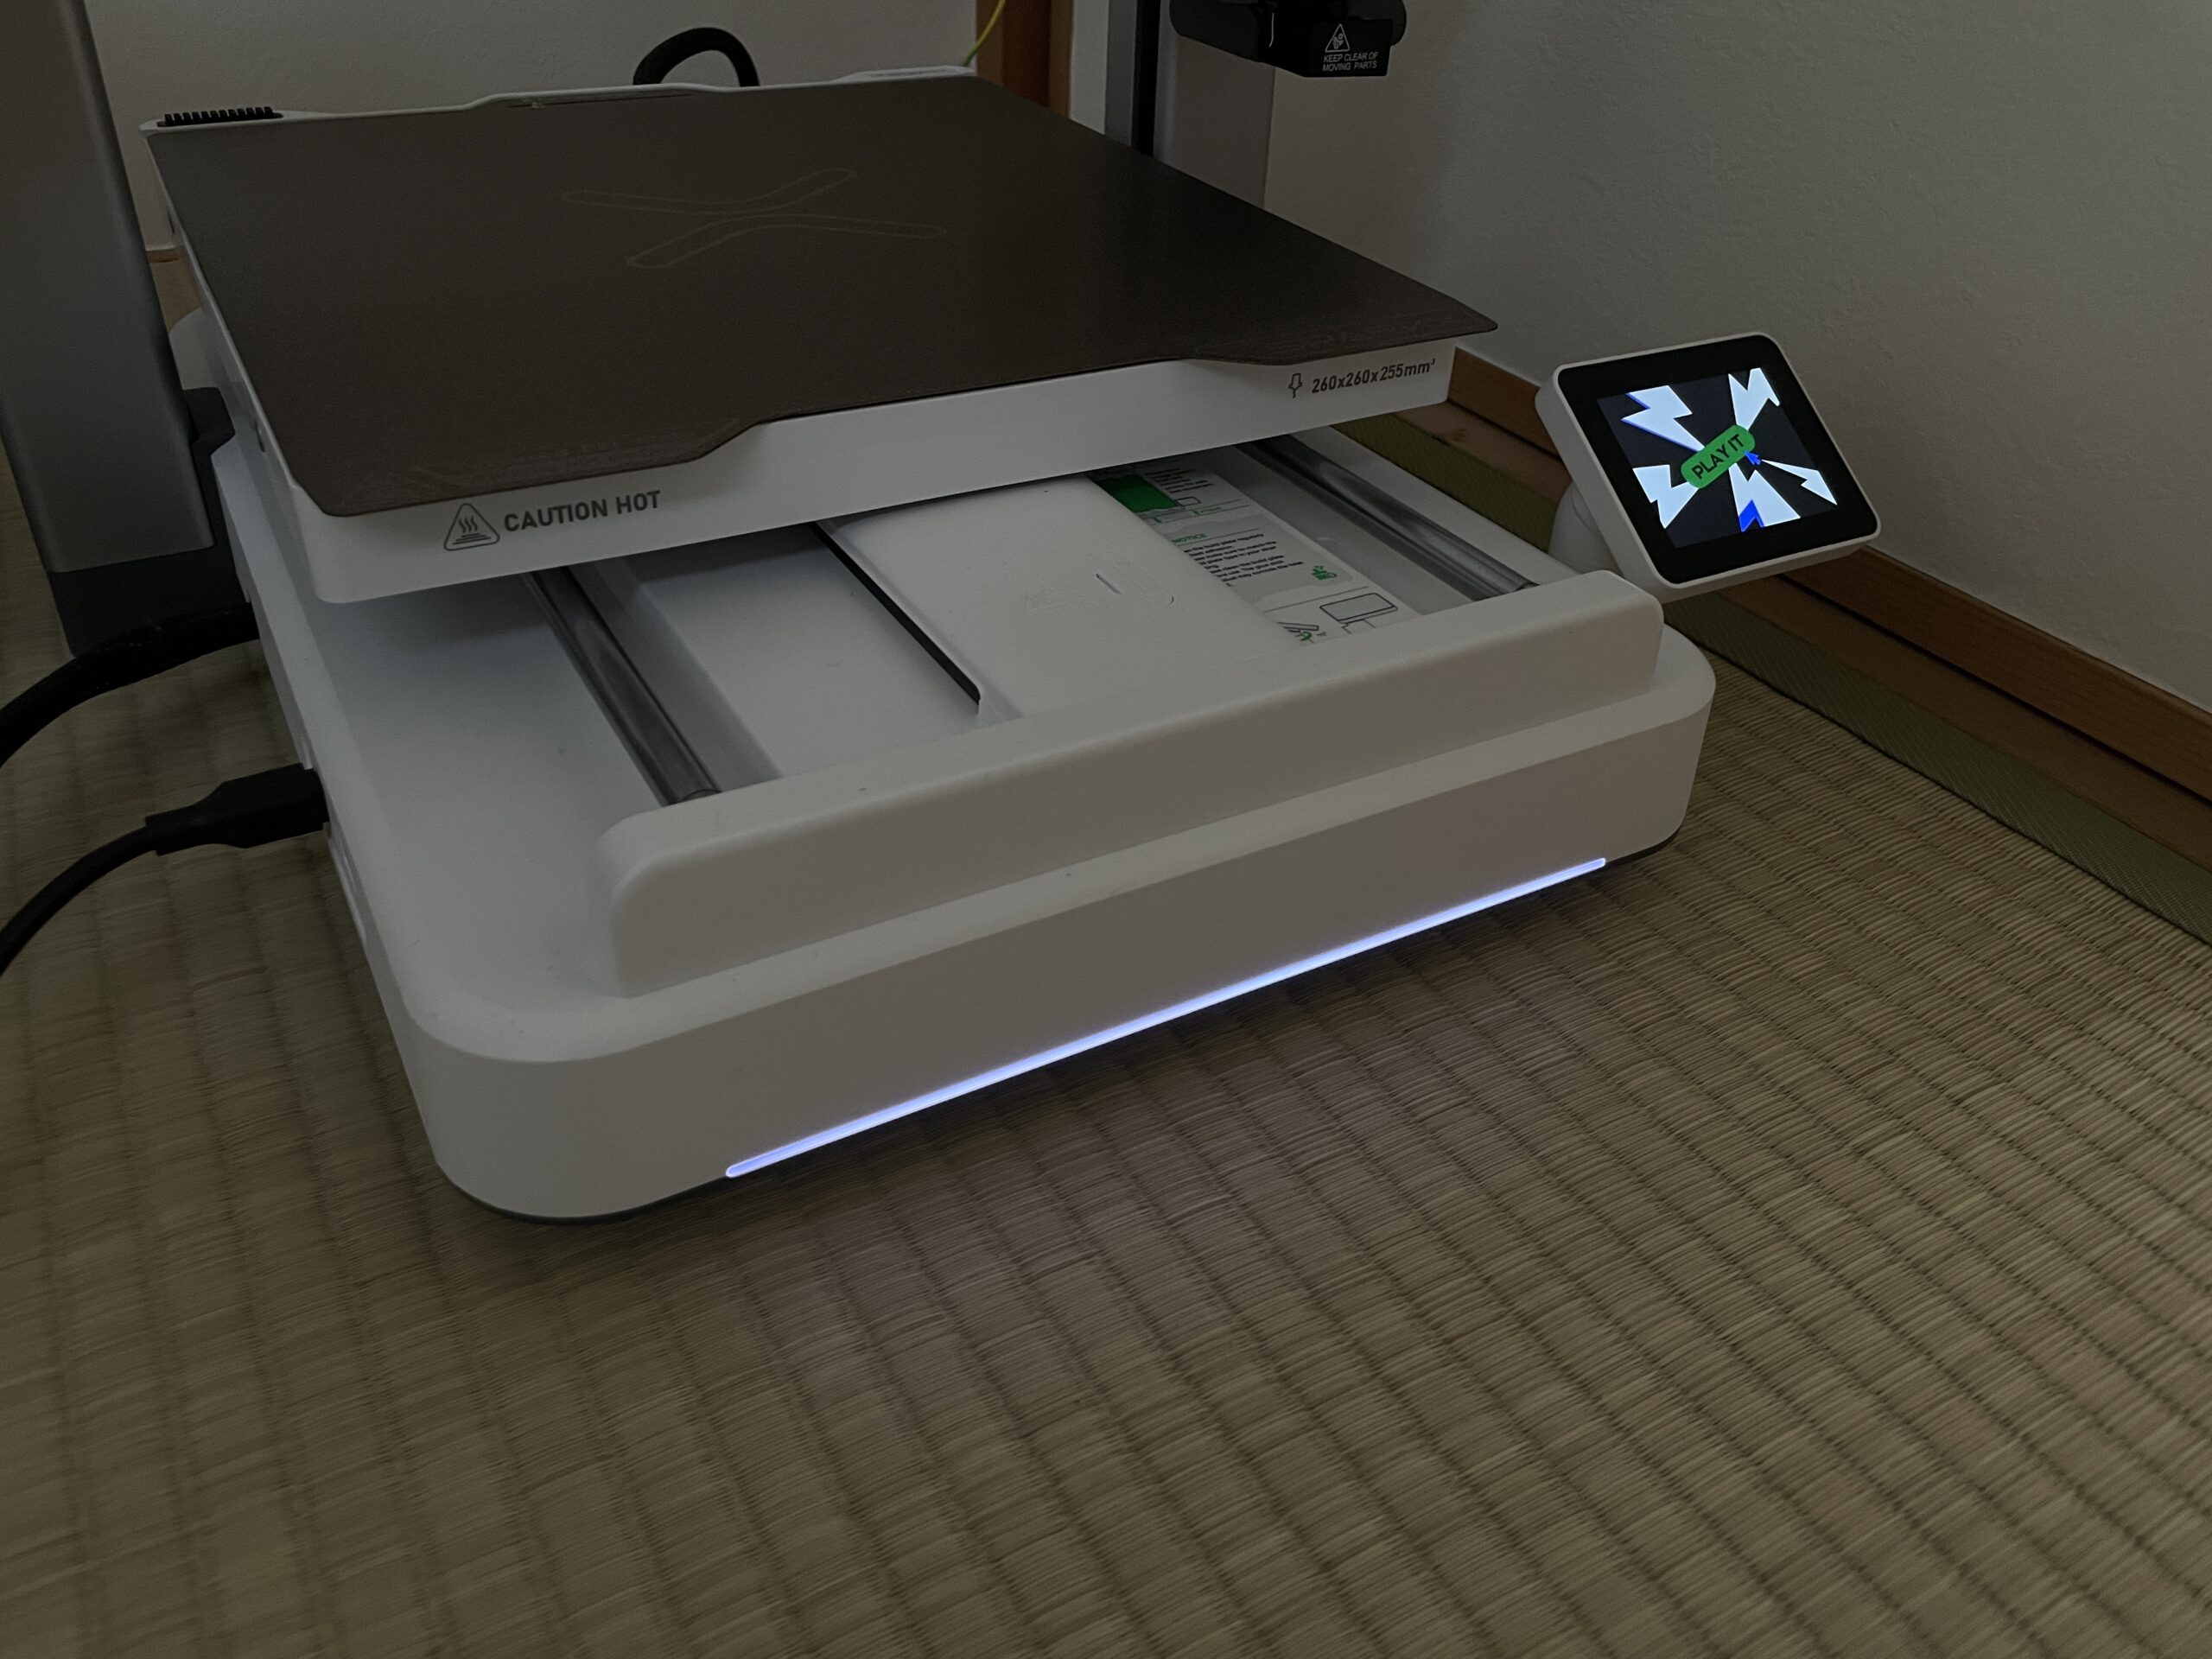
So is it a gimmick? Maybe. But for me, it’s a useful gimmick, and that’s a distinction worth making. It’s not going to sell the printer on its own, but it’s a nice bonus once it’s part of your daily use.
AI photo-to-figurine: fun, not yet useful
Creality’s marketing calls this feature “Cube Me,” take a photo, get a printable chibi-style figurine of yourself, no slicer settings required. This was one of the two things I was most curious about before I even opened the box, so I made a point of actually testing it.
My verdict: it’s a fun feature, but not truly useful yet. The printed result was okay, but it has a few flaws you wouldn’t see on a model someone actually designed by hand. Some areas didn’t print smoothly, and some parts were thin enough that they broke easily.
It’s a fun gimmick, something to try once and show people, but not something I’d reach for every day. That said, I don’t think it should be a dealbreaker either way. It’s a bonus feature, not a core reason to buy or skip this printer.
I’m not alone in that read either. Another reviewer who tested it pointed out that it’s reportedly built on Meshy, the same photo-to-3D-model engine Bambu’s own equivalent feature uses, and landed on almost the exact same verdict I did: went in expecting a gimmick, tested it properly, and still came away calling it a gimmick, just one that actually works as advertised.
SPARKX i7 vs Bambu Lab A1: how they actually compare
Putting the marketing aside, here’s how the two stack up on paper.
| Creality SPARKX i7 Color Combo | Bambu Lab A1 Combo | |
|---|---|---|
| Build volume | 260 × 260 × 255 mm | 256 × 256 × 256 mm |
| Max print speed | Up to 500 mm/s | Up to 500 mm/s |
| Multicolor unit | CFS Lite, 4 colors, desiccant drying, no heated chamber | AMS Lite, 4 colors, user-managed dry storage |
| Auto calibration | Full-auto leveling, build plate detection | Full-auto: bed level, Z-offset, vibration, pressure advance |
| Camera | Built-in, 720p with active AI monitoring (spaghetti detection, air-print detection) | Built-in, but a low-rate timelapse camera; real-time monitoring needs Bambu’s separate paid Live View Camera accessory |
| Chassis | Open frame | Open frame |
| Price (US) | ~$339 to $399 depending on retailer and promos | ~$399 |
| Price (Malaysia) | RM1,999 | RM1,999 |
| Noise | Noticeably quiet, easy to forget it’s running | Quiet too, but of the two, the i7 feels quieter to me based on using both (not a side-by-side test) |
| Nozzle swap | Tool-free, genuinely one-handed | Tool-free, convenient but a step behind the i7 |
| Ecosystem | Younger, improving fast, thinner model library | More mature, larger model library, more established troubleshooting community |
A few things worth knowing that don’t fit neatly in a table. Both machines are functionally tied on build volume and top speed, so neither of those numbers should be what decides this for you. Both cap out at 4 colors and neither supports stacking a second multicolor unit. And on both machines, expect real filament waste every time the tool changes color during a multicolor print, that’s a property of this class of AMS-style system in general, not something either brand solved.
So, is it actually a copycat?
Here’s my honest read after using it for months, not just reading the spec sheet: the resemblance to the Bambu Lab A1 is real, and I’m not going to pretend otherwise just to be diplomatic. The layout, the quick-release hotend concept, the whole “buy the combo, get an AMS-style unit” formula, it’s clearly the same playbook.
But calling it a straight copycat doesn’t match what I actually experienced using the machine. Here’s my personal theory, and I want to be upfront that it’s a theory, not something I’ve dug up documented proof for: Creality had two years after the A1 launched to watch how people actually used it, and I think they spent that time sharpening specific things rather than just copying the shape of it. The nozzle swap being more convenient in my hands, the noise level being lower, those feel like the kind of refinements you only make after watching a competitor’s product live in the real world for a while, not things you’d land on by coincidence.
There’s actually one concrete example backing this up, and I’ll credit where I got it: reviewer YGK3D, who did a detailed teardown comparing the two, pointed out that the i7’s bed cable has proper strain relief built in. That matters because the A1 was hit with a recall over a poorly strain-relieved bed cable that posed a fire risk. That’s not a coincidence, that’s Creality visibly designing around a specific, documented A1 problem.
So no, I don’t think “copycat” is the right word for what I experienced. “A company that took its time and refined the formula” is closer to it, even if I can’t prove that’s literally what happened inside Creality for everything else.
A quality control caveat worth knowing
My own unit has been trouble-free for months, but I don’t want to pretend that means every unit is. Two other reviewers I watched while researching this article both ran into real hardware or firmware issues on their first units, one had a tool head wire catching on the frame that caused repeated layer shifts, another had dead RFID readers and intermittent connection drops to the CFS Lite that paused prints mid-job. Both got working replacement units or fixes from Creality afterward, and both said their functioning units performed well once sorted. I’m not saying this to scare you off, early units on any newer platform can have rougher edges, but it’s fair to know going in that a few people have had to go through a support exchange to get a properly working machine.
Who should actually buy which
I’m not going to crown a winner here, because the honest answer depends on what you actually care about.
Get the Bambu Lab A1 if the app experience and model library matter most to you. Bambu Handy is still more reliable than Creality Cloud’s app right now, and MakerWorld still has a much deeper catalog of models to print. If you want the most proven, most documented beginner pick, this is still it.
Get the SPARKX i7 if you care about a quiet workspace, a better built-in camera without paying extra, or the small everyday conveniences, the one-handed nozzle swap, the LED status strip you’ll end up appreciating more than you expect. It’s also the newer platform, actively catching up on the software side, and it’s worth watching closely over the next year or two.
There’s also a longer-term way to look at this trade-off. The A1 has two years of real-world track record behind it, its quirks are documented, its fixes are already crowdsourced, and that community feedback loop is worth something if you want the safety net of “someone’s already solved this problem before you hit it.” The i7 doesn’t have that history yet, but it’s also the more modern platform, and that usually means it takes longer before it starts feeling dated. Neither side of that is a wrong answer, you’re really choosing between a proven track record and a longer runway.
The honest answer to the headline question: if Bambu’s ecosystem and model library are what you lean on most, stick with the A1. If you want essentially the same beginner-friendly formula, quieter, with a genuinely better nozzle swap and a more capable monitoring camera built in, and you’re fine being on a platform that’s still catching up on software, the SPARKX i7 deserves a real spot on your shortlist.
One last note before I wrap up. Everything above is based on my own months of actually using this printer. But I also went through two other detailed YouTube reviews of the i7 and A1 while writing this, just to check I wasn’t missing anything obvious:
Where their testing matched or added detail to what I found myself, I’ve credited them directly above. Where their findings actively disagreed with each other, particularly around exact multicolor waste numbers, I left that out rather than repeat a claim I haven’t verified myself.
Don’t miss the latest articles and guides
Get new Domechy articles, guides and free models straight to your inbox.

Wanna share your thoughts or request anything? Comment below.