
TL;DR
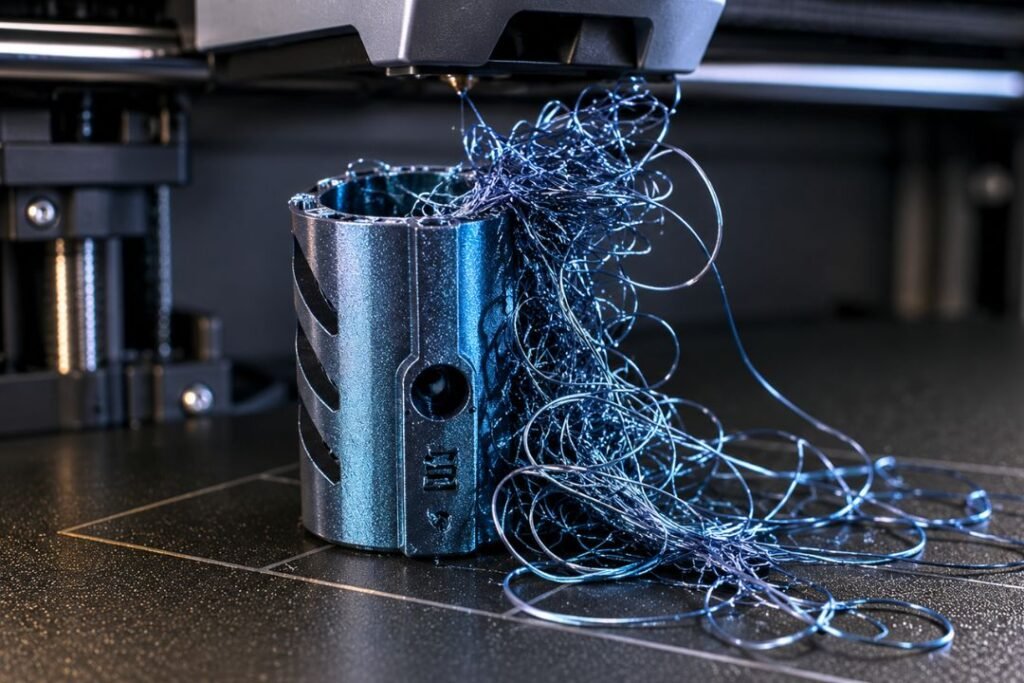
Problem: A tall model repeatedly failed at the same height and turned into spaghetti.
Root Cause: The model detached from the build plate during printing. Once it shifted, the printer continued extruding where it expected the model to be, into empty air.
How It Was Diagnosed: A timelapse recording showed the model moving before the spaghetti appeared. The spaghetti was a symptom, not the cause.
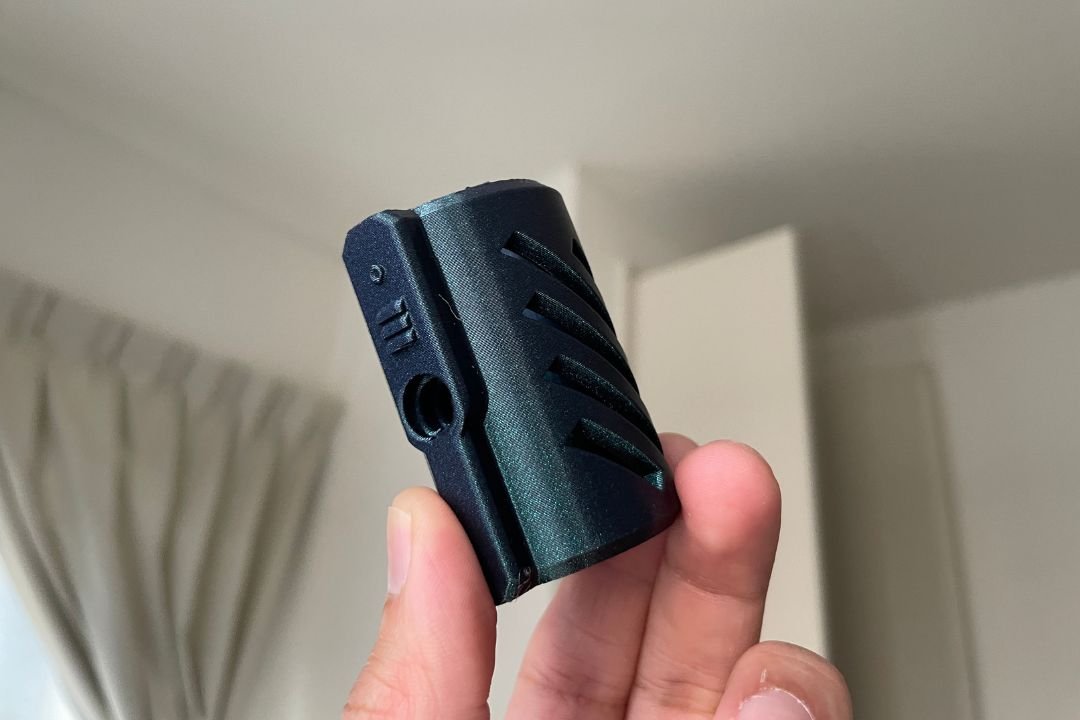
Why It Happened: The model had a small footprint relative to its height, making it more susceptible to losing adhesion as the print grew taller.
Why the First Brim Didn’t Work: The brim increased the contact area slightly, but not enough to hold a tall, narrow print in place.
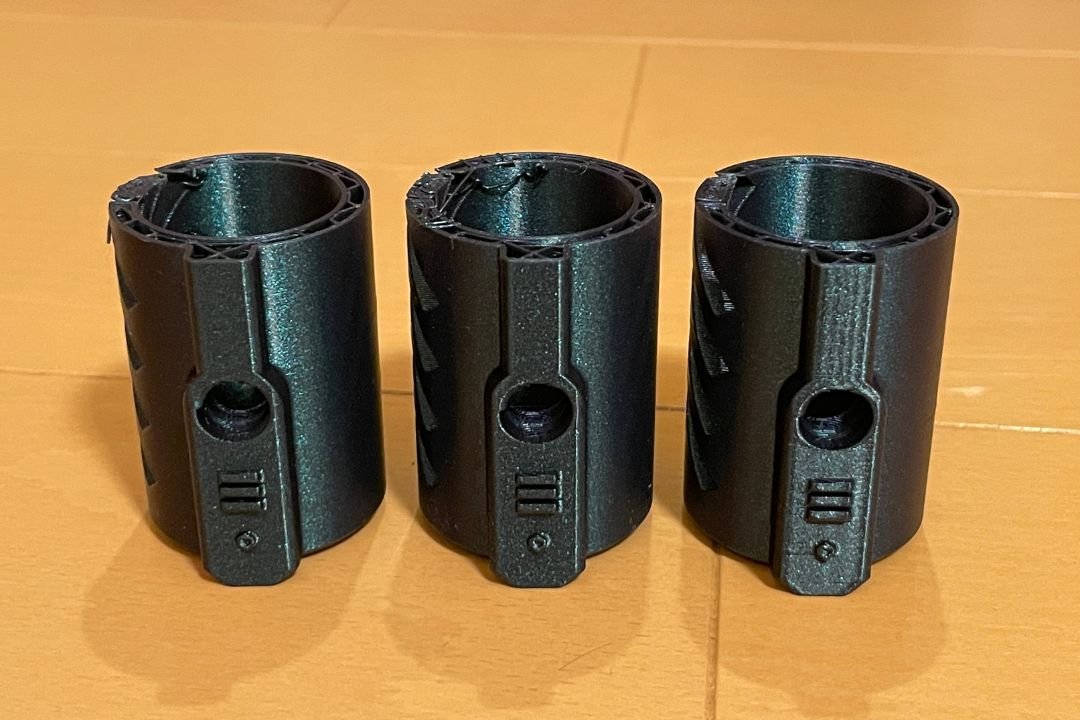
Solution: A significantly larger brim combined with a BIQU CryoGrip build plate. The print completed successfully with no movement.
Key Lesson: If a print repeatedly fails at the same height, don’t start by looking at the spaghetti. Find out what happened immediately before it appeared.
—
The other day, I was printing several parts on the same build plate. It was a long print so I left it running and came back later. Most of it was done. Every part came out fine except one, which had failed near the top and turned into a pile of spaghetti.
I didn’t think much about it at first. Failed prints happen, and since the other parts on the same plate printed fine, I assumed it was just a random failure.
I reprinted it. Failed again, at almost exactly the same height. That got my attention because random failures don’t repeat at the same spot. I looked at the model and noticed the contact area at the base was quite small relative to how tall the part was. Basically the whole thing was standing on a narrow circular base. That’s not ideal for tall prints because as the model gets taller, even small forces from the nozzle or vibration create more leverage at the base.
Bed adhesion seemed like the likely cause, so I added a brim and also enabled timelapse recording before the next attempt. If it failed again, I wanted to see what actually happened instead of guessing.
It failed again, at the same height.
Timelapse Helped Me See the Reason
This time I had footage of the full print. When people see spaghetti failure, the instinct is to look at the spaghetti. The timelapse forced me to look earlier.
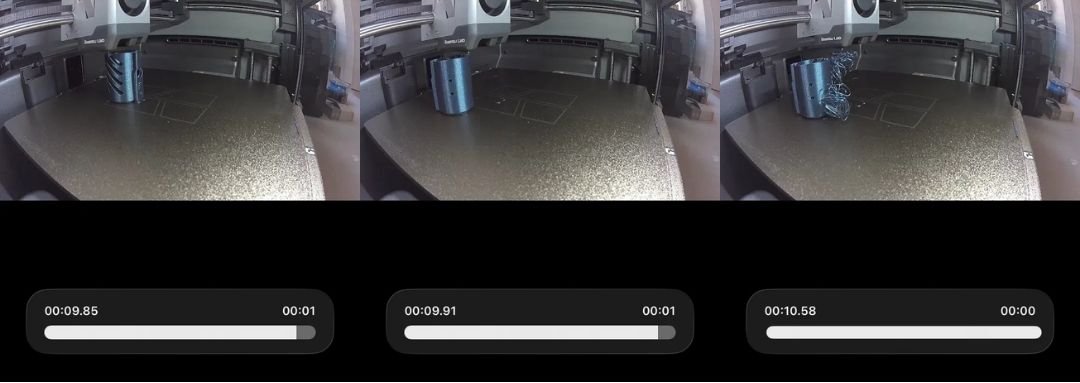
At 00:09.85 the model is still in its original position. By 00:09.91 it has already shifted. By 00:10.58 spaghetti has started forming. The printer had no way of knowing the model moved, so it kept extruding along the original toolpath into empty space.
The spaghetti wasn’t the root cause. It was just what happened after the real problem had already occurred.
Why Did It Keep Failing at the Same Height?
As the print grew taller, each nozzle movement applied more leverage at the base. At some point the build plate could no longer hold the model in place and it shifted.
Nozzle contact is another possibility. Slight layer curling can cause the nozzle to repeatedly knock the print during travel moves, gradually weakening adhesion until the model breaks loose.
Some people suggested trying Z-hop or a glue stick first before switching build plates. Fair suggestions. But the only thing I had actually confirmed was that the model detached from the build plate. I had no evidence of nozzle collision, so I focused on what I could confirm.
Why the First Brim Didn’t Work
Adding a brim doesn’t automatically fix an adhesion problem. It depends on how much extra holding force it provides relative to the forces acting on the print.
The first brim increased the contact area a bit, but not enough. The model was still tall and narrow, and the adhesion gained from the brim wasn’t sufficient to stop it from shifting at that height.
The Solution That Finally Worked
For the next attempt I focused entirely on maximising bed adhesion. I increased the brim size significantly and switched to a BIQU CryoGrip build plate. CryoGrip provides noticeably stronger grip compared to a standard textured PEI plate, so it was the most direct way to test whether adhesion was the issue.
The print completed without any movement. No spaghetti, no detachment.
What I Learned
The most useful tool in this whole process wasn’t a slicer setting or a print profile. It was the timelapse. Without it I would have spent a lot longer experimenting with the wrong things.
If you get spaghetti failure that repeats at the same height, don’t start by focusing on the spaghetti. Try to find out what happened right before it appeared. The answer is usually already there.
Looking to buy a 3D printer in Malaysia?
We’ve put together a curated list of 3D printing shops, filament suppliers, and service providers across Malaysia.
View the directory →

Pingback: Saya Ingat Ini Spaghetti Failure Biasa. Rupanya Masalah Bed Adhesion - Domechy