
Revopoint sent me the POP 4 for free to review. No payment was involved in producing this article.
This is just an early first look. Everything about what the POP 4 can do in this article is Revopoint’s own claim, not my judgment yet. I’ll be testing this scanner for longer and uploading some videos about my experience with it down the line.
What’s in the box
Revopoint packed more into this kit than I expected. Inside the POP 4 box, you get the scanner itself, a carrying bag, a mini turntable, a calibration board, a tripod, a USB-C to USB-C cable, a battery grip with its own power cable, and some high-reflection tracking markers.
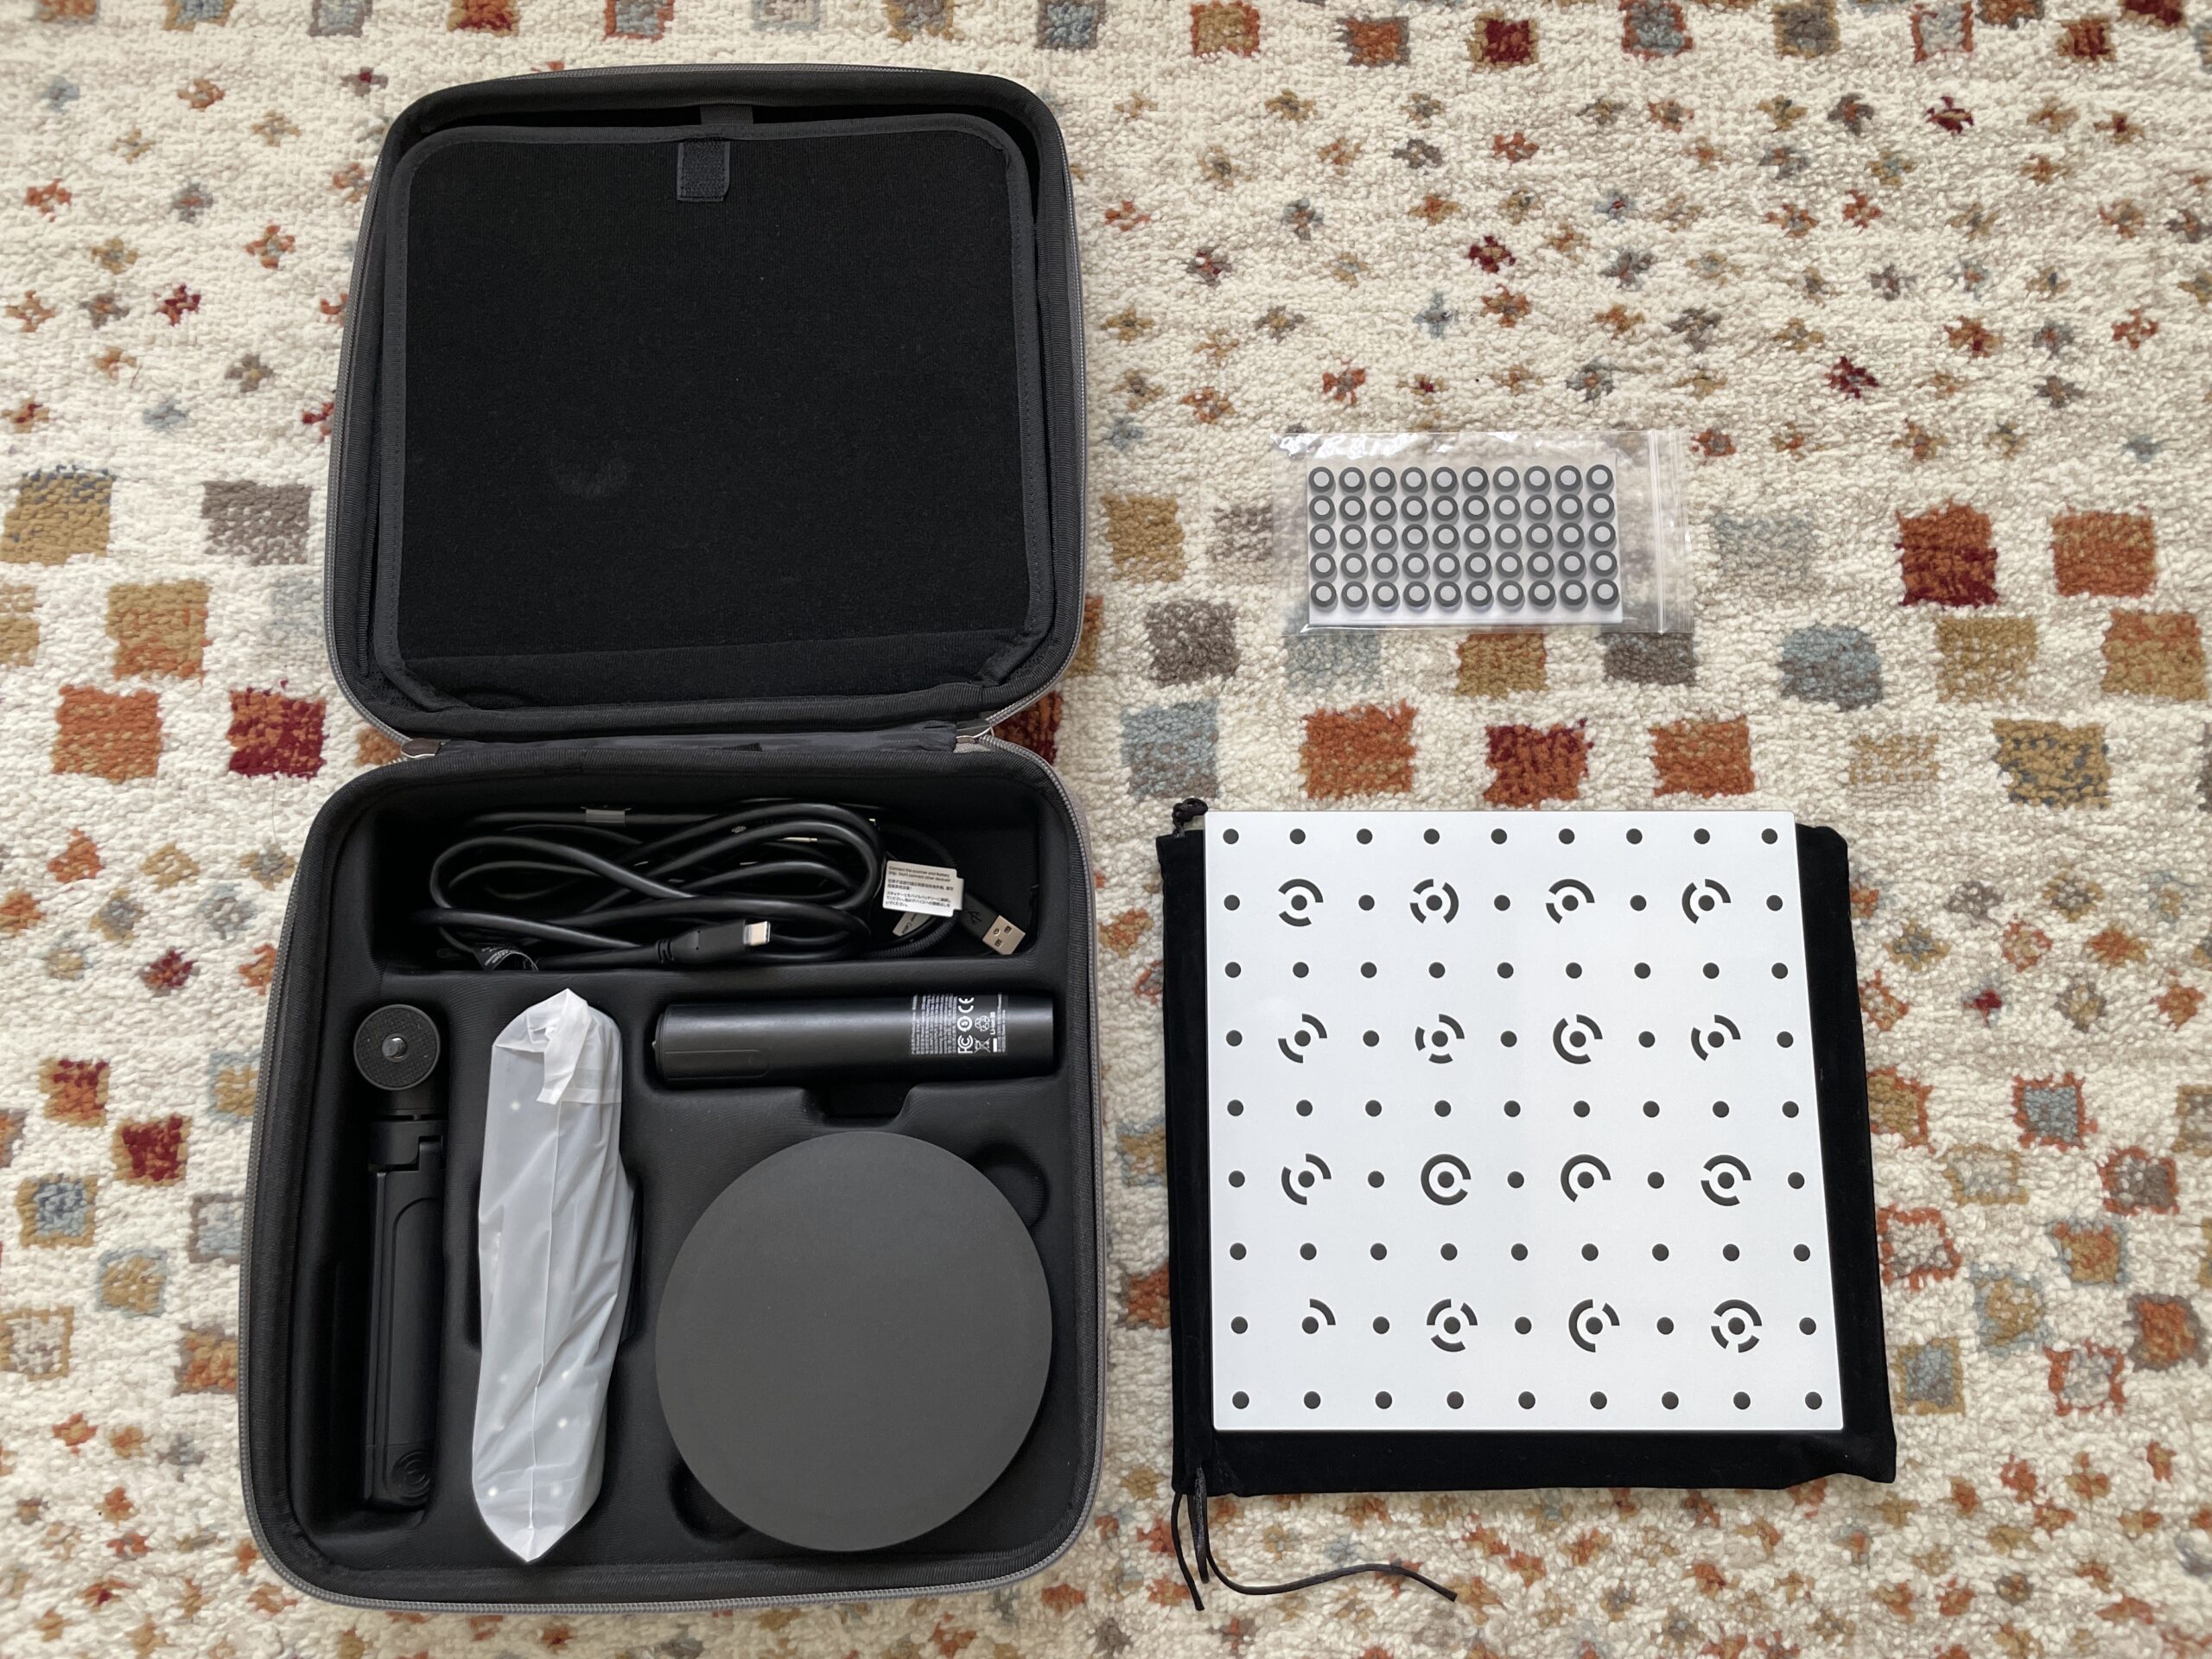
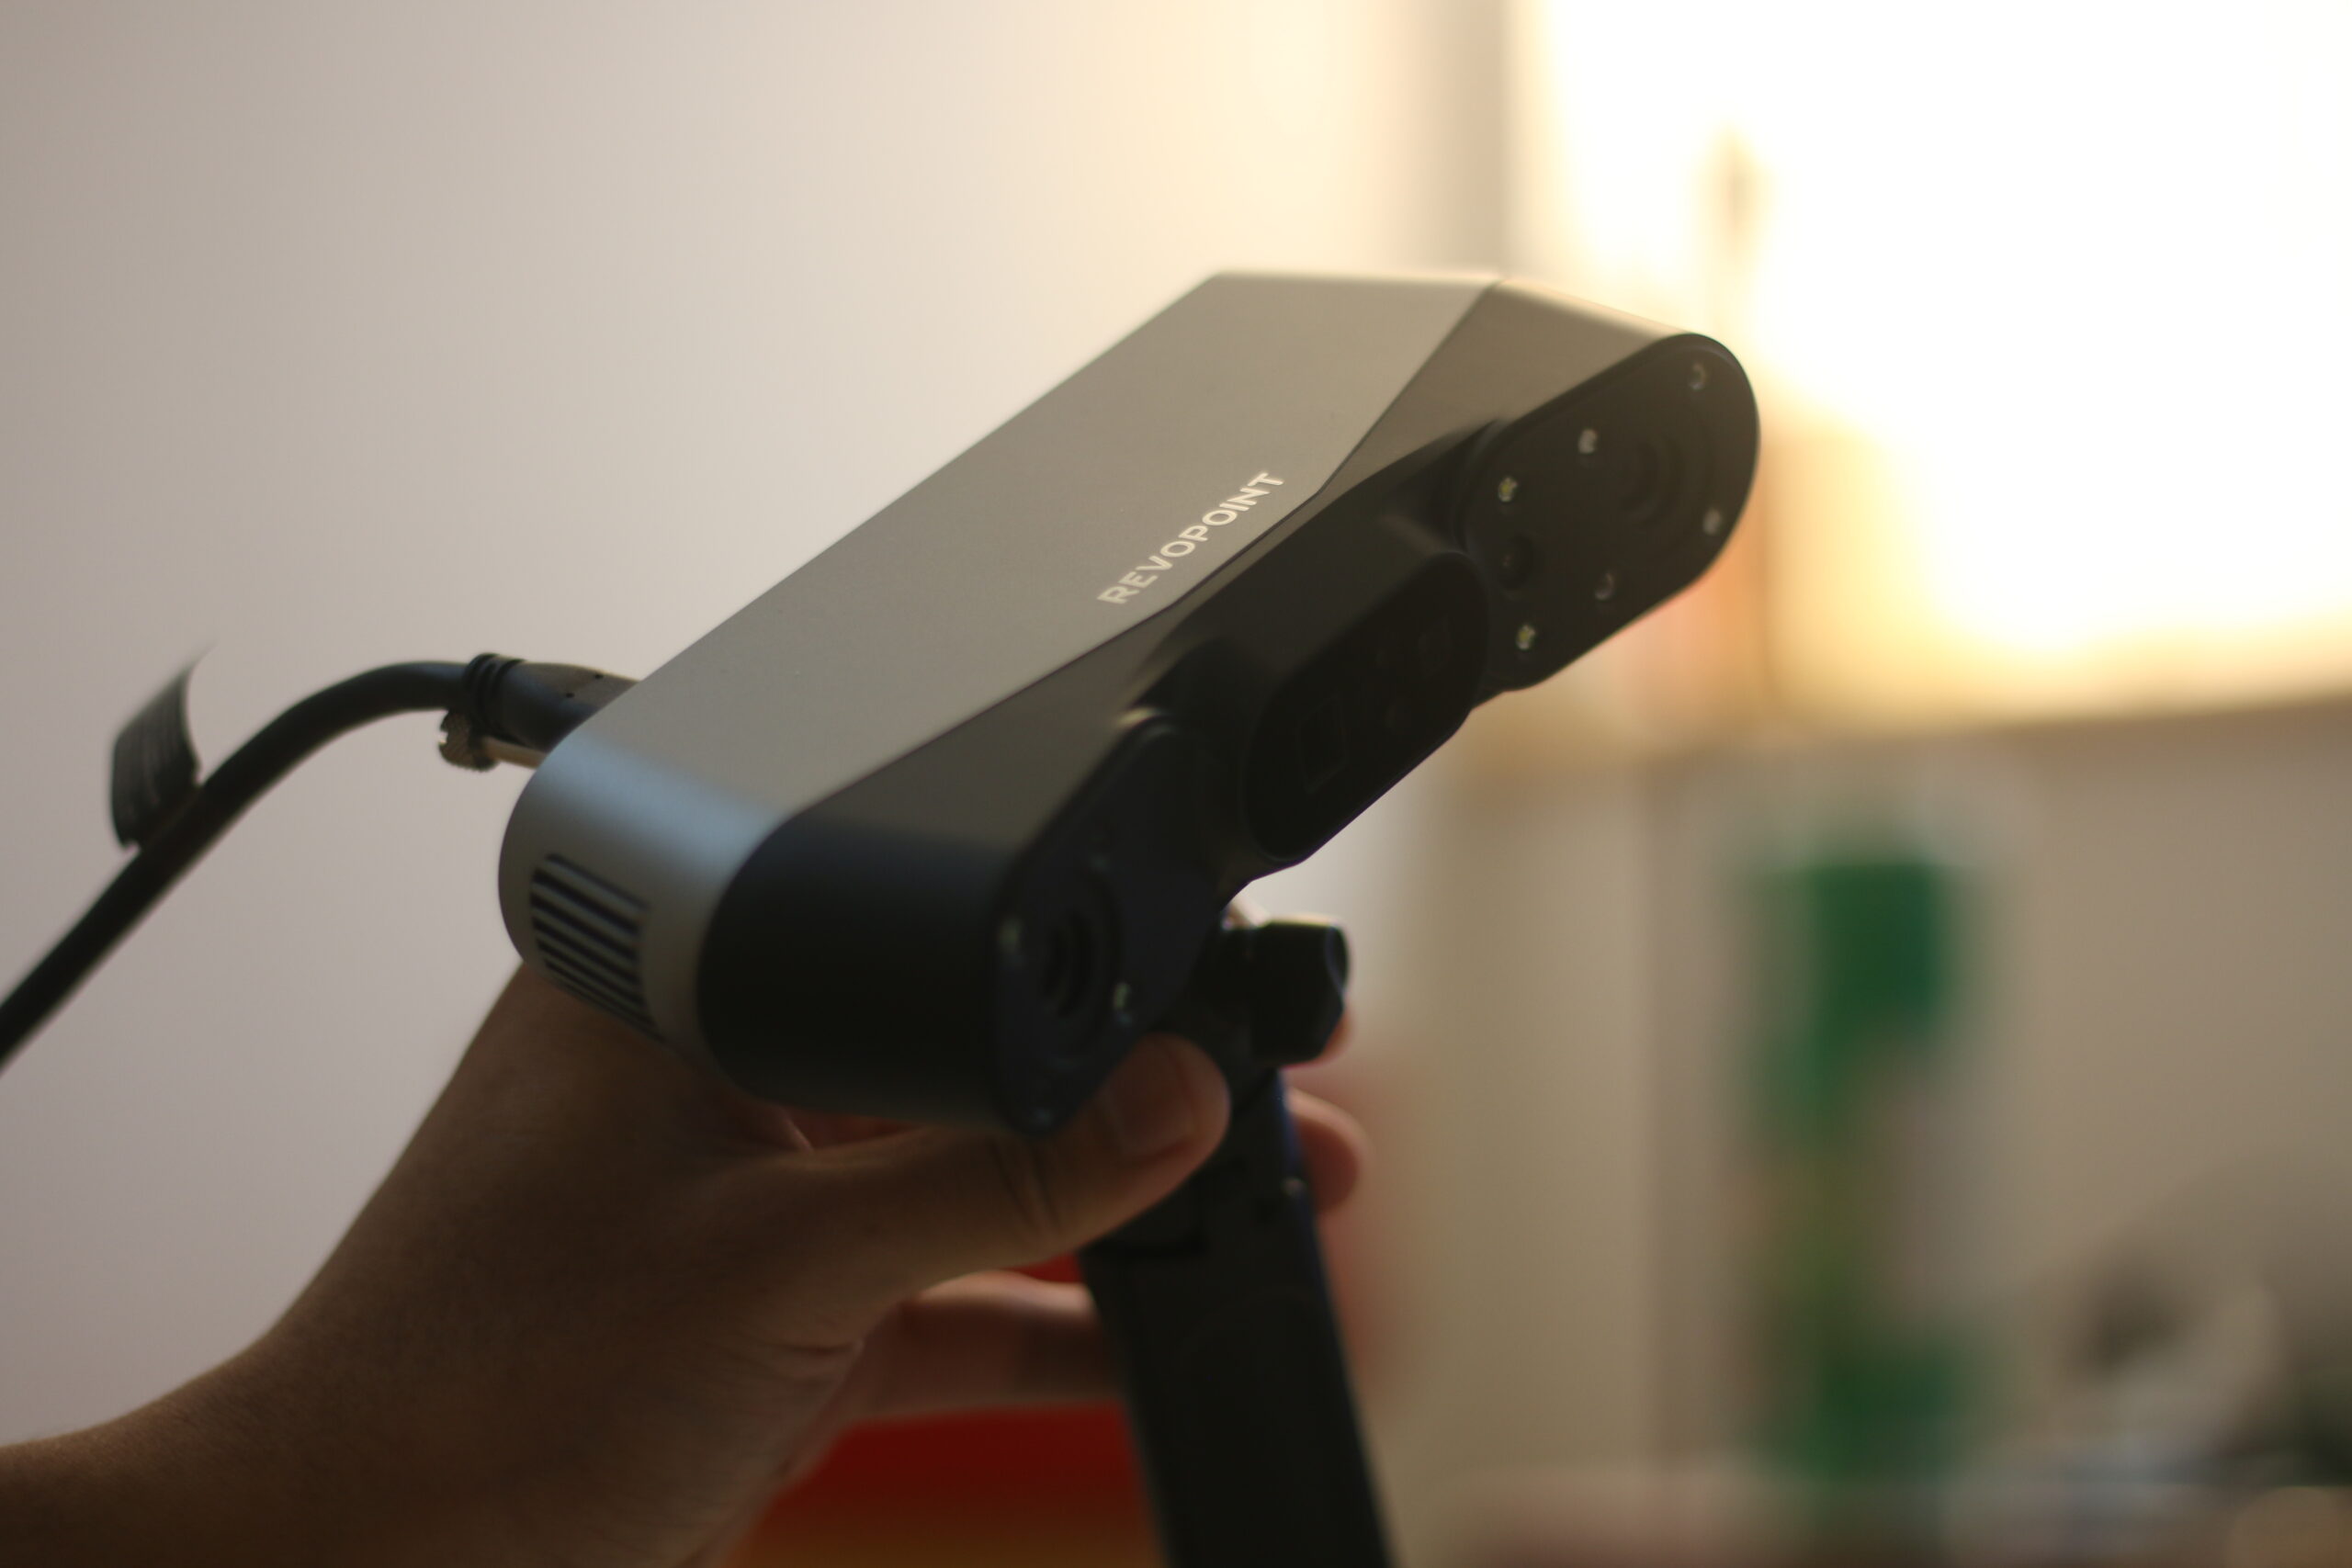
The scanner has a good balance in the hand. It’s not so heavy that it’s hard to carry, and not so light that it feels like a cheap material. The included battery grip is a small touch I really like. Its shape lets it pull double duty, working as both a handle and a power supply for the scanner. But it’s a different story for the tripod and turntable. Both feel too light, light enough that I’m worried they could break if I’m not careful. That said, those two are just bundled accessories, not the scanner itself. So overall, I think it has a good balance between quality and price, just don’t expect the whole set to feel premium.
What it claims to do
Here’s the pitch Revopoint gives. Most beginner scanners are good at one thing, and weak at everything else. Shiny metal, dark plastic, objects with deep holes, most affordable 3D scanners struggle to handle these. Revopoint says the POP 4 gets around this with five scan modes in one device, switching between infrared and blue laser depending on what you’re scanning. On paper, that means one scanner is enough to cover a lot of different jobs, no need to get a second scanner for a different kind of work.
They also claim accuracy up to 0.03mm, which if true means it can capture fine detail, screw threads, small text, sharp edges, not just the general shape of an object. This matters if you’re scanning small parts for printing, but matters less for bigger scans like furniture.
Speed-wise, the POP 4 can reach up to 105 fps. In plain terms, less need to stand frozen in one pose while the scanner catches up on a surface.
The claim I find most interesting is its outdoor capability. Bright sunlight usually ruins a scan, the sensor picks up too much light and the data that comes out is unusable. Revopoint says the POP 4 can manage scanning conditions close to full daylight, 100,000 lux, using magnetic filter lenses. If that claim is true, you could scan a car part outside your house in broad daylight without needing to bring it into an enclosed space.
On the software side, Revo Scan 6 supposedly does two things most scanners at this price can’t. First, AI segmentation: you mark your target before scanning and it automatically ignores the table, your hands, and the background during the scan. Normally you’d have to manually clean up or remove those parts afterward, which for a beginner who isn’t used to the process yet, eats up a lot of time. Second, it can export something called 3D Gaussian Splatting, a result that’s more photo-realistic than a regular 3D scan. This is more useful for VR/AR or showing off a scan than for 3D printing.
The comparison Revopoint brings up
The number they bring up most is the outdoor lux rating mentioned earlier. 100,000 lux is worth almost double what’s reported for a competitor like the Creality Pika, which sits around 50,000 lux even with its own filter.
AI segmentation and 3DGS export are two more things they emphasize as something most competitors at this price can’t offer.
I also asked Revopoint directly
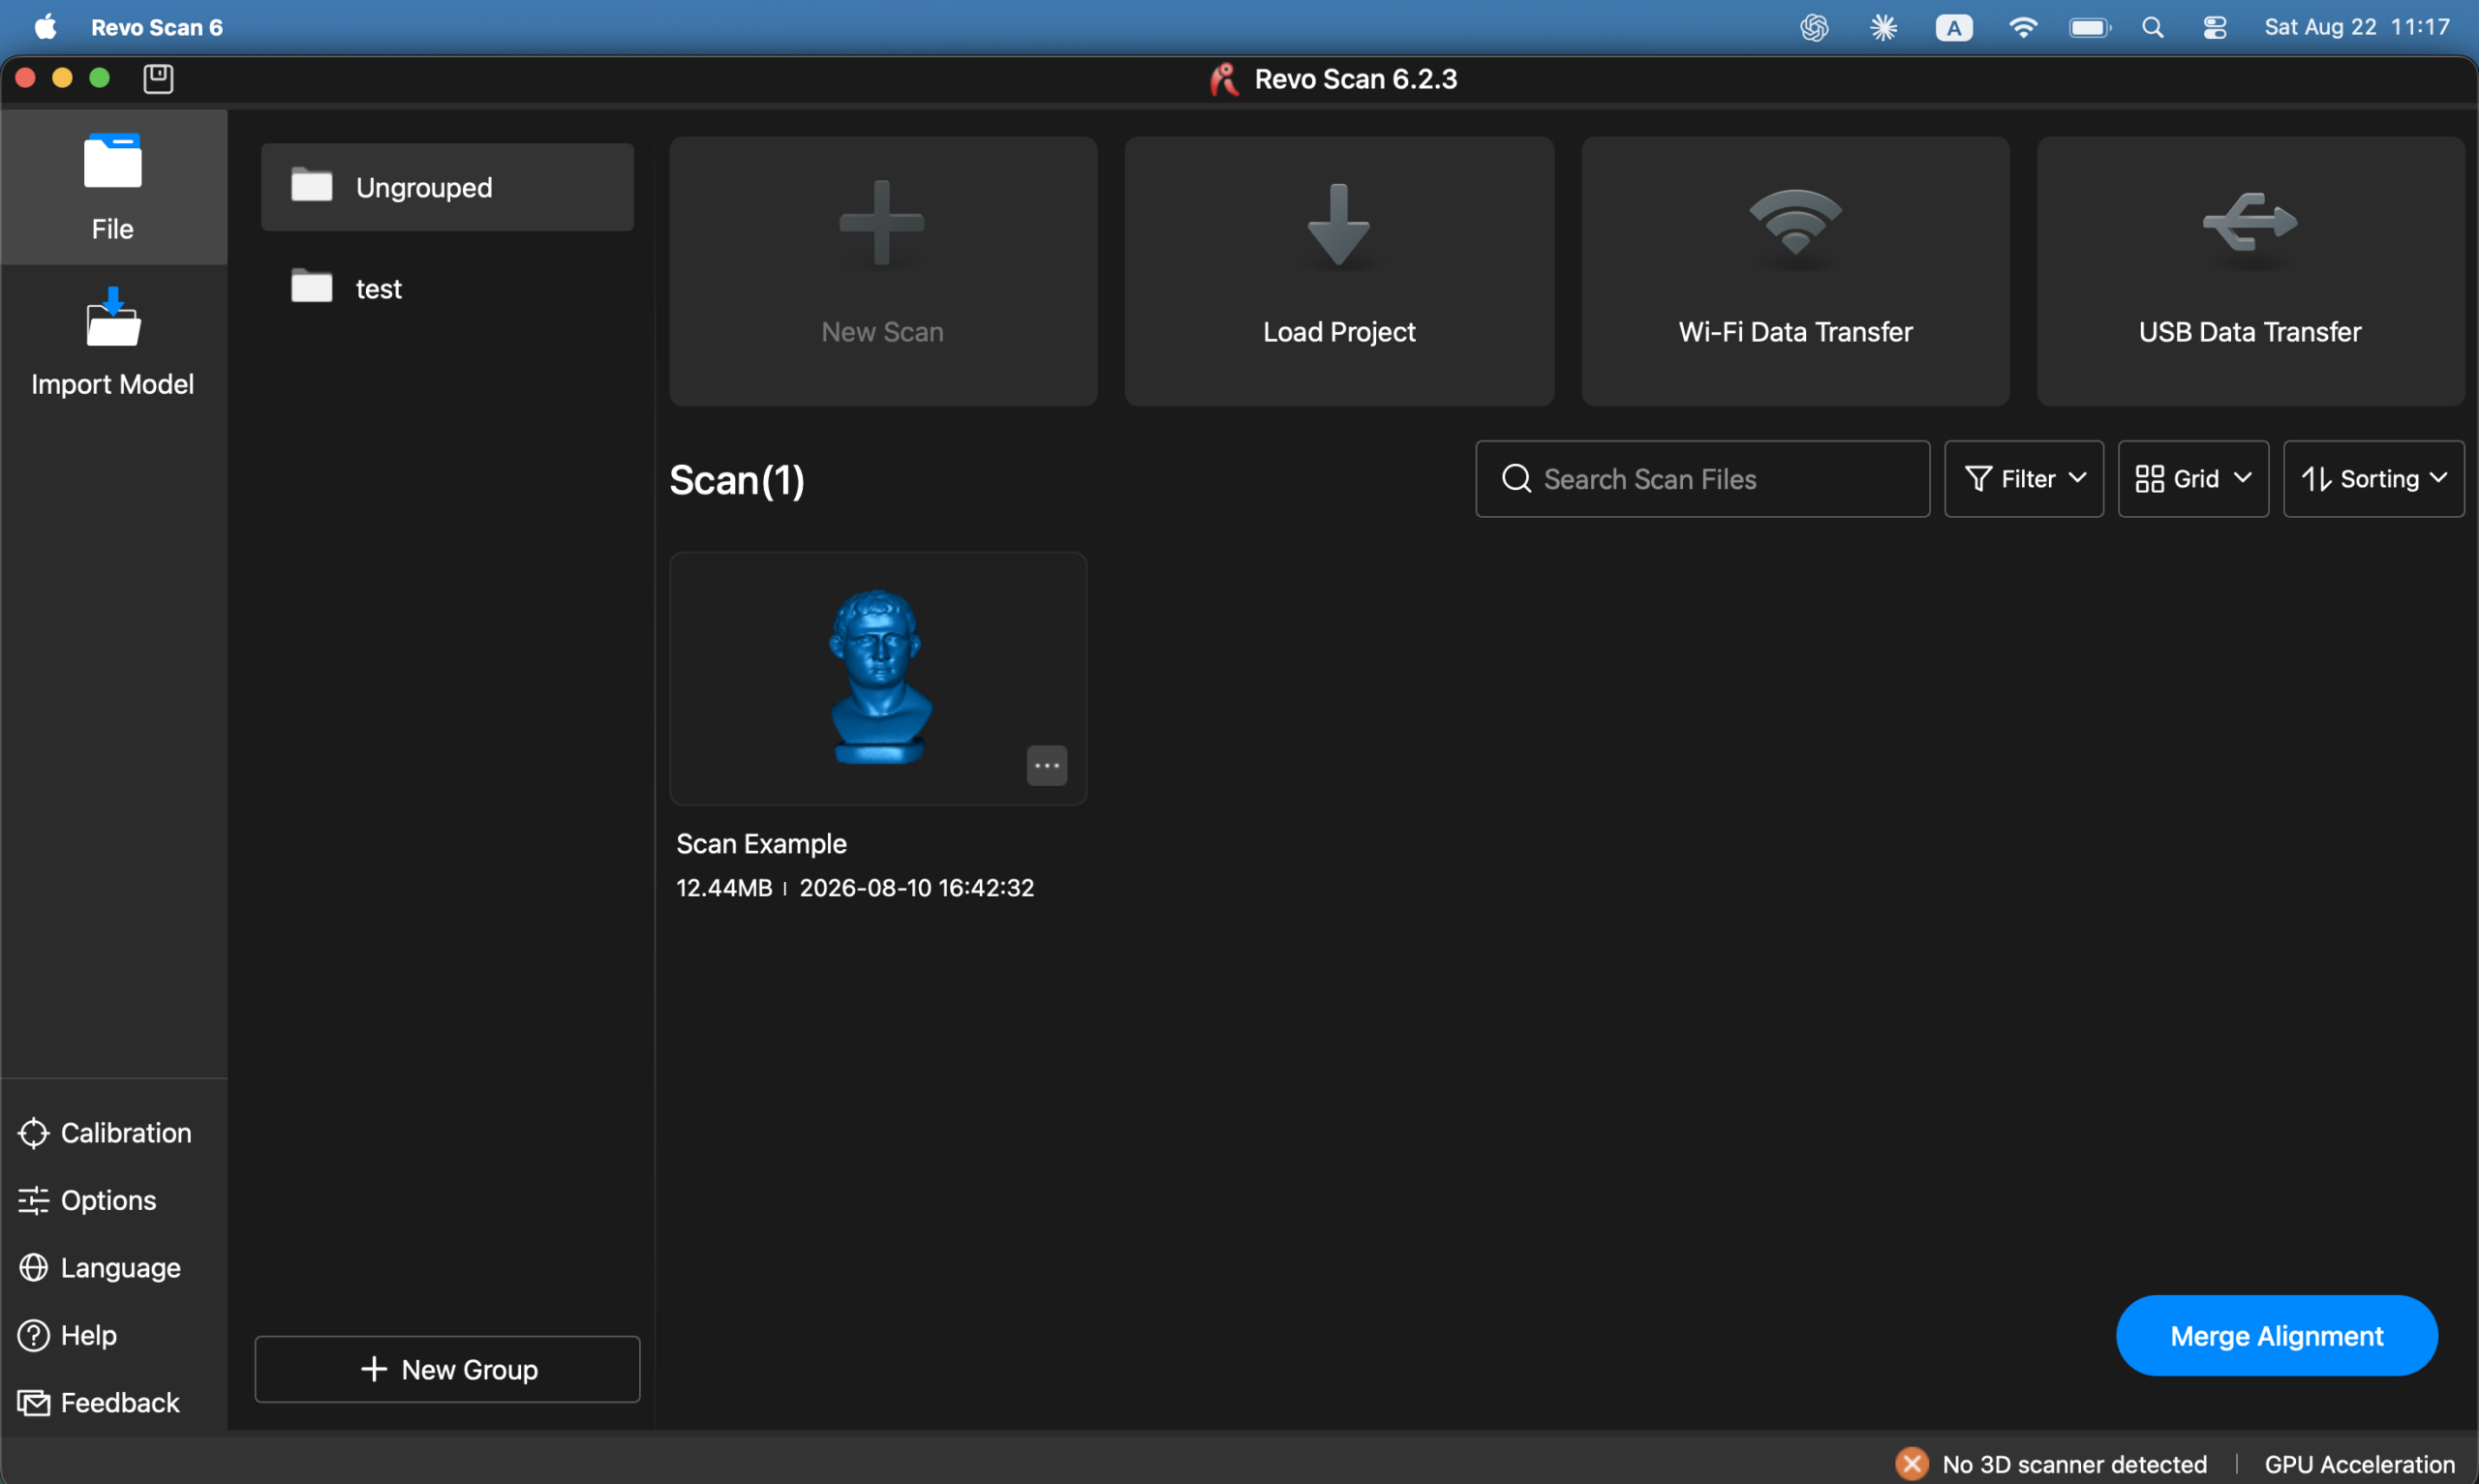
Since this article is just sharing Revopoint’s own claims, I sent a few questions to the Revopoint team before writing this. Here are some of the answers they gave.
On who this product targets, they position the POP 4 for two types of users: beginners get an easy start learning 3D scanning through the intuitive workflow and multiple scan modes, while more experienced users get the precision and advanced features for professional work like reverse engineering, product design, and digital content creation.
According to the Revopoint team, the POP 4 runs on Wi-Fi 6 with a battery grip usable for up to 4 hours. If true, that means truly cordless scanning without being tied to a laptop. For some scanning work, this matters a lot, since scanning a big object like a car while dragging a cable connected to your computer is an annoying process.
When asked what they’d want highlighted, they specifically mentioned the five scan modes and how each suits different objects, AI segmentation for cutting down cleanup work, and 3DGS modeling for anyone into game development, animation, or VR. For use cases, they listed 3D printing, reverse engineering and product design, scanning mechanical parts, outdoor scanning, and building digital assets for games and VR.
Setting up and first scan
Honestly, when I was just starting out, I skipped one important step. I was too excited to use this product, so I jumped straight into scanning without calibrating first. I couldn’t get good results though, since it kept losing tracking no matter which tracking mode I used.
Then I remembered, that’s exactly what the calibration board in the box is for. So I started over with the calibration process, following the steps built into Revo Scan 6. The process was simple, just follow the prompts until calibration is done. After finishing calibration, I finally got good scan results.
Trying the three tracking modes
Revo Scan 6 gives you a few ways to track the object while you scan, and so far I’ve tried three: feature, marker, and color. There’s a fourth, global marker, but I don’t have a suitable object for that one yet.
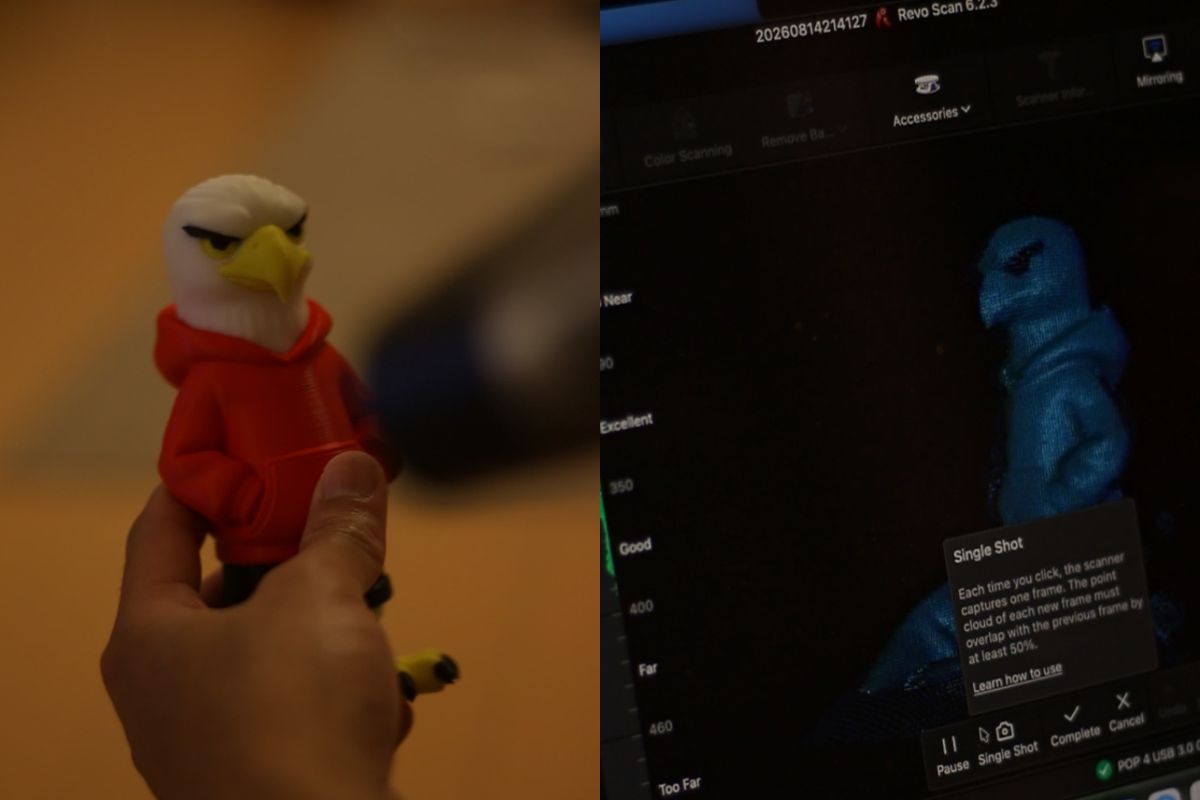
Feature tracking works well on objects with clear geometric shapes, like a figurine with plenty of edges and fine detail for the scanner to track.
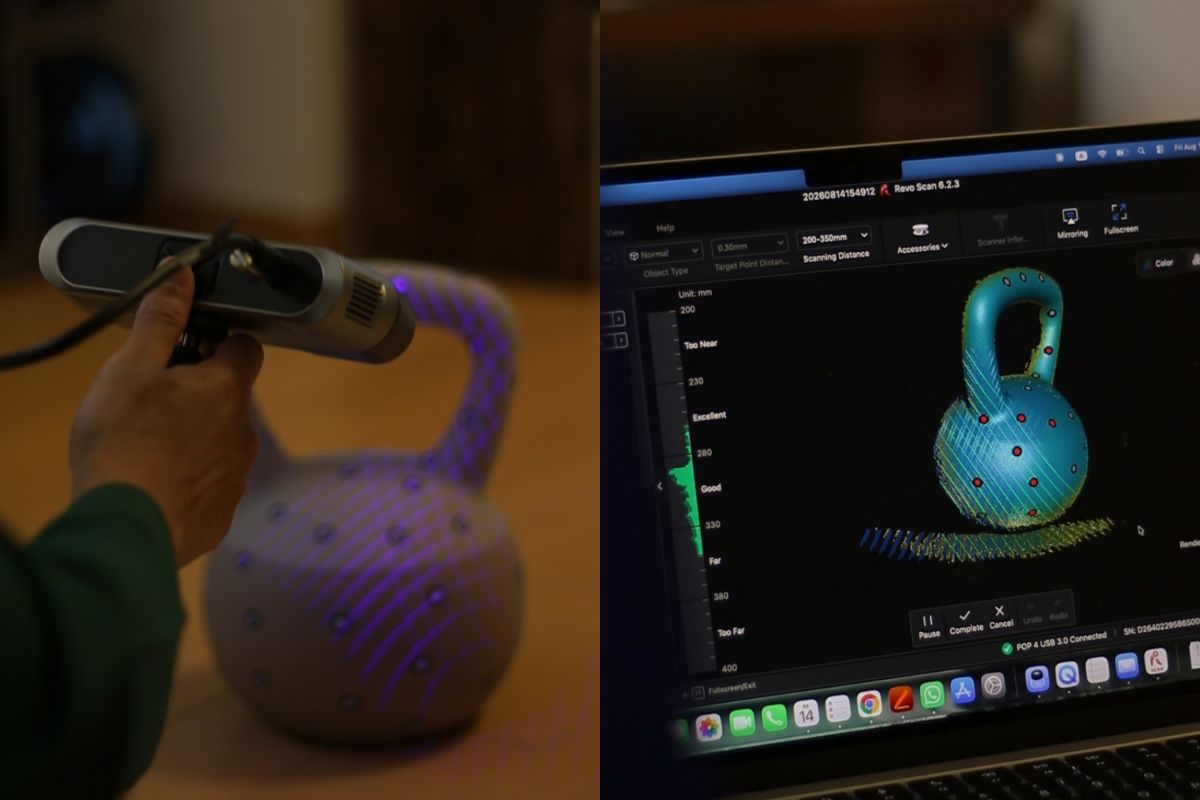
Marker tracking is for the opposite case, smooth objects without much for the scanner to grab onto, like a kettlebell. For this mode, I needed way more tracking stickers than I expected. Honestly, sticking on all those markers took longer than the scan itself. But it worked, and I got a usable scan out of it.
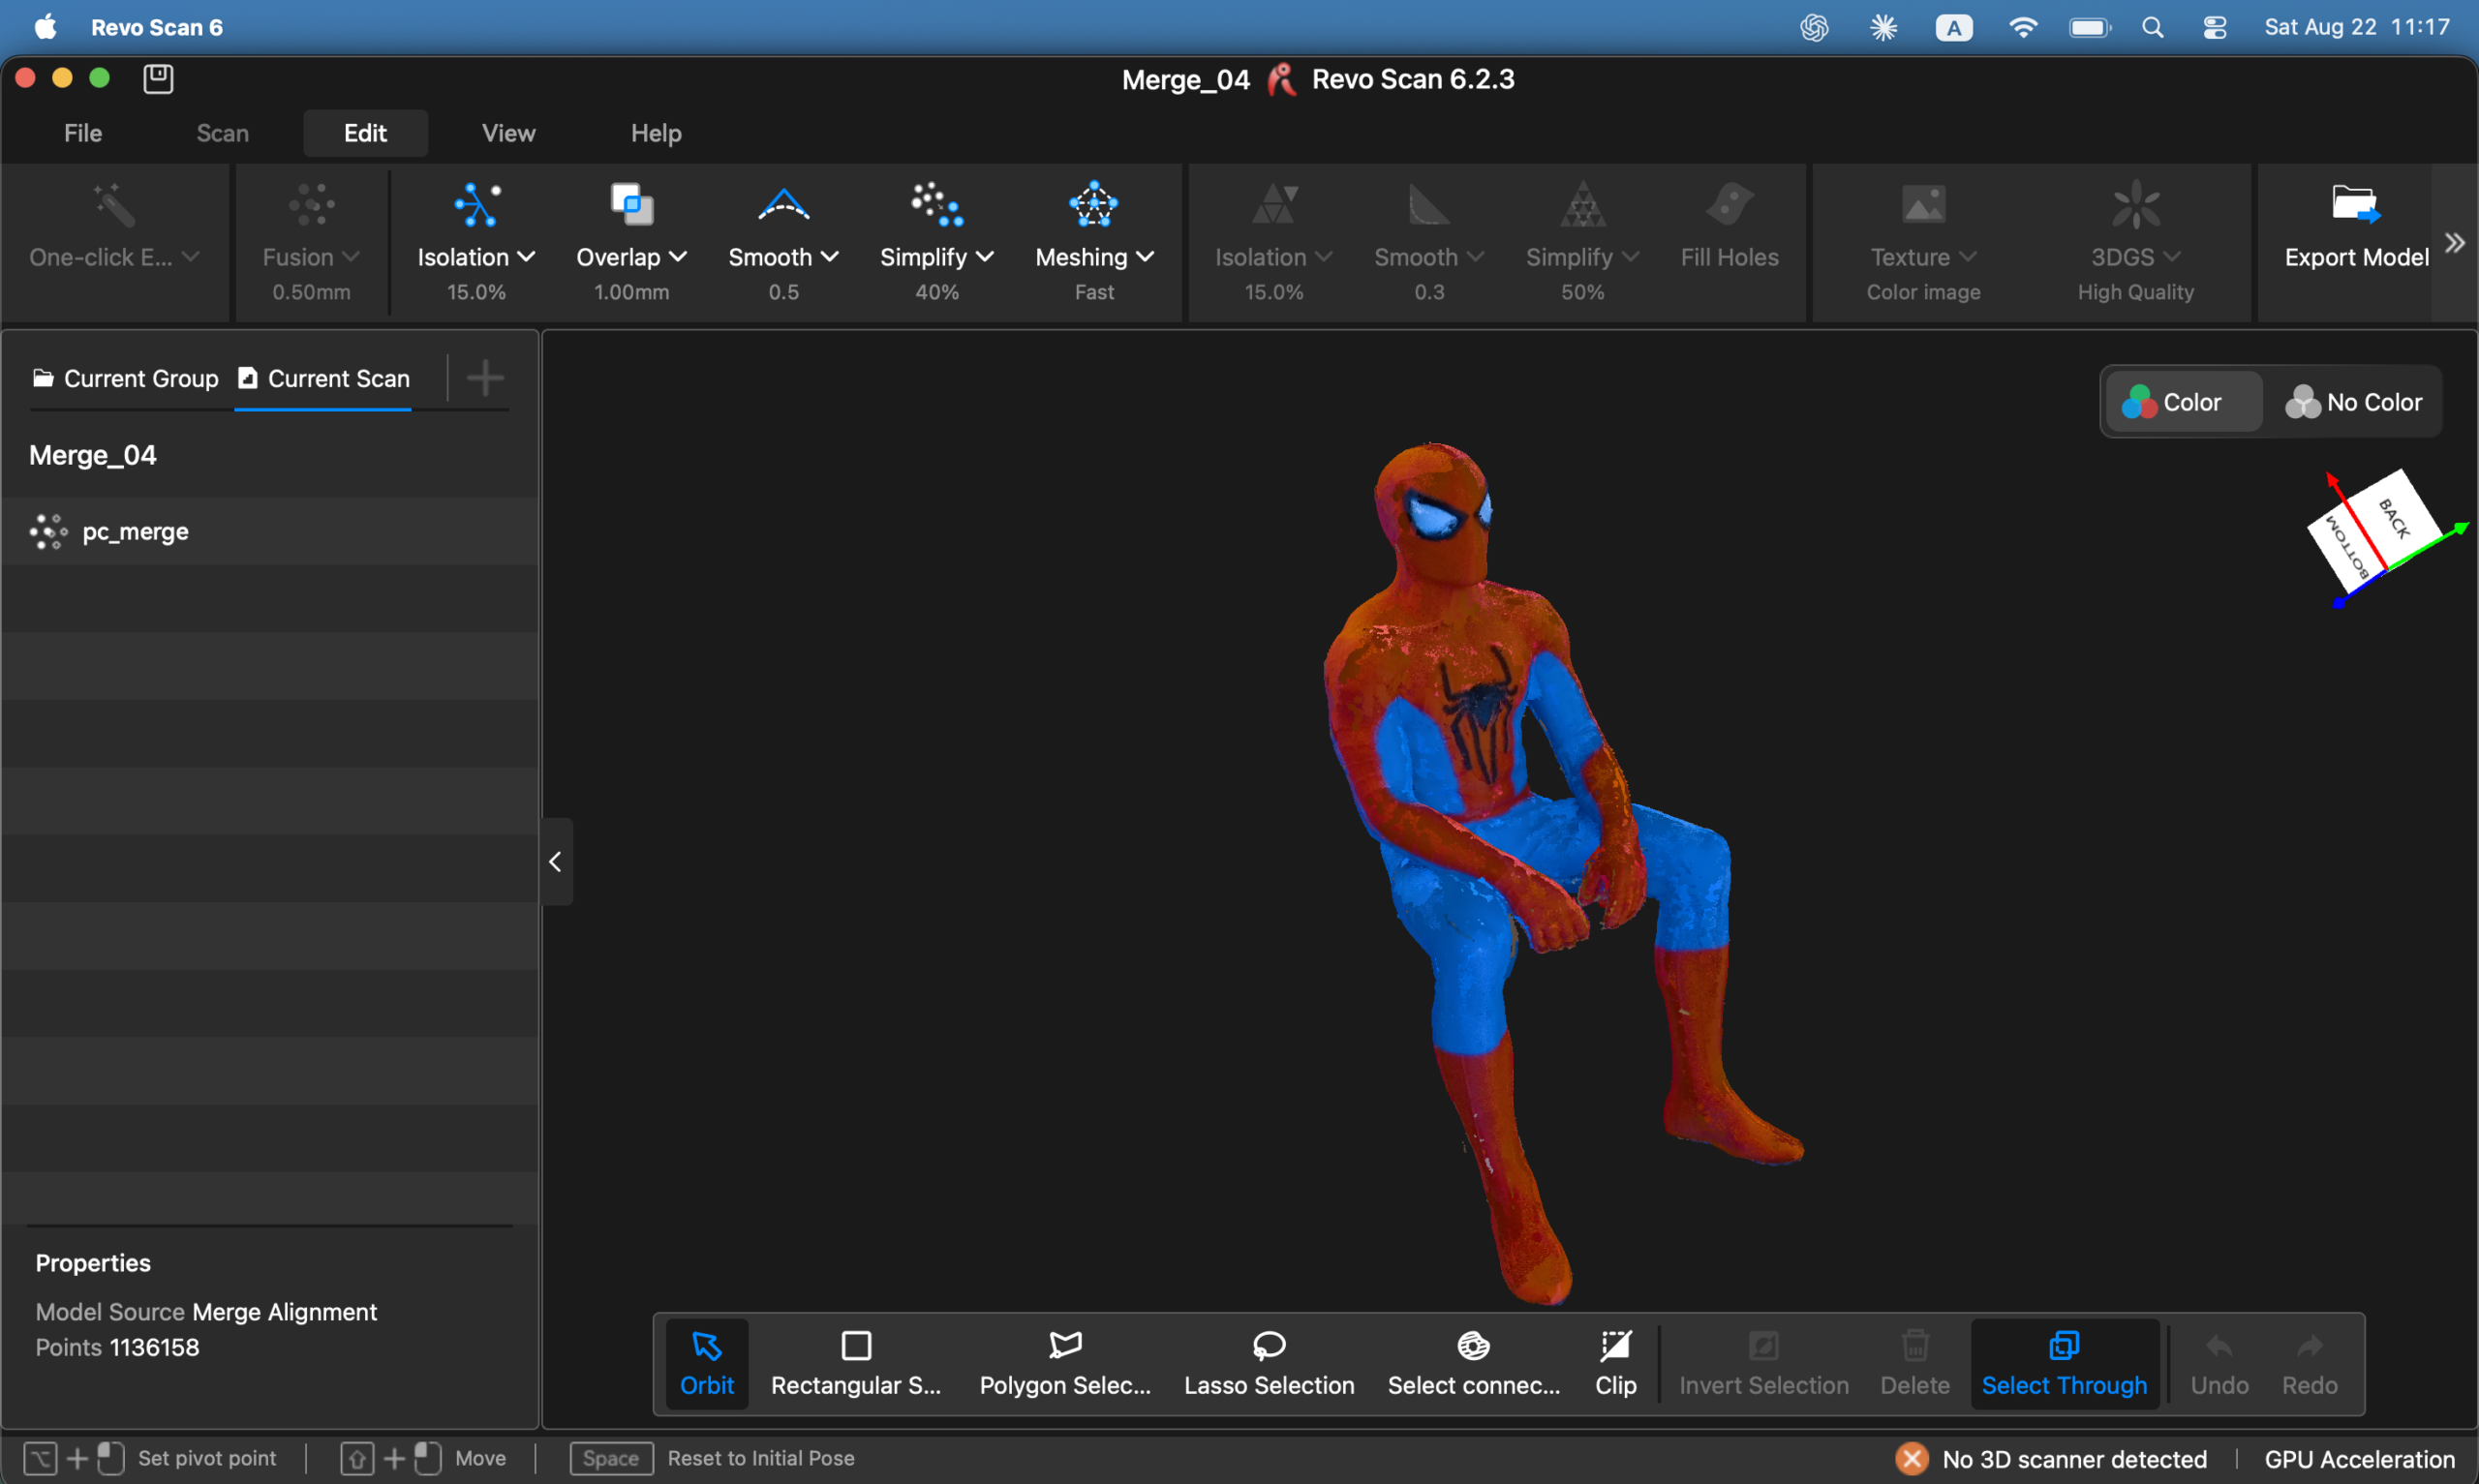
Merging scan results in Revo Scan 6 turned out easier than I expected. I didn’t know much when I first opened this software, but after playing around with it for a bit, I managed to merge the results fairly easily. For objects with clear features like the figurine, the software merges multiple scans from different angles automatically. For smoother objects like the kettlebell, you have to merge manually, but that process is easy enough for a beginner too.
Color tracking has been my favorite so far, though it only works on objects with clear color contrast. So far, it’s the tracking mode that’s given me the most consistent successful scans.
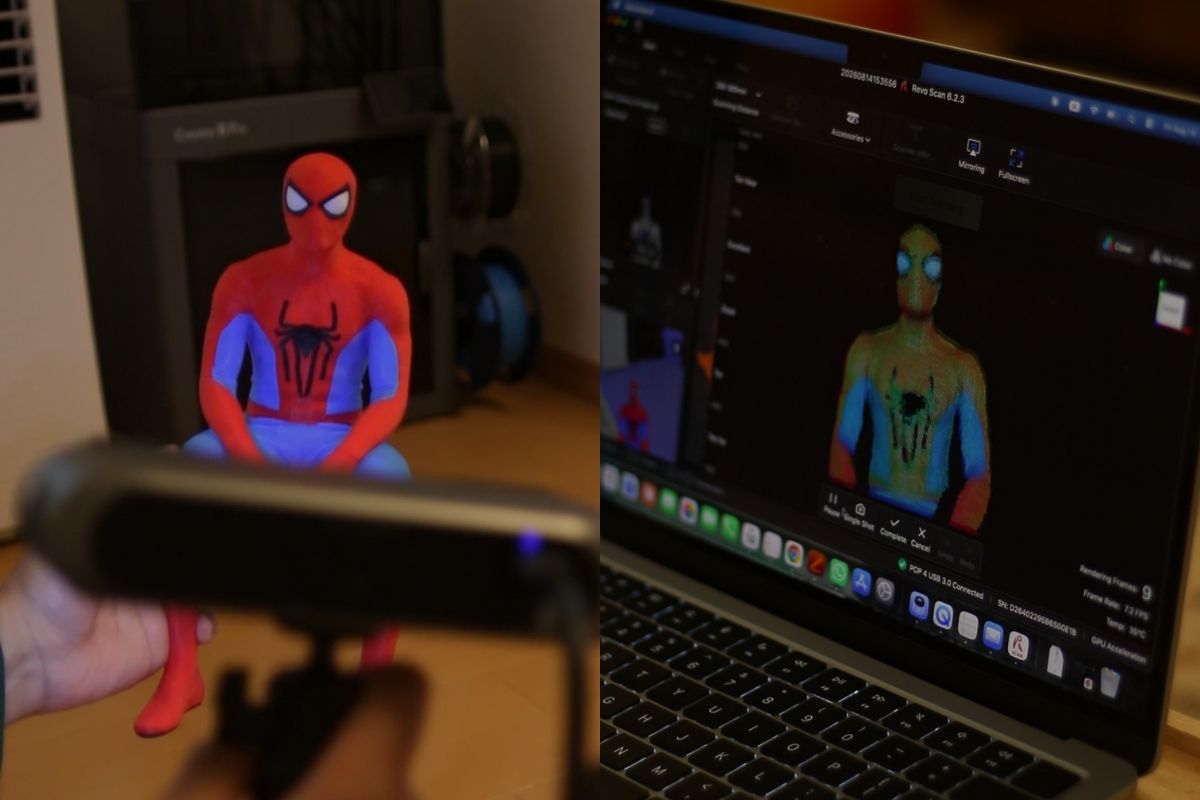
Worth repeating that this is my first time using a 3D scanner like this. So my thoughts on the modes and everything else might change if I use it for longer after this.
What’s next
This is just an early first-look article, not my final verdict yet. Over the next few weeks, I’ll try using the POP 4 more thoroughly, and test every claim about what this product can do. After that, I’ll share my thoughts and the results of that testing again, whether through an article like this or through video on my social media.
Get the POP 4 with a discount!
If you’re interested in getting this product, Revopoint gave me a code for readers here. Use REVOPRRIDZ at checkout for at least 7% off:
They also have two active communities if you want to see what other users are discussing: Official Community and POP Community.
Join the Domechy community
While you wait for the full review, come be part of the Domechy community. Share your own projects, talk through problems with other makers, and join the monthly challenge for great prizes. Register a free account and join in.
Don’t miss the latest articles and guides
Get new Domechy articles, guides and free models straight to your inbox.

Mcm mna feedback akhir tuan?