Layer Height Explained: How It Affects
Strength, Speed, and Surface Finish
Domechy Documentation Library | DCY-09
Layer height is one of the most influential settings in FDM 3D printing, yet it’s often adjusted without fully understanding its impact. It doesn’t just affect how smooth a print looks — it directly changes print time, mechanical behavior, and how practical a part is for its intended use.
Instead of thinking in terms of “high quality” or “low quality,” layer height should be treated as a balance knob.
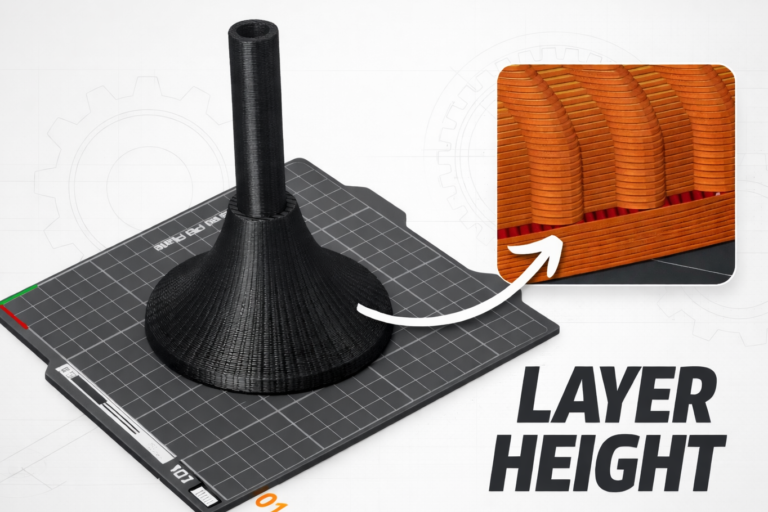
What Is Layer Height?
Layer height is the thickness of each printed layer. Because an FDM printer builds parts layer by layer, this value determines how many layers are needed to complete a model.
Most printers default to 0.20 mm because it sits comfortably between speed and appearance. Smaller values create finer detail but require more layers, while larger values reduce print time at the cost of visible layer lines. As a general constraint, reliable layer height usually stays below 75–80% of the nozzle diameter.
How Layer Height Affects Print Speed
Print speed is where the effect of layer height is most straightforward. Reducing layer height increases the number of layers, which directly increases total print time.
In practical terms:
- Dropping from 0.20 mm to 0.12 mm can increase print time by around 60%
- Increasing to 0.24–0.28 mm often reduces print time by 30–40%
The geometry stays the same, but the printer simply has to work longer to stack more layers.
How Layer Height Affects Surface Finish
Surface finish is where smaller layer heights shine. Thin layers reduce the stepping effect that appears on curves and slanted faces, making prints look smoother and more refined.
However, this improvement is not uniform:
- Curved and angled surfaces benefit the most
- Flat vertical walls show little difference
This is why functional parts printed at larger layer heights can still look acceptable, even if decorative models benefit from thinner layers.
How Layer Height Affects Strength
Strength is often misunderstood. Smaller layers do not automatically mean stronger prints. In fact, thicker layers can improve bonding between layers, particularly in the Z-direction.
In real-world printing:
- Thicker layers mean fewer interfaces and larger bonding areas
- Thinner layers introduce more layer boundaries, which can slightly reduce Z-axis strength
For many functional parts, moderate layer heights (0.20–0.28 mm) provide a strong and reliable result without excessive print times.
Choosing the Right Layer Height
Rather than optimizing for a single metric, it helps to match layer height to the job:
- Thin layers work best for visual or display models
- Medium layers are ideal for everyday, general-purpose prints
- Thick layers suit functional parts, prototypes, and large objects
This approach avoids unnecessary long prints while still delivering parts that perform as expected.
Variable Layer Height: Best of Both Worlds
Many modern slicers support variable layer height, adjusting layer thickness automatically based on part geometry. Thin layers are used where detail matters, while thicker layers are applied to simpler sections.
The result is a smoother appearance where it counts, without paying the full time penalty of a uniformly fine layer height.
Summary
Layer height is not about printing “better” or “worse” — it’s about printing appropriately. By understanding how it affects speed, surface finish, and strength, you can make informed choices instead of relying on defaults or assumptions.