3D Printing Tips for Beginners:
Variable Layer Height
Domechy Documentation Library | DCY-03
Problem
FDM 3D printers build objects layer by layer. For flat or straight surfaces, this works great — modern printers can produce very smooth results with small layer heights.
But when it comes to slanted or curved surfaces (like domes or spheres), you’ll often notice visible “steps” or layer lines. These lines make the surface look rough or “striped.”
The Solution: Use Variable (Adaptive) Layer Height
Most slicers today support adaptive layer height, which automatically adjusts the layer thickness depending on the surface angle. Thinner layers are used for detailed or curved areas, while thicker layers are used for flat sections — saving time without sacrificing quality.
In Bambu Studio (the slicer I use), it’s simple:
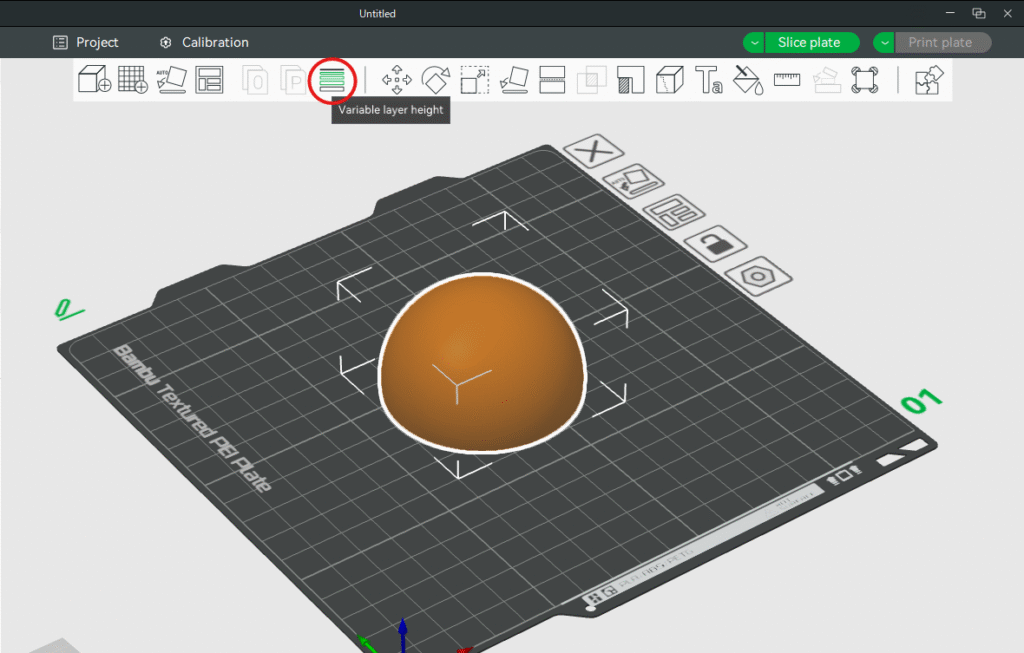
Select your model.
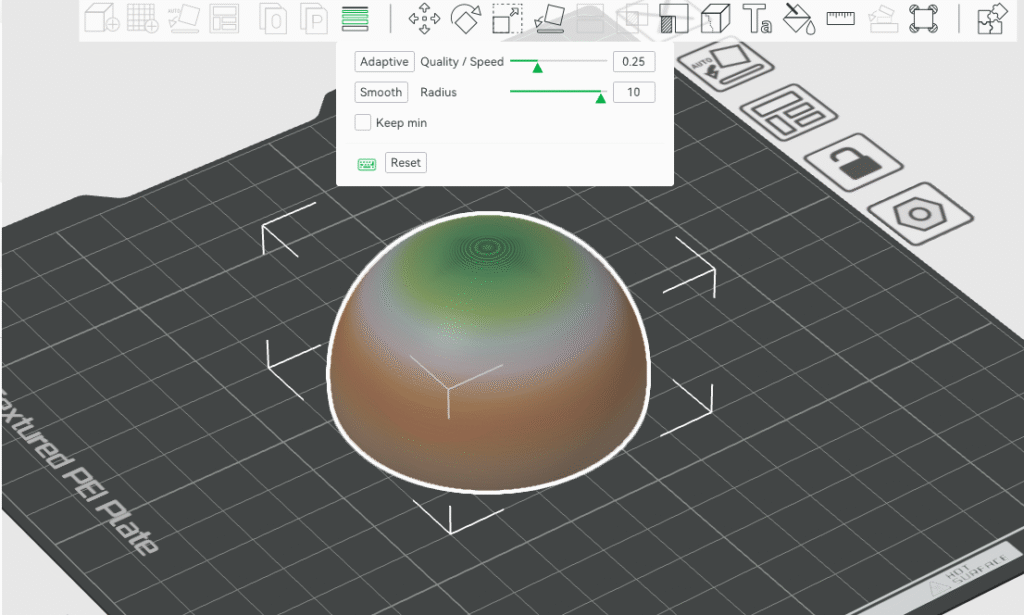
On the top toolbar, click Adaptive Layer Height.
Two main sliders will appear:
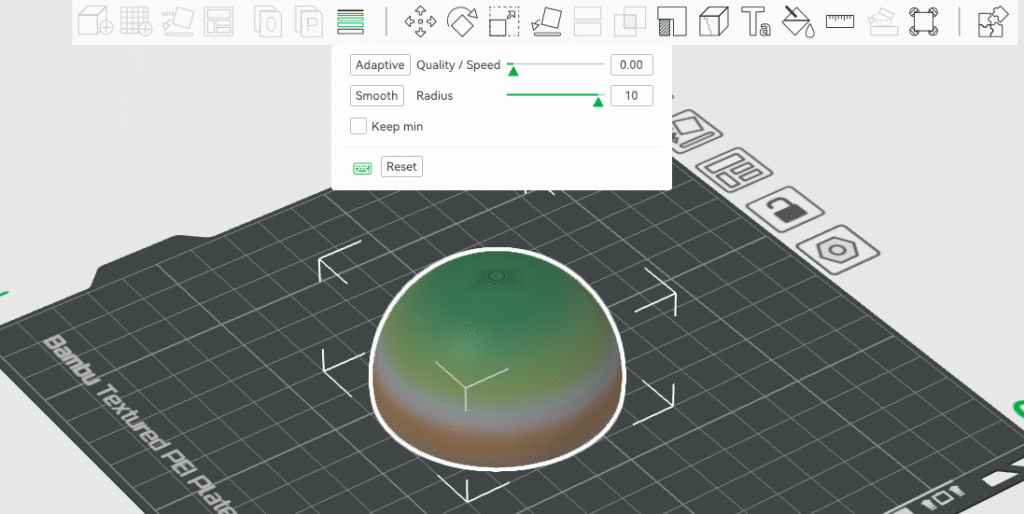
Adaptive: controls how aggressively layer heights vary.
Smooth: adjusts how gradual the transitions are between different layer heights.
Move the Adaptive slider toward Speed for faster but rougher prints, or toward Quality for smoother but slower prints.
You’ll see your model change colors — these represent different layer heights.
Tweak the Smooth radius if needed, then click Smooth again to refine.
Once satisfied, slice and print as usual. You’ll notice that curved surfaces (like domes, helmets, or figurines) look significantly smoother compared to the default fixed layer height.
Quick Tip
Try using adaptive layer height for models that have both slanted and curved areas. You’ll get a nice balance between print time and surface quality — without needing any extra tools or post-processing.